目的:实现api并生成swagger文档
引入swagger
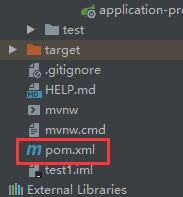
在pom.xml添加swagger依赖
<!--整合Swagger2配置类-->
        <dependency>
            <groupId>io.springfox</groupId>
            <artifactId>springfox-swagger2</artifactId>
            <version>2.9.2</version>
        </dependency>
        <dependency>
            <groupId>io.springfox</groupId>
            <artifactId>springfox-swagger-ui</artifactId>
            <version>2.9.2</version>
        </dependency>
启用swagger
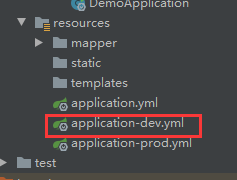
#引入swagger
swagger:
  enabled: true
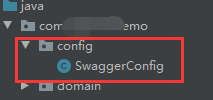
配置SwaggerConfiguration.java
新建文件,如下
@Configuration
@EnableSwagger2
public class SwaggerConfig {
    /*@Value("${jwt.header}")
    private String tokenHeader;

    @Value("${jwt.token-start-with}")
    private String tokenStartWith;*/

    @Value("${swagger.enabled}")
    private Boolean enabled;


    @Value("${swagger2.basePackage:com.spingcloud.serviceconsumer.controller}")
    private String swagger2BasePackage;
    @Value("${swagger2.title:系统API文档}")
    private String swagger2Title;
    @Value("${swagger2.api.version:2.0}")
    private String apiVersion;


    // 定义分隔符
    private static final String splitor = ",";

    @Bean
    @SuppressWarnings("all")
    public Docket createRestApi() {
        ParameterBuilder ticketPar = new ParameterBuilder();
        List<Parameter> pars = new ArrayList<>();
        /*ticketPar.name(tokenHeader).description("token")
                .modelRef(new ModelRef("string"))
                .parameterType("header")
                .defaultValue(tokenStartWith + " ")
                .required(true)
                .build();
        pars.add(ticketPar.build());*/
        return new Docket(DocumentationType.SWAGGER_2)
                .enable(enabled)
                .apiInfo(apiInfo())
                .select()
                .paths(Predicates.not(PathSelectors.regex("/error.*")))
                .paths(PathSelectors.any())
                .build()
                .globalOperationParameters(pars);
    }

    private ApiInfo apiInfo() {
        return new ApiInfoBuilder()
                .title("eladmin 接口文档")
                .version("2.3")
                .build();
    }
}
开始处理控制器
建立如下结构

解释:
service :具体业务实现
dto :模型
hello:接口实现
ihello:接口
代码如下:
base:
@Data
public class base {
    /*主键id*/
    @ApiModelProperty("主键id")
    @JsonProperty("id")
    private Integer id;

    /*public int getId(){
        return id;
    }
    public void SetId(int id){
        this.id=id;
    }*/
}
helloDto:
//swagger 注释
@ApiModel("模型说明")
//lombok插件并引用包 省区get  set 方法
/*@Data : 注解在类上, 为类提供读写属性, 此外还提供了 equals()、hashCode()、toString() 方法
@Getter/@Setter : 注解在类上, 为类提供读写属性
@ToString : 注解在类上, 为类提供 toString() 方法
@Slf4j : 注解在类上, 为类提供一个属性名为 log 的 log4j 的日志对象
@Log4j : 注解在类上, 为类提供一个属性名为 log 的 log4j 的日志对象*/

@Data
public class helloDto extends base implements Serializable {
    /*姓名*/
    @JsonProperty("Name")
    @ApiModelProperty("姓名")
    private String Name;
    /*性别*/
    @ApiModelProperty("性别")
    @JsonProperty("Sex")
    private Boolean Sex;

    /*@JsonProperty("Name")
    @ApiModelProperty("姓名")
    public String getName(){
        return this.Name;
    }
    public void setName(String Name){
        this.Name=Name;
    };

    public Boolean getSex(){
        return Sex;
    }
    public void setSex(Boolean Sex){
        this.Sex=Sex;
    }*/

}
没什么把set get 注释掉了
说实话写这个东西太烦人了,不像net 只写{get;set;}就可以了,没有意义,有没有办法不用写,答案是肯定的
度娘搜索 maven lombok
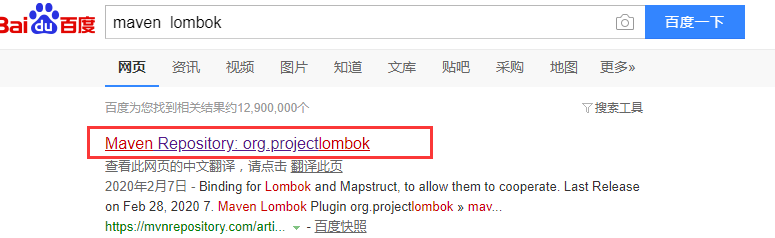
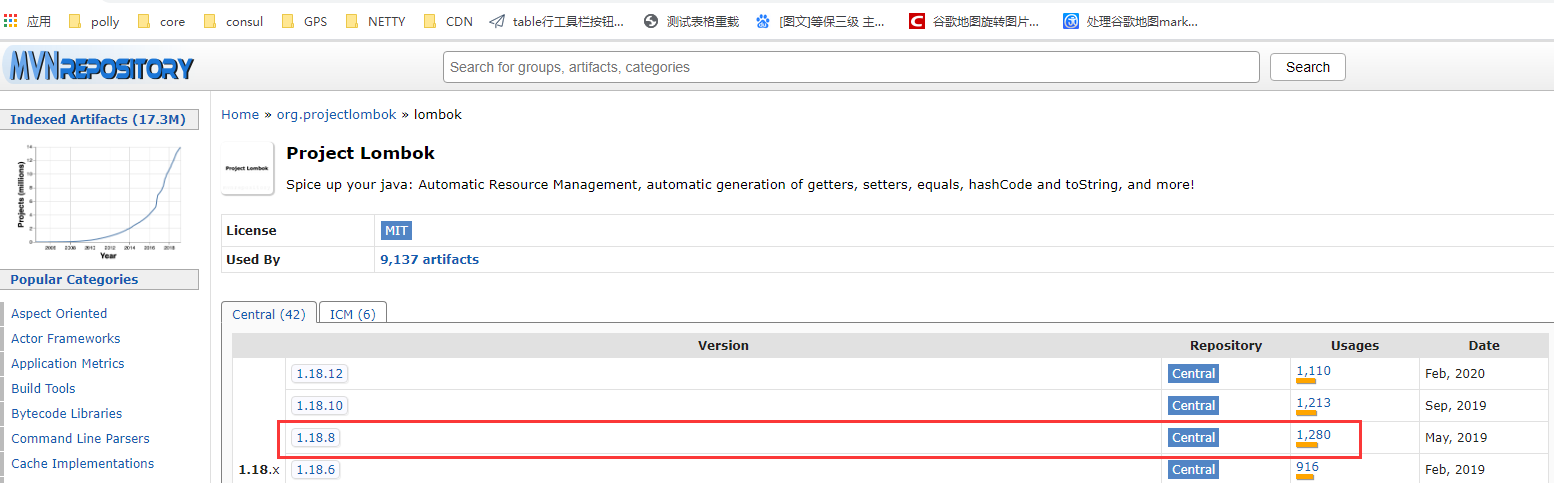
选择的这个,没其他原因,用的人多 看usages

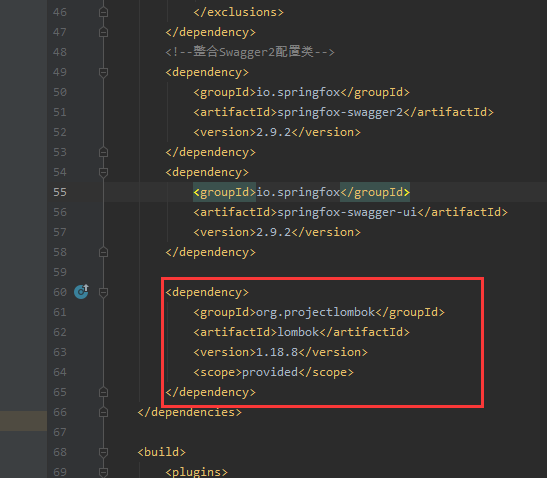
复制到pom文件中
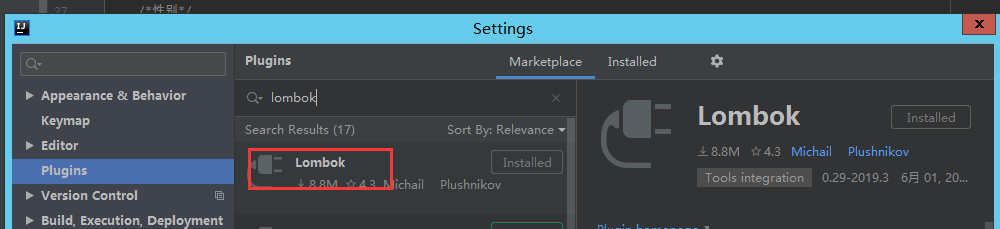
安装 lombok 插件
模型添加注解 @Data
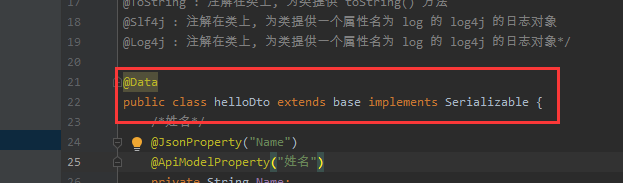
ok了,不用写get set了
ihello:
public interface IHello {

    /*获取所有*/
    List<helloDto> all();

    /*删除一条*/
    void del();

    /*按id查找*/
    helloDto findbyid(int id);

    /*添加*/
    boolean add(helloDto model);


}
hello:
@Service
public class Hello implements IHello {
    @Override
    public List<helloDto> all() {
        List<helloDto> list=new ArrayList<helloDto>();

        helloDto add1=new helloDto();
        add1.setSex(true);
        add1.setName("姓名");
        add1.setId(1);

        list.add(add1);

        return list;
    }

    @Override
    public void del() {

    }

    @Override
    public helloDto findbyid(int id) {
        return null;
    }

    @Override
    public boolean add(helloDto model) {
        return false;
    }
}
hellocontroller
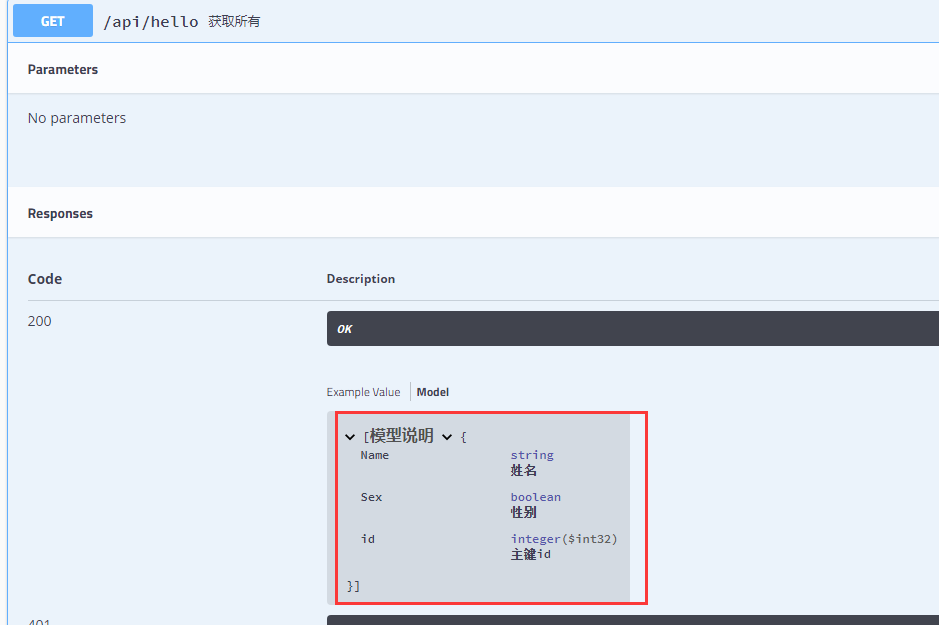
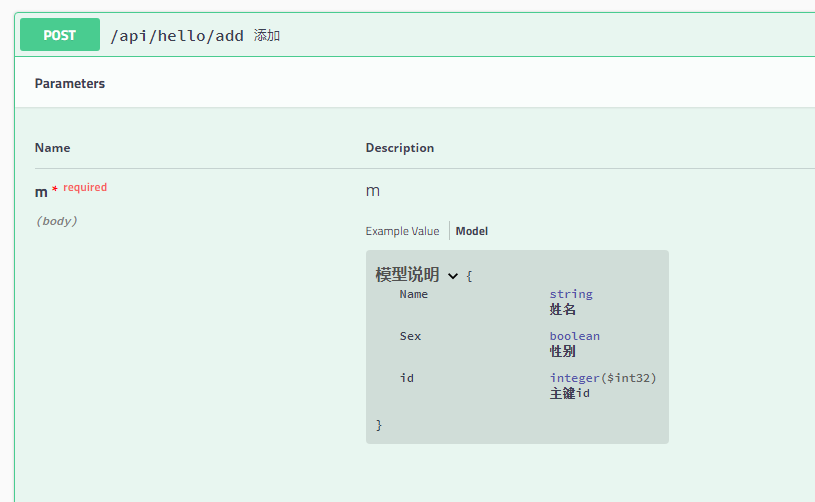
@RestController
/*swagger注释*/
@Api(tags = "测试控制器")
@RequestMapping("/api/hello")
public class hellocontroller {

    private final IHello ihello;

    public hellocontroller(IHello ihello){
        this.ihello=ihello;

    }


    @RequestMapping(method = RequestMethod.GET)
    @ApiOperation("获取所有")
    public List<helloDto> all(){

        return ihello.all();
    }
    @RequestMapping(value = "/add",method = RequestMethod.POST)
    @ApiOperation("添加")
    public String add(@RequestBody helloDto m) throws Exception{
        boolean r=ihello.add(m);
        return r?"成功":"失败";
    }

    @RequestMapping(value = "/edit",method = RequestMethod.POST)
    @ApiOperation(value = "编辑",notes = "编辑操作")
    public helloDto edit(@RequestBody helloDto m) throws Exception{
        //boolean r=ihello.add(m);
        helloDto h=new helloDto();
        h.setId(0);
        h.setName("姓名");
        h.setSex(true);
        return h;
    }


}
好了,看下最终效果:

参考文档:
SpringBoot+Swagger整合API
@RequestParam @RequestBody @PathVariable 等参数绑定注解详解(转)
application.properties文件配置
@RequestMapping 用法详解之地址映射(转)
@Component, @Repository, @Service的区别
在此感谢以上文章作者,感谢公司同事支持!