1.安装需要的环境,centos7的mysql叫mariadb,所有的配置文件默认就可以
[root@test ~]# yum install httpd php mariadb mariadb-server php-mysql -y
--------------------------
已安装:
  httpd.x86_64 0:2.4.6-80.el7.centos                mariadb.x86_64 1:5.5.56-2.el7
  mariadb-server.x86_64 1:5.5.56-2.el7              php.x86_64 0:5.4.16-45.el7
  php-mysql.x86_64 0:5.4.16-45.el7

完毕!
2.下载WordPress和PHPmyadmin。
WordPress下载地址:https://cn.wordpress.org/
PHPmyadmin下载地址:https://www.phpmyadmin.net/downloads/
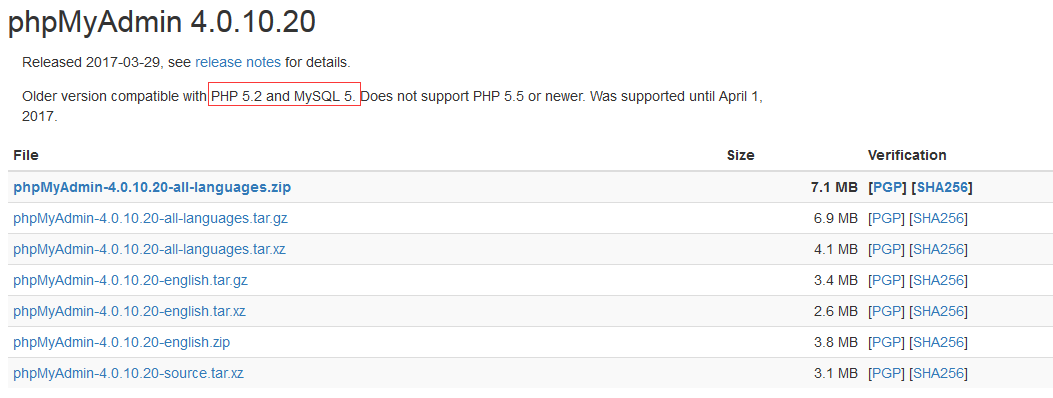
下载phpmyadmin时要注意与php和mysql对应的版本号,因为我的php是5.4的,无法使用phpmyadmin4.8,所以就要下载phpmyadmin4.0
3.将这两个软件下载至/etc/httpd下,并解压
[root@test httpd]# ls -l
总用量 16916
drwxr-xr-x. 2 root root      35 6月  26 09:43 conf
drwxr-xr-x. 2 root root      93 6月  26 09:43 conf.d
drwxr-xr-x. 2 root root    4096 6月  26 09:43 conf.modules.d
lrwxrwxrwx. 1 root root      19 6月  26 09:43 logs -> ../../var/log/httpd
lrwxrwxrwx. 1 root root      29 6月  26 09:43 modules -> ../../usr/lib64/httpd/modules
drwxr-xr-x. 9 root root    4096 3月  28 2017 phpMyAdmin-4.0.10.20-all-languages
-rw-r--r--. 1 root root 7457007 6月  26 10:43 phpMyAdmin-4.0.10.20-all-languages.zip
lrwxrwxrwx. 1 root root      10 6月  26 09:43 run -> /run/httpd
drwxr-xr-x. 5 root root    4096 2月   8 12:53 wordpress
-rw-r--r--. 1 root root 9848003 6月  26 10:43 wordpress-4.9.4-zh_CN.zip
4. 将这两个软件解压后的文件放置httpd默认的网页存放路径下
[root@test httpd]# cp -a phpMyAdmin-4.0.10.20-all-languages /var/www/html/
[root@test httpd]# cp -a wordpress /var/www/html/
5.在phpmyadmin文件夹内有个配置文件需要更名
[root@test phpMyAdmin-4.0.10.20-all-languages]# mv config.sample.inc.php config.inc.php
6.改名后需要编辑这个文件,在下面的一行中需要添加一些随机字符
$cfg['blowfish_secret'] = 'a8b7c6d'; /* YOU MUST FILL IN THIS FOR COOKIE AUTH! */
7.因为不会使用sql语句更改root密码,所以在网页登录数据库时需要允许数据库root空密码登录,需要更改配置文件中下面这一行为true
$cfg['Servers'][$i]['AllowNoPassword'] = true;
8.上一步保存之后回到网站根目录,由于在浏览器需要输入phpmyadmin的全部路径,而路径又太长了,所以新建个链接文件给它
[root@test html]# cd /var/www/html
[root@test html]# ln -sv phpMyAdmin-4.0.10.20-all-languages/ sql
"sql" -> "phpMyAdmin-4.0.10.20-all-languages/"
9.因为这里用到了链接,所以在httpd主配置文件中针对根目录的限制需要放开FollowSymLinks
[root@test html]# vi /etc/httpd/conf/httpd.conf
<Directory "/var/www/html">
    Options Indexes FollowSymLinks
    AllowOverride None
    Require all granted
</Directory>
10.开启httpd和mysql服务
[root@test html]# systemctl start mariadb.service
[root@test html]# systemctl start httpd
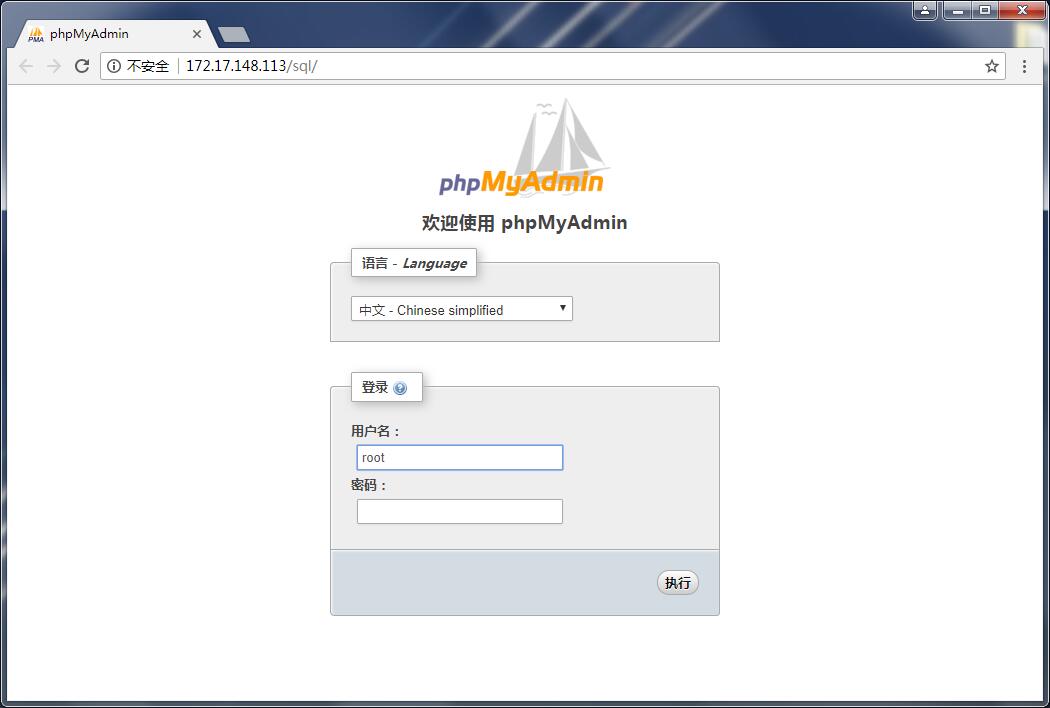
11.浏览器打开数据库的图形化界面,用户名为root,密码为空
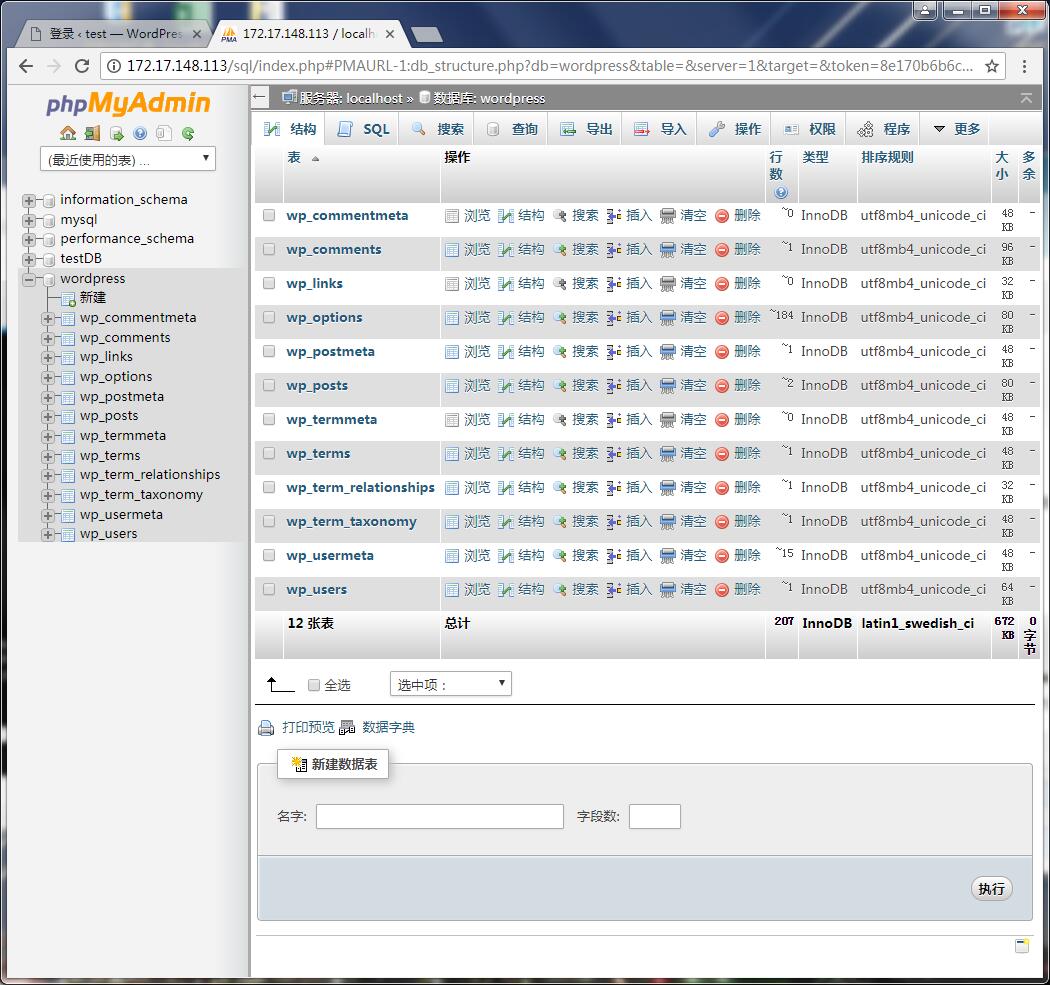
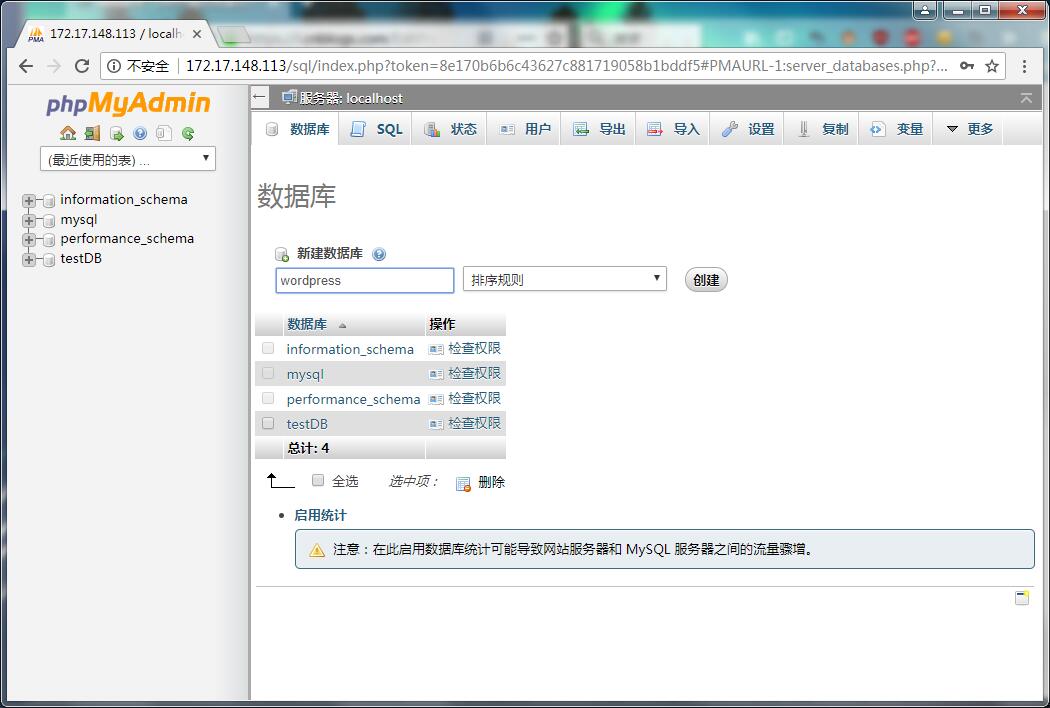
12.进入数据库后,为WordPress新建一个数据库,命名为wordpress
13.数据库新建完成后,回到服务器配置页面,进入wordpress文件夹,同样有一个sample文件需要重命名
[root@test html]# cd wordpress/
[root@test wordpress]# mv wp-config-sample.php wp-config.php
14. 编辑刚刚重命名的文件,其中需要重新指定“数据库名位wordpress“,“用户名为root”,“密码为空”
[root@test wordpress]# vi wp-config.php

// ** MySQL 设置 - 具体信息来自您正在使用的主机 ** //
/** WordPress数据库的名称 */
define('DB_NAME', 'wordpress');

/** MySQL数据库用户名 */
define('DB_USER', 'root');

/** MySQL数据库密码 */
define('DB_PASSWORD', '');
15.保存退出后,重启httpd服务
[root@test wordpress]# systemctl restart httpd
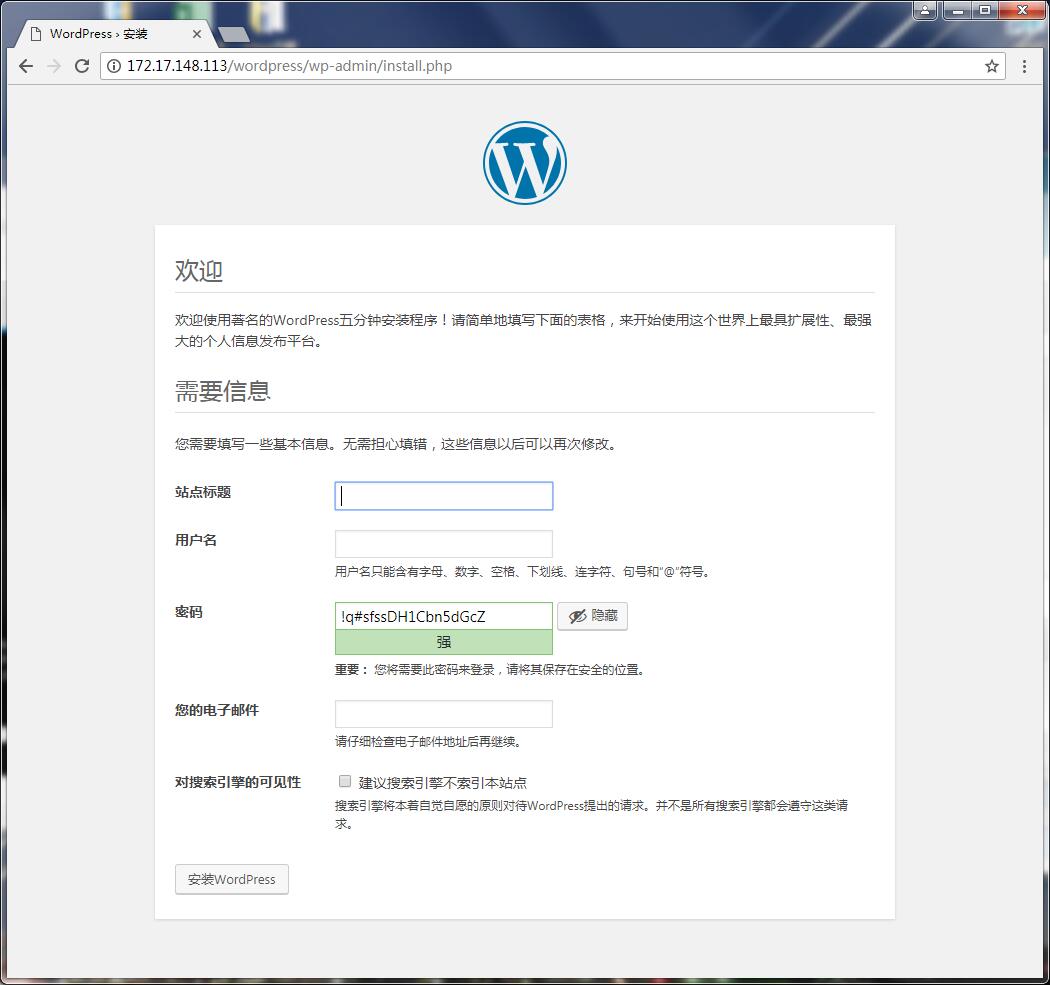
16.浏览器打开wordpress程序
17.一切填完成之后就可以使用了,简易LAMP搭建完成,这时可以去sql页面看看wordpress在数据库中新建了什么表