springBoot中实现自定义属性配置、实现异步调用、多环境配置1:springBoot中自定义参数:
1-1、自定义属性配置:
在application.properties中除了可以修改默认配置,我们还可以在这配置自定义的属性,并在实体bean中加载出来。
1、在application.properties中添加自定义属性配置
com.demo.name = demo

com.demo.age = 11

com.demo.desc = magical demo
2、编写Bean类,加载属性
下面的Demo类需要添加@Component注解,让spring在启动的时候扫描到该类,并添加到spring容器中。
第一种:使用spring支持的@Value()加载
package com.sam.demo.conf;

import org.springframework.beans.factory.annotation.Value;
import org.springframework.stereotype.Component;

@Component
public class Demo {

    //获取application.properties的属性
    @Value("${com.demo.name}")
    private String name;

    @Value("${com.demo.age}")
    private int age;

    @Value("${com.demo.desc}")
    private String desc;

    //getter & setter 。。。。。。。
}
第二种:使用@ConfigurationProperties(prefix="") 设置前缀,属性上不需要添加注解。
 1 package com.sam.demo.conf;
 2
 3 import org.springframework.stereotype.Component;
 4
 9 @Component
10 @ConfigurationProperties(prefix = "com.demo") //配置文件的前缀
11 public class Demo {
12
13     private String name;
14
15     private int age;
16
17     private String desc;
18
19     //getter & setter..........
20 }
@PropertySource(value = {"classpath:application.properties"}) : 加载指定的静态配置文件(注解在实体bean类上)
@ImportResource(locations = {"classpath: **x.xml"}) : 加载自定义的xml配置文件,注解在启动类上
3、在controller中注入并使用Demo这个Bean。
import org.springframework.beans.factory.annotation.Autowired;
import org.springframework.web.bind.annotation.RequestMapping;
import org.springframework.web.bind.annotation.RestController;


@RestController
public class IndexController {

    @Autowired
    private Demo demo;

    @RequestMapping("/index")
    public String index() {
        System.out.println(demo.getName() + " " + demo.getAge() + " " + demo.getDesc());
        return "index";
    }

}
浏览器访问:http://localhost:8080/index ,控制台正常打印出demo的内容。
3、springboot yml定义属性,下文中${} 引用
1:定义变量:
com.demo.age = 11
上面定义了之后, 在此配置文件中,就可通过 ${} 来代替域名了
defaultHead: ${com.demo.age}/head.jpeg
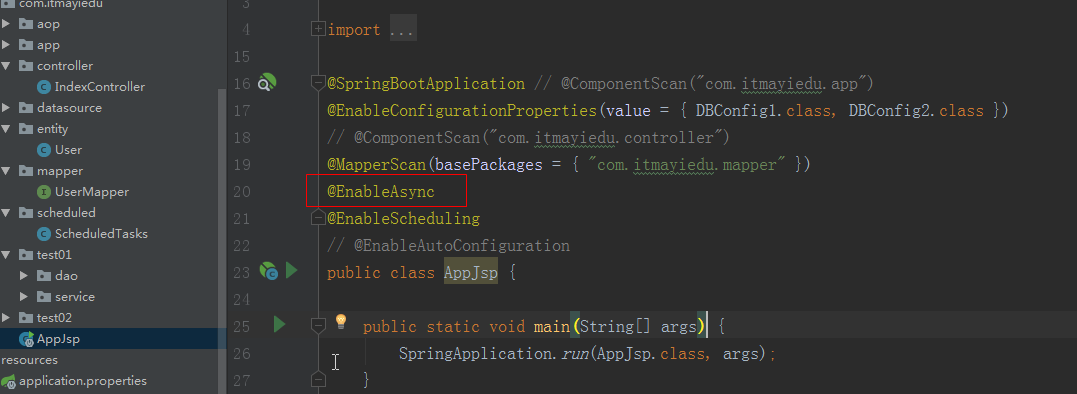
2-1: springBoot中实现异步调用:
启动类加上@EnableAsync ,需要执行异步方法上加入 @Async
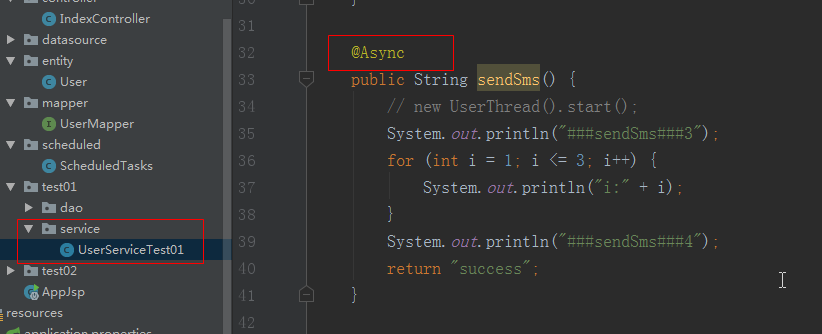
1、无返回值示例:
@Async
public void asyncMethodWithVoidReturnType() {
 System.out.println("Execute method asynchronously. "
 + Thread.currentThread().getName());
}
2、有返回值示例:
@Async
public Future<String> asyncMethodWithReturnType() {
 System.out.println("Execute method asynchronously - "
 + Thread.currentThread().getName());
 try {
          Thread.sleep(5000);
      return new AsyncResult<String>("hello world !!!!");
 } catch (InterruptedException e) {

 }
       return null;
}
3-1: 多环境配置:
1:在resource包下面新建下面4个配置文件:
application.properties : 主配置文件

application-dev.properties:开发环境

application-test.properties:测试环境

application-prod.properties:生产环境
2:使用:
在 application.properties 中添加 : spring.profiles.active=prod 或 test 或 dev 实现不同启动环境配置。