SpringCloud-SpringCloudAlibabaSentinel入门二
@SentinelResource介绍
@SentinelResource
按资源名称限流
- 1.新建RateLimitController
@RestController
public class RateLimitController {

    @GetMapping("/testSentinelResource")
    @SentinelResource(value = "testSentinelResource",
            blockHandler = "handleException")
    public CommonResult testSentinelResource(){
        return new CommonResult(200,"123213");
    }
    public CommonResult handleException(BlockException exception){
        return new CommonResult(444,exception.getClass().getCanonicalName()+"服务不可用");
    }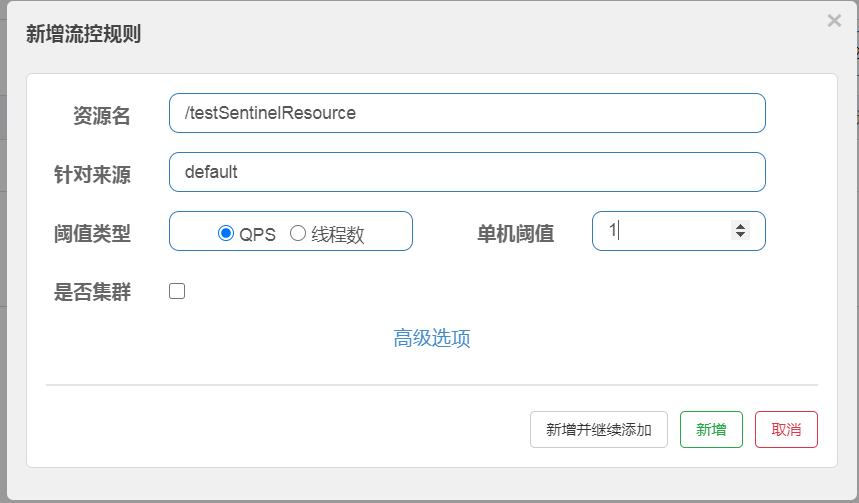
}- 2.Sentinel控制台配置
注意: 注意这里设置规则的时候,可以直接使用@SentinelResource的value作为资源名 所以此处为资源名称无前面的/

- 3.测试
连续请求 http://localhost:8401/testSentinelResource
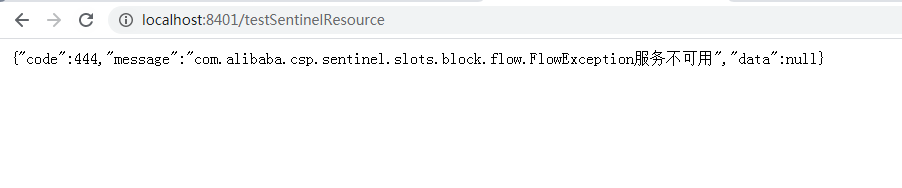
按资源名称限流 返回了自己定义的限流处理信息
按资源名称限流 返回了自己定义的限流处理信息
按资源名称限流 返回了自己定义的限流处理信息
按照Url地址限流
- 1.沿用testSentinelResource()方法代码
- 2.Sentinel控制台配置
注意:此处为路径名称有前面的/
- 3.测试
连续请求 http://localhost:8401/testSentinelResource
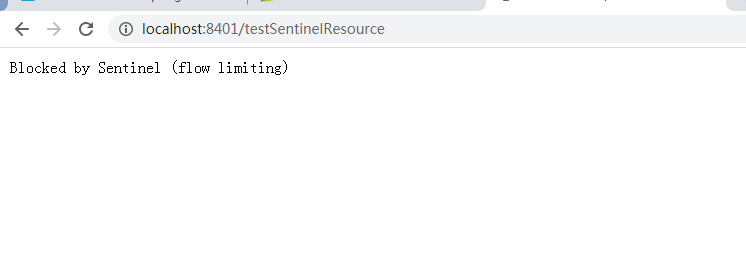
通过访问URL来限流,会返回Sentinel自带默认的限流处理信息
通过访问URL来限流,会返回Sentinel自带默认的限流处理信息
通过访问URL来限流,会返回Sentinel自带默认的限流处理信息
客户自定义限流处理逻辑
- 1.创建CustomerBlockHandler类用于自定义限流处理逻辑
public class CustomerBlockHandler {

    public static CommonResult handleException(BlockException e){
        return new CommonResult(2020,"客户端自定义限流处理信息...CustomerBlockHandler");
    }
    public static CommonResult handleException2(BlockException e){
        return new CommonResult(2022,"客户端自定义限流处理信息...CustomerBlockHandler");
    }
}- 2.新建RateLimitController
@RestController
public class RateLimitController {
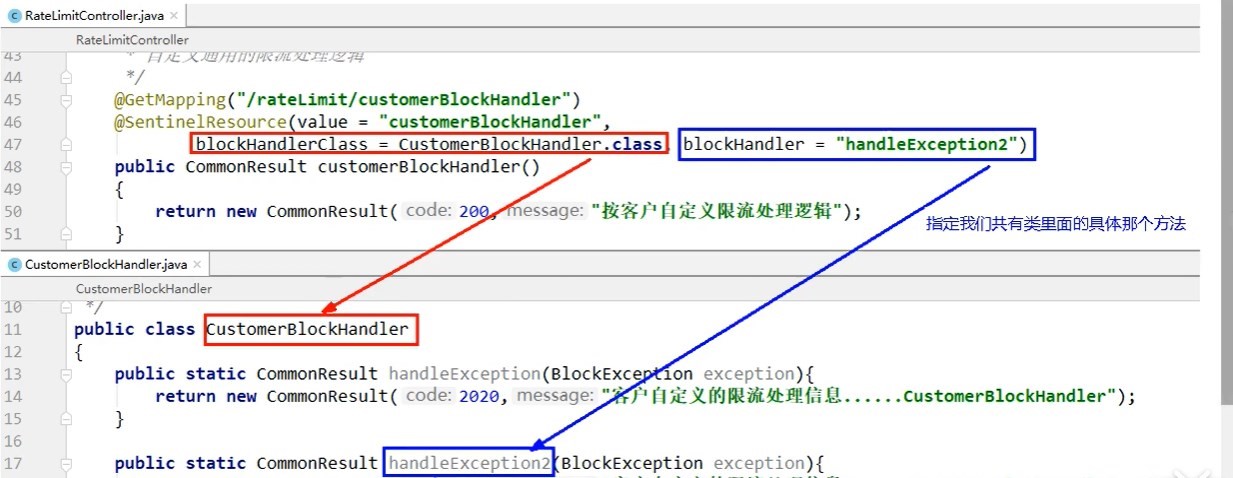
@GetMapping("/reteLimit/customerBlockHandler")
@SentinelResource(value = "customerBlockHandler",
blockHandlerClass = CustomerBlockHandler.class,blockHandler = "handleException2")
public CommonResult customerBlockHandler(){
return new CommonResult(200,"123213");
}
}- 3.Sentinel控制台配置
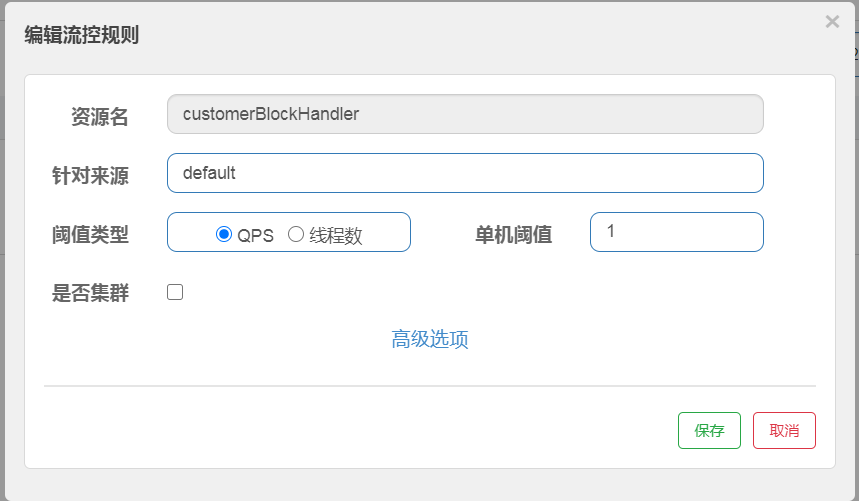
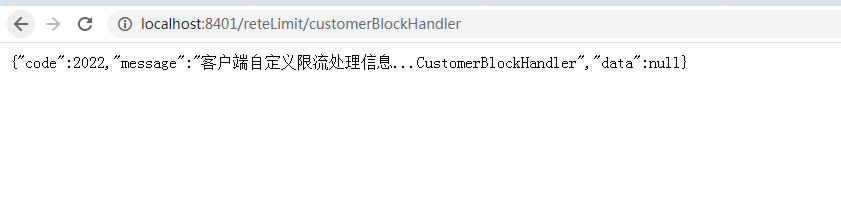
- 4.测试:
快速访问http://localhost:8401/reteLimit/customerBlockHandler
- 5.总结
Sentinel主要有三个核心Api
sphU定义资源
Tracer定义统计
ContextUtil定义了上下文
Sentinel服务熔断功能演示
1、搭建一个Nacos服务
搭建过程略过,用于做项目的注册中心及配置中心,并启动
2、搭建一个Sentinel控制台
搭建过程略过,并启动Sentinel控制台
3、搭建2个服务提供者
搭建module 2个: cloud-provider-sentinel-payment9003 和 cloud-provider-sentinel-payment9004 项目
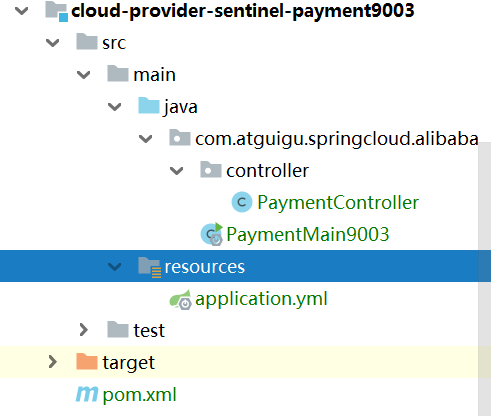
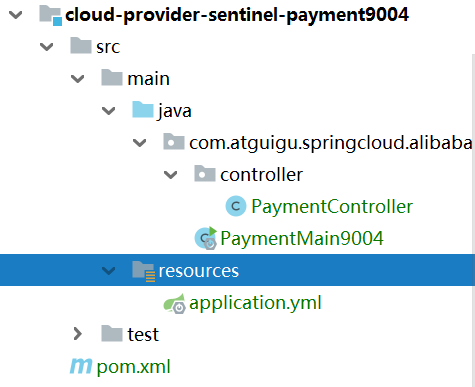
9003 9004两个服务代码基本一致(除了端口号,主启动类),此处只展示9003的代码
pom
<?xml version="1.0" encoding="UTF-8"?>
<project xmlns="http://maven.apache.org/POM/4.0.0"
         xmlns:xsi="http://www.w3.org/2001/XMLSchema-instance"
         xsi:schemaLocation="http://maven.apache.org/POM/4.0.0 http://maven.apache.org/xsd/maven-4.0.0.xsd">
    <parent>
        <artifactId>cloud2020</artifactId>
        <groupId>com.atguigu.springcloud</groupId>
        <version>1.0-SNAPSHOT</version>
    </parent>
    <modelVersion>4.0.0</modelVersion>

    <artifactId>cloud-provider-sentinel-payment9003</artifactId>

    <dependencies>
        <!--SpringCloud ailibaba nacos -->
        <dependency>
            <groupId>com.alibaba.cloud</groupId>
            <artifactId>spring-cloud-starter-alibaba-nacos-discovery</artifactId>
        </dependency>
        <dependency><!-- 引入自己定义的api通用包,可以使用Payment支付Entity -->
            <groupId>com.atguigu.springcloud</groupId>
            <artifactId>cloud-api-commons</artifactId>
            <version>${project.version}</version>
        </dependency>
        <!-- SpringBoot整合Web组件 -->
        <dependency>
            <groupId>org.springframework.boot</groupId>
            <artifactId>spring-boot-starter-web</artifactId>
        </dependency>
        <dependency>
            <groupId>org.springframework.boot</groupId>
            <artifactId>spring-boot-starter-actuator</artifactId>
        </dependency>
        <!--日常通用jar包配置-->
        <dependency>
            <groupId>org.springframework.boot</groupId>
            <artifactId>spring-boot-devtools</artifactId>
            <scope>runtime</scope>
            <optional>true</optional>
        </dependency>
        <dependency>
            <groupId>org.projectlombok</groupId>
            <artifactId>lombok</artifactId>
            <optional>true</optional>
        </dependency>
        <dependency>
            <groupId>org.springframework.boot</groupId>
            <artifactId>spring-boot-starter-test</artifactId>
            <scope>test</scope>
        </dependency>
    </dependencies>

</project>
application.yml
server:
  port: 9003
spring:
  application:
    name: nacos-payment-provider
  cloud:
    nacos:
      discovery:
        server-addr: localhost:8848

management:
  endpoints:
    web:
      exposure:
        exclude: '*'
PaymentController
import com.atguigu.springcloud.entities.CommonResult;
import com.atguigu.springcloud.entities.Payment;
import org.springframework.beans.factory.annotation.Value;
import org.springframework.web.bind.annotation.GetMapping;
import org.springframework.web.bind.annotation.PathVariable;
import org.springframework.web.bind.annotation.RestController;

import java.util.HashMap;

@RestController
public class PaymentController {

    @Value("${server.port}")
    private String serverPort;

    public static HashMap<Long, Payment> hashMap = new HashMap<Long, Payment>();

    static {
        hashMap.put(1L, new Payment(1L, "aaaaaa"));
        hashMap.put(2L, new Payment(2L, "bbbbbb"));
        hashMap.put(3L, new Payment(3L, "cccccc"));
    }

    @GetMapping(value = "/paymentSQL/{id}")
    public CommonResult<Payment> paymentSQL(@PathVariable("id") Long id) {
        Payment payment = hashMap.get(id);
        CommonResult<Payment> result = new CommonResult<Payment>(200, "from server port : " + serverPort, payment);
        return result;
    }
}
4、搭建服务消费者
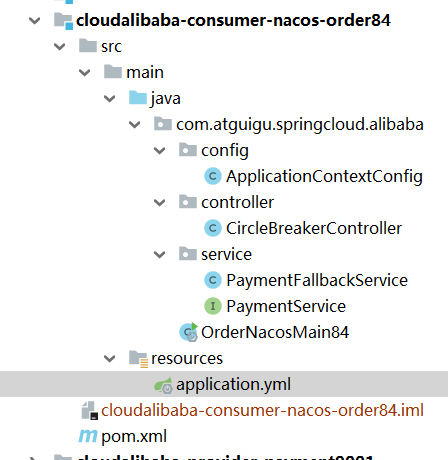
- 服务名称:cloudalibaba-consumer-nacos-order84
- pom.xml
<project xmlns="http://maven.apache.org/POM/4.0.0"
  xmlns:xsi="http://www.w3.org/2001/XMLSchema-instance"
  xsi:schemaLocation="http://maven.apache.org/POM/4.0.0 http://maven.apache.org/xsd/maven-4.0.0.xsd">
    <parent>
        <artifactId>cloud2020</artifactId>
        <groupId>com.atguigu.springcloud</groupId>
        <version>1.0-SNAPSHOT</version>
    </parent>
    <modelVersion>4.0.0</modelVersion>

    <artifactId>cloudalibaba-consumer-nacos-order84</artifactId>

    <dependencies>
        <!--SpringCloud openfeign -->
  <dependency>
            <groupId>org.springframework.cloud</groupId>
            <artifactId>spring-cloud-starter-openfeign</artifactId>
        </dependency>
        <!--SpringCloud ailibaba nacos -->
  <dependency>
            <groupId>com.alibaba.cloud</groupId>
            <artifactId>spring-cloud-starter-alibaba-nacos-discovery</artifactId>
        </dependency>
        <!--SpringCloud ailibaba sentinel -->
  <dependency>
            <groupId>com.alibaba.cloud</groupId>
            <artifactId>spring-cloud-starter-alibaba-sentinel</artifactId>
        </dependency>
        <!-- 引入自己定义的api通用包,可以使用Payment支付Entity -->
  <dependency>
            <groupId>com.atguigu.springcloud</groupId>
            <artifactId>cloud-api-commons</artifactId>
            <version>${project.version}</version>
        </dependency>
        <!-- SpringBoot整合Web组件 -->
  <dependency>
            <groupId>org.springframework.boot</groupId>
            <artifactId>spring-boot-starter-web</artifactId>
        </dependency>
        <dependency>
            <groupId>org.springframework.boot</groupId>
            <artifactId>spring-boot-starter-actuator</artifactId>
        </dependency>
        <!--日常通用jar包配置-->
  <dependency>
            <groupId>org.springframework.boot</groupId>
            <artifactId>spring-boot-devtools</artifactId>
            <scope>runtime</scope>
            <optional>true</optional>
        </dependency>
        <dependency>
            <groupId>org.projectlombok</groupId>
            <artifactId>lombok</artifactId>
            <optional>true</optional>
        </dependency>
        <dependency>
            <groupId>org.springframework.boot</groupId>
            <artifactId>spring-boot-starter-test</artifactId>
            <scope>test</scope>
        </dependency>
    </dependencies>

</project>- application.yml
server:
  port: 84


spring:
  application:
    name: nacos-order-consumer
  cloud:
    nacos:
      discovery:
        server-addr: localhost:8848
    sentinel:
      transport:
        #配置Sentinel dashboard地址
        dashboard: localhost:8080
        #默认8719端口,假如被占用会自动从8719开始依次+1扫描,直至找到未被占用的端口
        port: 8719

#消费者将要去访问的微服务名称(注册成功进nacos的微服务提供者)
service-url:
  nacos-user-service: http://nacos-payment-provider


# 激活Sentinel对Feign的支持
# @FeignClient(value = "nacos-payment-provider",fallback = PaymentFallbackService.class)
# 如果将上面一句代码改为下面的代码,并将9003 9004停止 页面显示的保存信息为sentinel包的保存信息
# @FeignClient(value = "nacos-payment-provider")
# 由此可知 之前的hystrix已经被替换成sentinel
feign:
  sentinel:
enabled: true- ApplicationContextConfig.java
import org.springframework.cloud.client.loadbalancer.LoadBalanced;
import org.springframework.context.annotation.Bean;
import org.springframework.context.annotation.Configuration;
import org.springframework.web.client.RestTemplate;

@Configuration
public class ApplicationContextConfig
{
    @Bean
    @LoadBalanced
    public RestTemplate getRestTemplate()
    {
        return new RestTemplate();
    }
}- CircleBreakerController.java
@RestController
@Slf4j
public class CircleBreakerController {
    public static final String SERVICE_URL = "http://nacos-payment-provider";

    @Autowired
    private RestTemplate restTemplate;

    @RequestMapping("/consumer/fallback/{id}")
    public CommonResult<Payment> fallback(@PathVariable("id") Long id) {
        CommonResult<Payment> result = restTemplate.getForObject(SERVICE_URL + "/paymentSQL/" + id, CommonResult.class);
        if (id == 4) {
            throw new IllegalArgumentException("IllegalArgumentException, 非法参数");
        } else if (result.getData() == null) {
            throw new NullPointerException("NullPointerException,该ID没有对应的记录,空指针异常");
        }

        return result;
    }

}- OrderNacosMain84.java
import org.springframework.boot.SpringApplication;
import org.springframework.boot.autoconfigure.SpringBootApplication;
import org.springframework.cloud.client.discovery.EnableDiscoveryClient;
import org.springframework.cloud.openfeign.EnableFeignClients;

@EnableDiscoveryClient
@SpringBootApplication
@EnableFeignClients
public class OrderNacosMain84
{
    public static void main(String[] args) {
        SpringApplication.run(OrderNacosMain84.class, args);
    }
}
5、测试项目是否搭建成功
启动nacos
启动sentinel控制台
启动2个服务提供者9003+9004
启动服务消费者84
1)访问地址:http://localhost:84/consumer/fallback/3 正常获取到provider服务提供者的内容

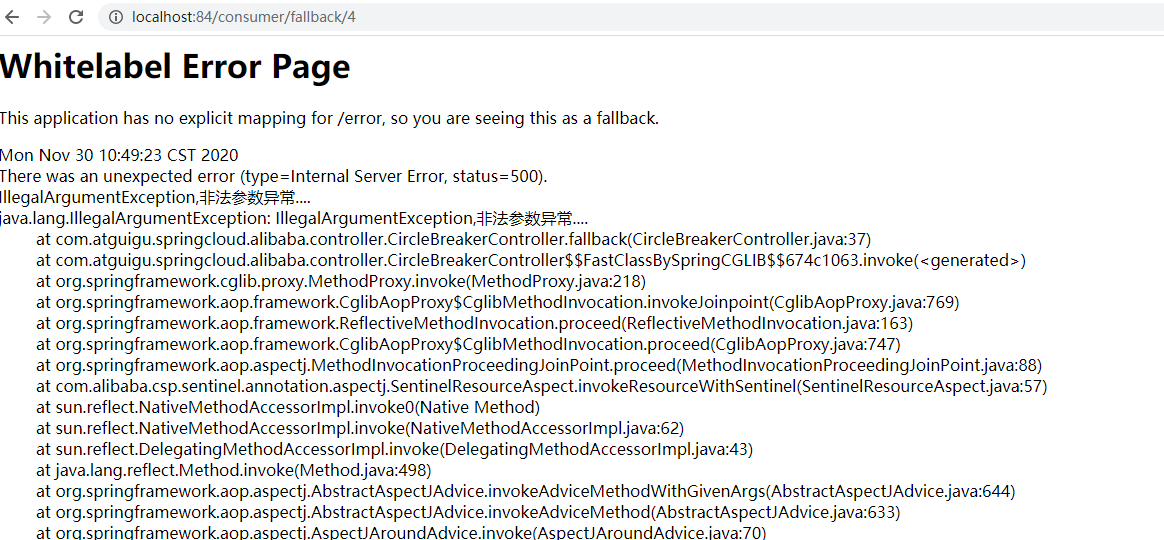
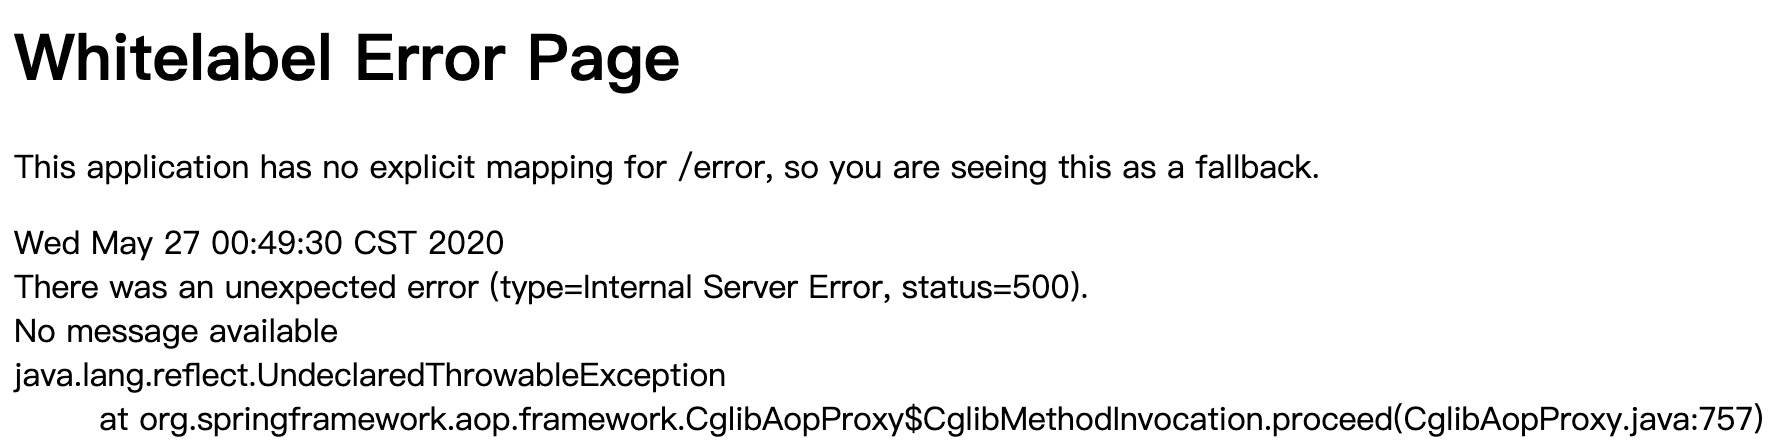
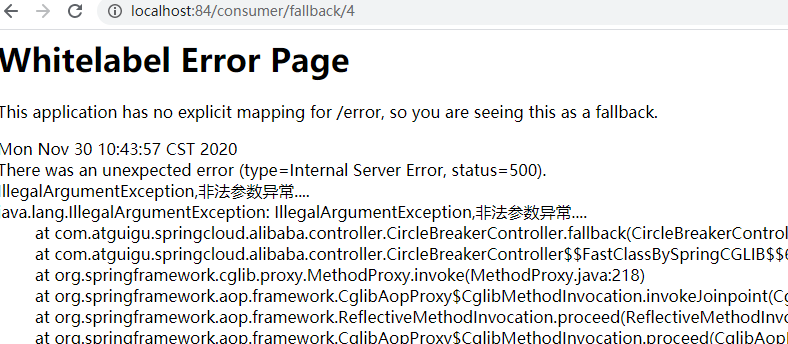
2)访问地址:http://localhost:84/consumer/fallback/4 抛异常,非法参数

3)访问地址:http://localhost:84/consumer/fallback/5 抛异常,空指针异常

@SentinelResource的具体使用
1、@SentinelResource定义资源名
在本文开头已经介绍了 @SentinelResource的value属性可以作为sentinel流控的资源名称进行使用
- 1.1、修改CircleBreakerController中fallback方法,如下:
@RequestMapping("/consumer/fallback/{id}") @SentinelResource(value = "fallback") // 没有配置 public CommonResult<Payment> fallback(@PathVariable("id") Long id) { ... } - 1.2、重新启动项目
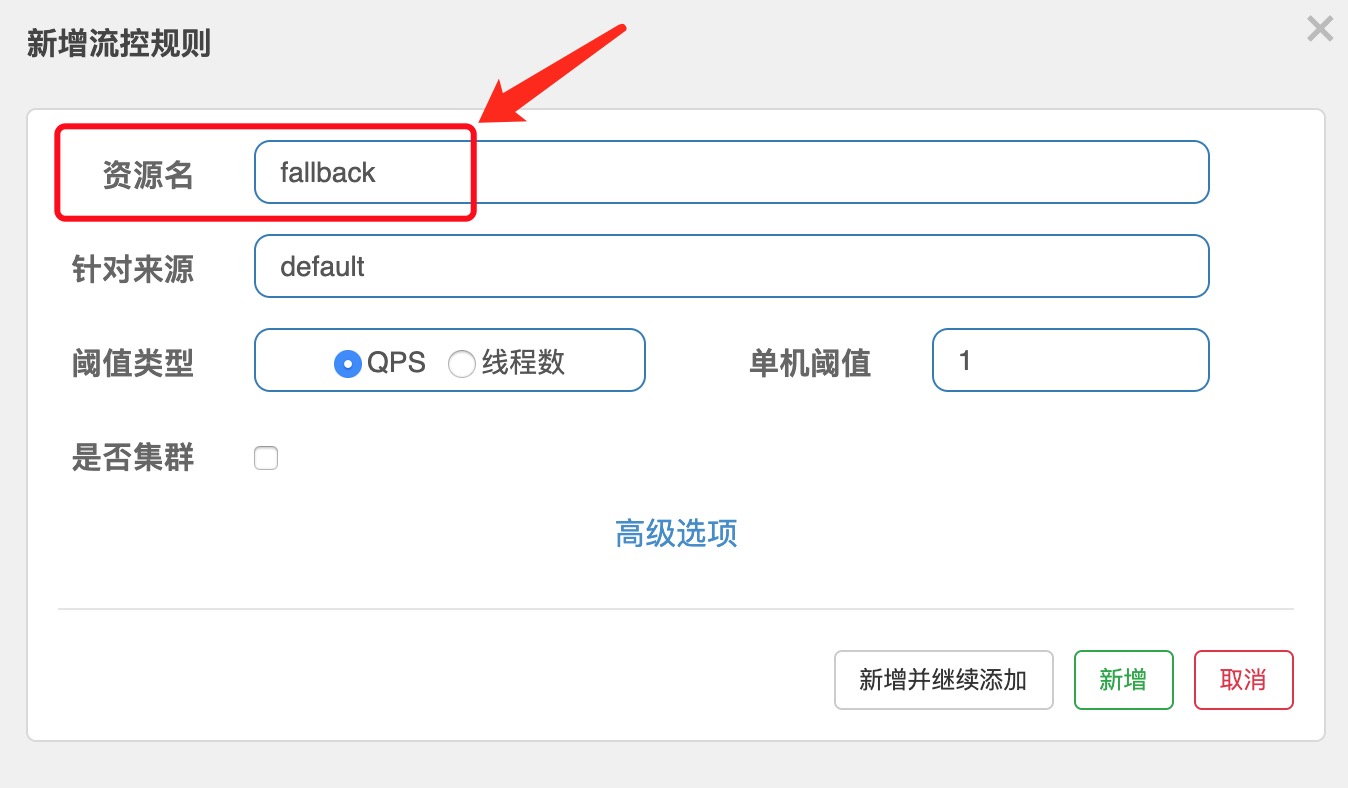
- 1.3、访问地址http://localhost:84/consumer/fallback/3 并在sentinel控制台设置限流规则
注意这里设置规则的时候,可以直接使用@SentinelResource的value作为资源名
- 1.4、快速访问地址http://localhost:84/consumer/fallback/3 限流成功
2、@SentinelResource中的fallback属性
fallback负责业务异常和限流时处理
fallback负责业务异常和限流时处理
fallback负责业务异常和限流时处理
- 2.1、修改CircleBreakerController中fallback方法,如下:
@RequestMapping("/consumer/fallback/{id}")
@SentinelResource(value = "fallback", fallback = "handlerFallback") // fallback负责业务异常和限流返回
public CommonResult<Payment> fallback(@PathVariable("id") Long id) {
    ...
}

public CommonResult<Payment> handlerFallback(Long id, Throwable e) {
    Payment payment = new Payment(id, "null");
    return new CommonResult(500, "兜底异常处理handlerFallback,Exception内容:" + e.getMessage(), payment);
}- 2.2、重新启动项目
- 2.3、访问地址http://localhost:84/consumer/fallback/4 出现异常由fallback指定的方法处理

- 2.4、在sentinel控制台设置限流规则(fallback资源名称限流),设置QPS为阀值为1
- 2.5、快速访问地址http://localhost:84/consumer/fallback/1 限流成功,限流返回内容为fallback指定的方法

3、@SentinelResource 中的blockHandler
blockHandler只负责sentinel控制台配置违规
blockHandler只负责sentinel控制台配置违规
blockHandler只负责sentinel控制台配置违规
- 3.1、修改CircleBreakerController中fallback方法,如下:
@RequestMapping("/consumer/fallback/{id}")
@SentinelResource(value = "fallback", blockHandler = "blockHandler") // blockHander只负责sentinel控制台配置违规
public CommonResult<Payment> fallback(@PathVariable("id") Long id) {
    ...
}

public CommonResult<Payment> handlerFallback(Long id, Throwable e) {
    Payment payment = new Payment(id, "null");
    return new CommonResult(500, "兜底异常处理handlerFallback,Exception内容:" + e.getMessage(), payment);
}

public CommonResult<Payment> blockHandler(Long id, BlockException blockException) {
    Payment payment = new Payment(id, "null");
    return new CommonResult(500, "blockHandler-Sentinel限流,Exception内容:" + blockException.getMessage(), payment);
}- 3.2、重新启动项目
- 3.3、访问地址http://localhost:84/consumer/fallback/4 返回参数非法异常
- 3.4、在sentinel控制台设置限流规则(fallback资源名称限流),设置QPS为阀值为1
- 3.4、快速访问地址http://localhost:84/consumer/fallback/1 限流成功,限流返回内容为blockHandler指定的方法

4、@SentinelResource 中的fallback和blockHandler同时存在
fallback负责处理异常,blockHandler负责sentinel控制台配置违规
fallback负责处理异常,blockHandler负责sentinel控制台配置违规
fallback负责处理异常,blockHandler负责sentinel控制台配置违规
- 4.1、修改CircleBreakerController中fallback方法,如下:
@RequestMapping("/consumer/fallback/{id}")
@SentinelResource(value = "fallback", blockHandler = "blockHandler", fallback = "handlerFallback")
public CommonResult<Payment> fallback(@PathVariable("id") Long id) {
    ...
}- 4.2、重新启动项目
- 4.3、访问地址http://localhost:84/consumer/fallback/4 出现异常由fallback指定的方法处理

- 4.4、在sentinel控制台设置限流规则,设置QPS为阀值为1
- 4.4、快速访问地址http://localhost:84/consumer/fallback/1 限流成功,限流返回内容为blockHandler指定的方法

5、@SentinelResource 中的exceptionsToIgnore
排除fallback指定的方法不处理的异常
排除fallback指定的方法不处理的异常
排除fallback指定的方法不处理的异常
- 5.1、修改CircleBreakerController中fallback方法,如下:
@RequestMapping("/consumer/fallback/{id}")
@SentinelResource(value = "fallback", blockHandler = "blockHandler", fallback = "handlerFallback",
        exceptionsToIgnore = {IllegalArgumentException.class})
public CommonResult<Payment> fallback(@PathVariable("id") Long id) {
    ...
}- 5.2、重新启动项目
- 5.3、访问地址http://localhost:84/consumer/fallback/4 出现参数异常直接显示,fallback指定的方法不处理异常