组件中的data必须是一个函数。因为组件是可以服用的,如果组件中的data定义为对象的话,那么修改某一个组件的data会影响另外的组件。
前后端的交互需要通过ajax请求,通过vue-resource库可以实现ajax请求。
安装vue-resource,在amin.js中import ,通过Vue.use()全局注册,在App.vue中的cteated()钩子函数中发送ajax请求,获取数据。this相当于App的一个实例,vue-resource为组件定义了一个$http的方法。
import VueResource from 'vue-resource';
Vue.use(VueResource);
created() {
this.$http.get('/api/seller').then((response) => {
response = response.body;
if (response.errno === ERR_OK) {
this.seller = response.data;
}
});
}
用v-bind指令,可以从父组件传递数据给子组件,在子组件中用props接收父组件传递过来的数据。
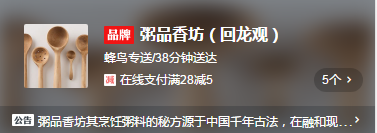
<img>一般会指定宽高,如<img width="64" height="64" :src="seller.avatar">
<img>和<div class="content">是并列显示的,通过设置display:inline-block实现的。这两个元素之间会有间隔,这是由于中间有空白字符,要消除这些空白字符可以把父元素<div class="content-wrapper">的font-size设置为0,然后在子元素中设置各自的font-size。这个技巧在后面多次用到了。
<div>是行内元素,指定宽高是不会生效的,要设置为display:inline-block后,指定宽高才会生效。
根据不同的dpr,原则背景图片的像素,在mixin.styl文件下写bg-image($url)
bg-image($url)
background-image: url($url + "@2x.png")
@media (-webkit-min-device-pixel-ratio: 3),(min-device-pixel-ratio: 3)
background-image: url($url + "@3x.png")
图片和文字并排排列时,需要将两者对齐,项目中用到的方式是设置图片在的span vertical-align:top
supports中要根据活动的内容显示图片,返回的数据时type,使用一个数组classMap将type映射到对应的图片,然后用v-bind绑定classMap。
bulletin-wrapper包含三部分,要实现公告内容的这种效果,要设置不换行,超出的内容隐藏,用省略号代替超出的文本
white-space: nowrap
overflow: hidden
text-overflow: ellipsis

要实现背景的模糊效果,可以给背景图片加一个容器,然后在外层容器使用filter。背景图片要置于底部,这可以通过设置z-index来实现。这样子设置后在.background的父元素会有阴影漏出来,需要给其父元素设置overflow:hidden
<div class="background">
<img :src="seller.avatar" width="100%" height="100%">
</div>
.background
position: absolute
top: 0
left: 0
100%
height: 100%
z-index: -1
filter: blur(10px)
浮层用到了经典的CSS sticky footers布局。浮层相对于窗口fixed布局,注意overflow要设置为auto。浮层的显示和隐藏通过v-show指令来实现<div v-show="detailShow" class="detail">
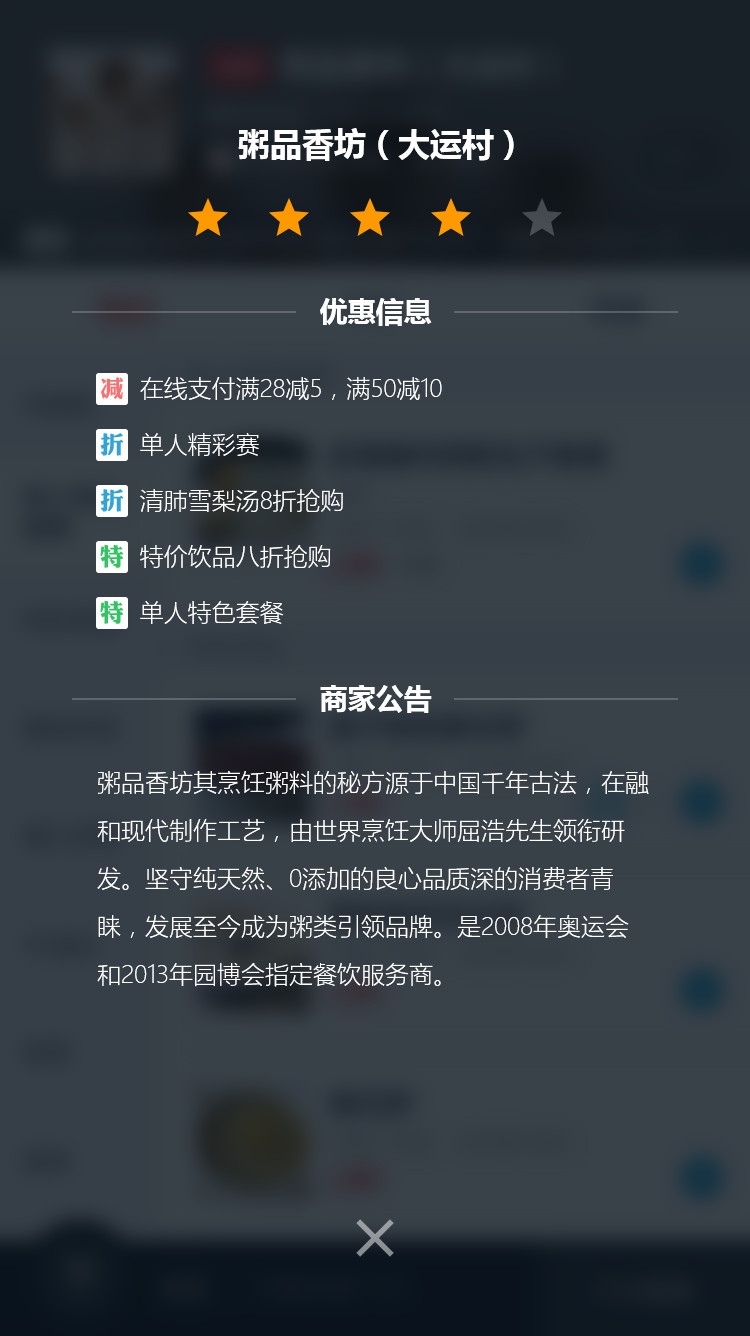
sticky footers布局是指:如果页面内容不够长的时候,页脚块粘贴在视窗底部;如果内容足够长时,页脚块会被内容向下推送。这个文章里列了两种方法。http://www.w3cplus.com/css3/css-secrets/sticky-footers.html
这个项目中用了另外一种比较复杂但是兼容性更好的方法。内容区域需要加一个容器,这种方法的结构一般是这样子的
<div v-show="detailShow" class="detail">
<div class="detail-wrapper clearfix">
<div class="detail-main"></div>
</div>
<div class="detail-close"></div>
</div>
在base.styl中写class clearfix的样式
.clearfix
display: inline-block
&:after
display: block
content: "."
height: 0
line-height: 0
clear: both
visibility: hidden
设置容器detail-wrapper的大小为100%,detail-main设置一个padding-bottom,给页脚detail-wrapper留出位置,页脚detail-close设置负 margin拉到视口中。
.detail
position: fixed
z-index: 100
Top: 0
left: 0
100%
height: 100%
overflow: auto
backdrop-filter: blur(10px)
background: rgba(7, 17, 27, 0.8)
.detail-wrapper
100%
min-height: 100%
.detail-main
margin-top: 64px
padding-bottom: 64px
.detail-close
position: relative
32px
height: 32px
margin: -64px auto 0 auto
clear: both
font-size: 32px
生成star组件,star组件从父元素接收参数score和size,根据size增加class starType,根据score生成数组itemClasses,来确定星星的状态(on、half、off)。starType和itemClasses都在计算属性中定义。
小标题的布局。主要有两点要注意,第一标题固定布局,两边的线自适应布局;第二标题两边的间隔用padding来设置。布局用flex来实现,元素用了<div>,因为用<span>的话在有些手机上可能会存在兼容性问题。

<div class="title">
<div class="line"></div>
<div class="text">优惠信息</div>
<div class="line"></div>
</div>
.title
display: flex
80%
margin: 28px auto 24px auto
.line
flex: 1
position: relative
top: -6px
border-bottom: 1px solid rgba(255, 255, 255, 0.2)
.text
padding: 0 12px
font-weight: 700
font-size: 14px
在vue中动画可以通过<transition>来实现