1、下载官方的源代码:https://codeload.github.com/happyfish100/fastdfs-client-java/zip/master
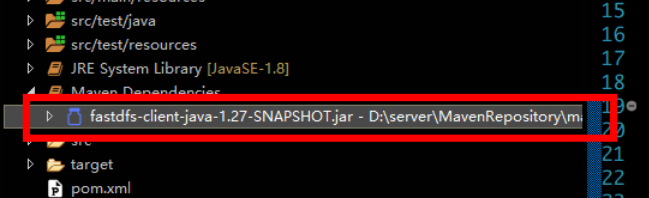
2、采用maven命令编译成jar安装到本地maven库:mvn clean install
3、在Java程序中使用它提供的API来访问fastDFS文件系统;
注:maven官网的客户端有点问题,需要自己生成jar包
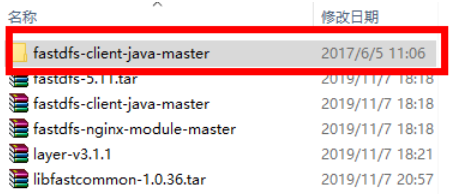
执行mvn clean install后,会出现在本地仓库中
测试代码如下
工具类
package com.topcheer.fastdfs; import java.io.IOException; import org.csource.fastdfs.ClientGlobal; import org.csource.fastdfs.StorageClient; import org.csource.fastdfs.StorageServer; import org.csource.fastdfs.TrackerClient; import org.csource.fastdfs.TrackerServer; public class FastDfsUtil { private static final String conf = "fastdfs-client.conf"; private static TrackerServer trackerServer = null; private static StorageServer storageServer = null; public static StorageClient getStorageClient() { StorageClient storageClient = null; try { // 1 初始化配置文件 ClientGlobal.init(conf); // 2 创建tracker的客户端对象 TrackerClient client = new TrackerClient(); // 3 创建tracker的服务器对象 trackerServer = client.getConnection(); // 4 创建storage的客户端对象 storageServer = client.getStoreStorage(trackerServer); // 5 创建storage的服务器对象 storageClient = new StorageClient(trackerServer, storageServer); } catch (Exception e) { e.printStackTrace(); } return storageClient; } //关闭资源 public static void close() { if (trackerServer != null) { try { trackerServer.close(); } catch (IOException e) { e.printStackTrace(); } } if (storageServer != null) { try { storageServer.close(); } catch (IOException e) { e.printStackTrace(); } } } }
fastdfs-client.conf配置信息
tracker_server = 192.168.180.104:22122
上传
 public static void uploadFile() {

            try {
                String[]  strings = FastDfsUtil.getStorageClient().upload_appender_file("C:\Users\asus\Desktop\激活码.txt", "txt", null);
                Arrays.asList(strings).forEach(s -> System.out.println(s));
                //group1
               // M00/00/00/wKi0aF3II2yEPlv6AAAAAHp_ifU838.txt
            } catch (IOException e) {
                e.printStackTrace();
            } catch (MyException e) {
                e.printStackTrace();
            }finally {
                FastDfsUtil.close();
            }
    }

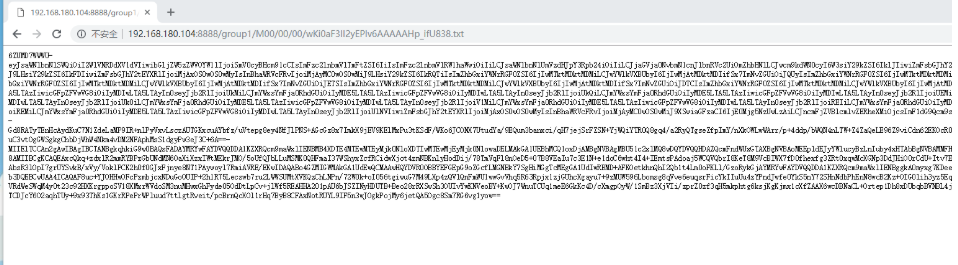
注:nginx.conf的端口被改成8888了,测试结果如图
下载
public static void downfile() { try { FastDfsUtil.getStorageClient().download_file("group1", "M00/00/00/wKi0aF3II2yEPlv6AAAAAHp_ifU838.txt", "d:/a.txt"); } catch (IOException e) { e.printStackTrace(); } catch (MyException e) { e.printStackTrace(); }finally { FastDfsUtil.close(); } }

删除
  /**
     * delete file from storage server
     *
     * @param group_name      the group name of storage server
     * @param remote_filename filename on storage server
     * @return 0 for success, none zero for fail (error code)
     */
    public static void delFile() {
        try {
            int file = FastDfsUtil.getStorageClient().delete_file("group1", "M00/00/00/wKi0aF3II2yEPlv6AAAAAHp_ifU838.txt");
            System.out.println(file);
        } catch (IOException e) {
            // TODO Auto-generated catch block
            e.printStackTrace();
        } catch (MyException e) {
            // TODO Auto-generated catch block
            e.printStackTrace();
        }finally {
            FastDfsUtil.close();
        }
    }
