搭建springMVC 框架
- 编写 mvc-dispatcher-servlet.xml
<?xml version="1.0" encoding="UTF-8"?>
<beans xmlns="http://www.springframework.org/schema/beans"
       xmlns:xsi="http://www.w3.org/2001/XMLSchema-instance"
       xmlns:context="http://www.springframework.org/schema/context"
       xmlns:mvc="http://www.springframework.org/schema/mvc"
       xsi:schemaLocation="
        http://www.springframework.org/schema/beans
        http://www.springframework.org/schema/beans/spring-beans.xsd
        http://www.springframework.org/schema/context
        http://www.springframework.org/schema/context/spring-context.xsd
        http://www.springframework.org/schema/mvc
        http://www.springframework.org/schema/mvc/spring-mvc.xsd">

    <!-- 扫描控制器 -->
    <context:component-scan base-package="com.xiang">
        <context:include-filter type="annotation"
                                expression="org.springframework.stereotype.Controller" />
    </context:component-scan>
    <!-- 扩充了注解驱动,可以将请求参数绑定到控制器参数 -->
    <mvc:annotation-driven />

    <!-- 静态资源处理, css, js, imgs -->
    <mvc:resources mapping="/resource/css/**" location="/resource/css/" />
    <mvc:resources mapping="/resource/js/**" location="/resource/js/" />
    <mvc:resources mapping="/resource/image/**" location="/resource/image/" />

    <!-- 配置试图解析器 -->
    <bean
            class="org.springframework.web.servlet.view.InternalResourceViewResolver">
        <property name="viewClass"
                  value="org.springframework.web.servlet.view.JstlView"></property>
        <!-- 配置jsp文件前缀及后缀 -->
        <property name="prefix" value="/"></property>
        <property name="suffix" value=".jsp"></property>
    </bean>
</beans>
- 编写springApplication.xml
<?xml version="1.0" encoding="UTF-8"?>
<beans xmlns="http://www.springframework.org/schema/beans"
       xmlns:xsi="http://www.w3.org/2001/XMLSchema-instance"
       xsi:schemaLocation="http://www.springframework.org/schema/beans
		http://www.springframework.org/schema/beans/spring-beans-4.0.xsd
		">
</beans>
- 编写web.xml
<!DOCTYPE web-app>

<web-app>
  <display-name>Archetype Created Web Application</display-name>
  <!-- 欢迎页面 -->
  <welcome-file-list>
    <welcome-file>login.jsp</welcome-file>
  </welcome-file-list>

  <!-- 配置spring 上下文 -->
  <context-param>
    <param-name>contextConfigLocation</param-name>
    <param-value>classpath:springApplication.xml</param-value>
  </context-param>

  <!-- 配置监听器 -->
  <listener>
    <listener-class>org.springframework.web.context.ContextLoaderListener</listener-class>
  </listener>

  <!-- spring mvc的配置上下文 -->
  <servlet>
    <servlet-name>mvc-dispatcher</servlet-name>
    <servlet-class>org.springframework.web.servlet.DispatcherServlet</servlet-class>

    <init-param>
      <param-name>contextConfigLocation</param-name>
      <param-value>classpath:mvc-dispatcher-servlet.xml</param-value>
    </init-param>

    <load-on-startup>1</load-on-startup>
  </servlet>

  <servlet-mapping>
    <servlet-name>mvc-dispatcher</servlet-name>
    <!-- 拦截所有请求 -->
    <url-pattern>/</url-pattern>
  </servlet-mapping>

  <!-- 编码过滤器 -->
  <filter>
    <filter-name>characterEncodingFilter</filter-name>
    <filter-class>org.springframework.web.filter.CharacterEncodingFilter</filter-class>
    <init-param>
      <param-name>encoding</param-name>
      <param-value>UTF-8</param-value>
    </init-param>
    <init-param>
      <param-name>forceEncoding</param-name>
      <param-value>true</param-value>
    </init-param>
  </filter>
  <filter-mapping>
    <filter-name>characterEncodingFilter</filter-name>
    <url-pattern>/*</url-pattern>
  </filter-mapping>
</web-app>
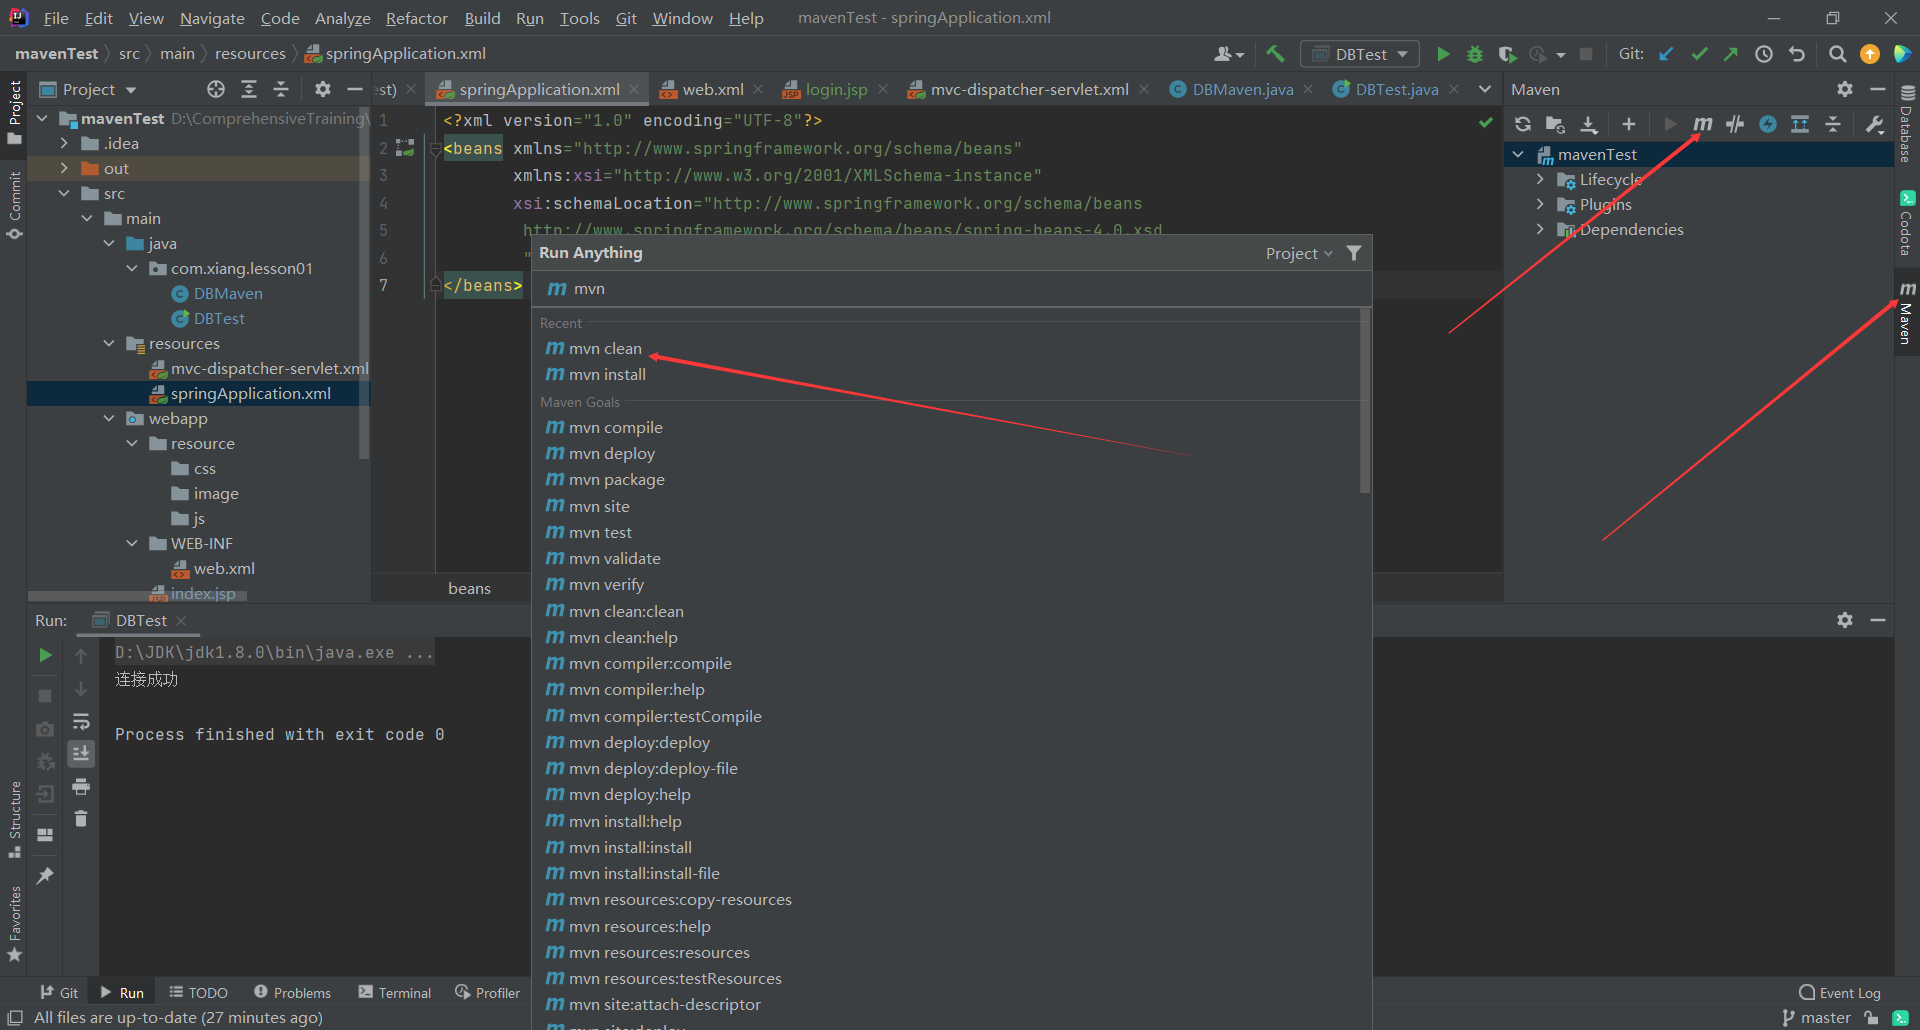
- 运行 mvn clean
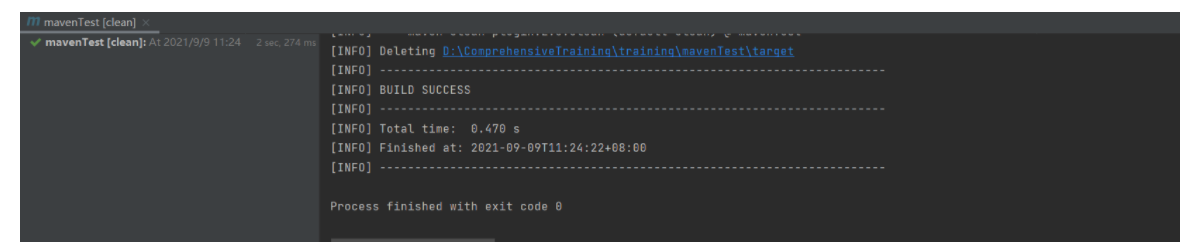
-
运行mvn install

-
运行命令截图