前两天想用 mfc 写一个自绘的窗体,折腾了两天把我劝退了,原因是 mfc 对控件透明以及除 bmp 以外的图片支持的很不友好,做出的效果差强人意。 总而言之,我今后再也不用 mfc 搞美化了 , 艹
大牛写的控件类库
https://github.com/LYingSiMon/NetWinformControl
设置无边框
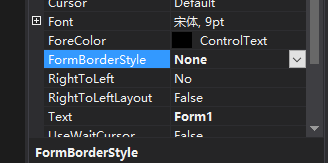
(1)设置窗体的 FormBorderStyle 为 None。
(2)添加事件,MouseDown、MouseMove、MouseUp ,并分别写入如下代码(目的是让窗口可被拖动)
bool beginMove = false;
int currentXPosition;
int currentYPosition;


 private void Form1_MouseDown(object sender, MouseEventArgs e)
 {
     if (e.Button == MouseButtons.Left)
     {
         beginMove = true;
         currentXPosition = MousePosition.X;
         currentYPosition = MousePosition.Y;
     }
 }

  private void Form1_MouseMove(object sender, MouseEventArgs e)
  {
      if (beginMove)
      {
          this.Left += MousePosition.X - currentXPosition;
          this.Top += MousePosition.Y - currentYPosition;
          currentXPosition = MousePosition.X;
          currentYPosition = MousePosition.Y;
      }
  }

  private void Form1_MouseUp(object sender, MouseEventArgs e)
  {
      if (e.Button == MouseButtons.Left)
      {
          currentXPosition = 0;
          currentYPosition = 0;
          beginMove = false;
      }
  }
}
设置窗口背景图片
注意有一点就是 .net framework 的窗体程序添加的背景图片会很模糊,但 .net core 的窗体程序不会。后来发现是因为 win10 默认会放大 125% (在显示设置里),导致这个图片被拉伸,拉伸后就变得模糊了,但是 framework 应该是没有对这个做优化,所以在设置里把 125% 改成 100% 也能解决问题。
(1)双击 Resources.resx ,添加一个图片资源:

(2)在 Load 函数里添加代码,使背景图片自适应窗体大小
 private void Form1_Load(object sender, EventArgs e)
 {
      this.BackgroundImageLayout = ImageLayout.Stretch;
 }
透明 TextBox 控件
(1)创建一个类(在当前项目中就可以,不是新创建一个控件类库哦!),取名为 textbox_lucency,代码如下:
// 需要引用如下头文件
using System.Windows.Forms;
using System.Runtime.InteropServices;


class textbox_lucency:TextBox
{
    [DllImport("kernel32.dll", CharSet = CharSet.Auto)]
    private static extern IntPtr LoadLibrary(string lpFileName);
    protected override CreateParams CreateParams
    {
        get
        {
            CreateParams prams = base.CreateParams;
            if (LoadLibrary("msftedit.dll") != IntPtr.Zero)
            {
                prams.ExStyle |= 0x020;
                prams.ClassName = "RICHEDIT50W";
            }
            return prams;
        }
    }
}
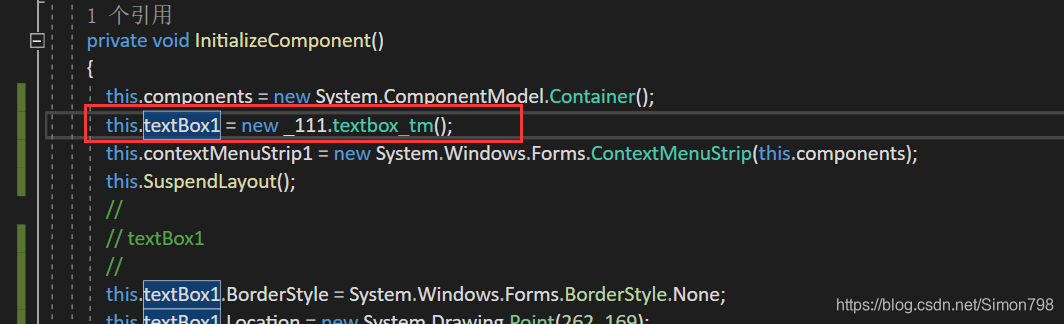
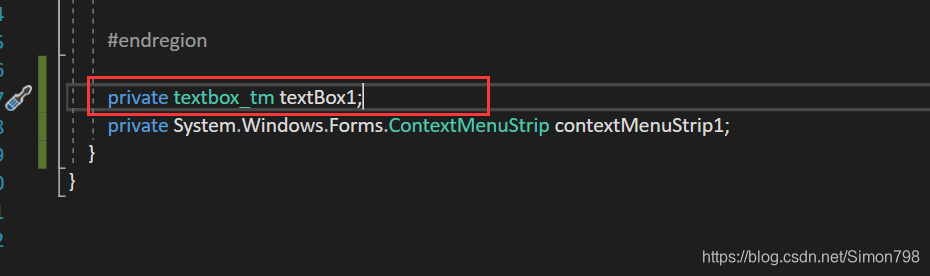
(2)从工具箱内拉一个正常的 textbox 出来,并在 Form1.Designer.cs 里修改这个控件对应的类名:
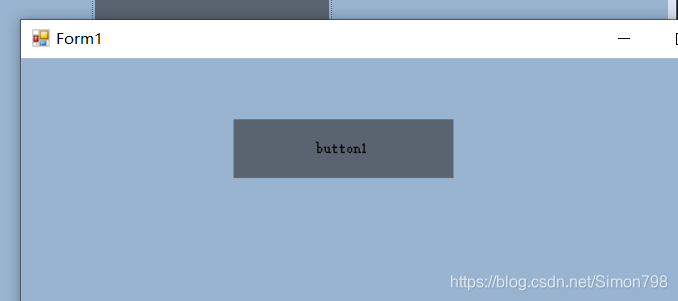
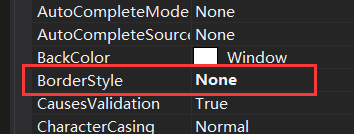
(3)控件设置成无边框
(4)运行程序,如图已经实现了透明效果

按钮背景图片
(1)添加背景图,并设置自动平铺

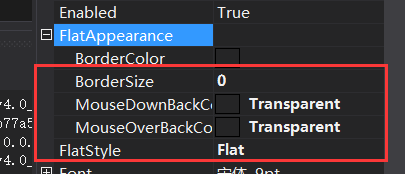
(2)其他相关属性
(3)效果如下,至于悬停点击等事件的背景切换,需要另外处理