Cli(command-line interface),中文是 命令行界面,简单来说就是可以通过命令行快速生成自己的项目模板等功能(比较熟悉的是vue-cli脚手架这些),把上述写的包做成Cli工具.
延续上一次的代码,这次现在readme.md里面先注释告诉用户又那些命令行的语句具体对应哪些功能
step1:README.md
# anydoor
Tiny NodeJS Static Web server
##安装

```
npm i -g anydoor
```
##使用方法

```
anydoor # 把当前文件夹作为静态资源服务器根目录
anydoor -p 3333 # 设置端口号为 3333 //手工自定义一个端口号
anydoor -h localhost # 设置host为localhost
anydoor -d /usr # 设置根目录为 /usr

```
Step2:安装yargs
yargs是什么? Yargs是通过解析参数和生成优雅的用户界面,帮助您构建交互式命令行工具。
安装yargs
npm i yargs
新建一个src/index.js,与app.js处于平级目录下,注意下面所定义的option是与defaultConfig的对应的内容
// process.argv1
// yargs
const yargs = require('yargs')
const Server = require('./app')

const argv = yargs
    .usage('anywhere [options]')
    .option('p',{
        alias:'port',
        describe:'端口号',
        default:9527
    })
    .option('h',{
        alias:'hostname',
        describe:'host',
        default:'127.0.0.1'
    })
    .option('d',{
        alias:'root',
        describe:'root path',
        default:process.cwd()
    })
    .version()
    .alias('v','version')
    .help()
    .argv;

    const server = new Server(argv)
    server.start()
app.js
const http = require('http');
const chalk = require('chalk')
const path = require('path')
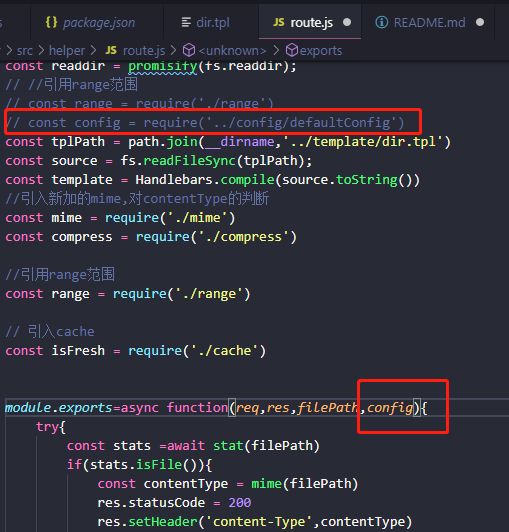
const conf = require('./config/defaultConfig.js');
const route = require('./helper/route')
class Server {
constructor(config){
this.conf = Object.assign({},conf,config)
}
start(){
const server = http.createServer((req,res)=>{
const url = req.url;
//拿到文件路径
const filePath = path.join(this.conf.root,req.url)
route(req,res,filePath,this.conf)
});
server.listen(this.conf.port,this.conf.hostname,()=>{
const addr = `http://${this.conf.hostname}:${this.conf.port}`;
console.log(`Server started at ${chalk.green(addr)}`);
})
}
}
module.exports = Server
package.json添加main和bin两个选项
{
  "devDependencies": {
    "eslint": "^6.2.2"
  },
  "name":"anydoor",
  "version":"0.01",
  "main":"src/app.js",
  "bin":{
    "anydoor":"bin/anydoor"
  }
}
新建anydoor/bin/anydoor
#! /usr/bin/env node

require('../src/index')
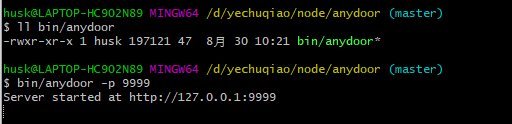
运行代码,成功启动服务,打开http://127.0.0.1:9999可以看到之前运行app.js的页面
--------------------------------------------------------------------------------------------------------------------
优化自动打开浏览器操作,下面修改之后运行之后会自动打开网页,非常方便
新建src/helper/openUrl.js
const {exec} = require('child_process')

module.exports = url=>{
    switch(process.platform){
        case 'darwin':
            exec(`open ${url}`);
            break
        case 'win32':
            exec(`start ${url}`);
            break
    }
}
src/app.js
const http = require('http');
const chalk = require('chalk')
const  path = require('path')
const conf = require('./config/defaultConfig.js');
const route = require('./helper/route')
const openUrl = require('./helper/openUrl')

class Server {
    constructor(config){
        this.conf = Object.assign({},conf,config)
    }
    start(){
        const server = http.createServer((req,res)=>{
            const url = req.url;
            //拿到文件路径
            const filePath = path.join(this.conf.root,req.url)
            route(req,res,filePath,this.conf)
        });

        server.listen(this.conf.port,this.conf.hostname,()=>{
            const addr = `http://${this.conf.hostname}:${this.conf.port}`;
            console.log(`Server started at ${chalk.green(addr)}`);
            openUrl(addr)
        })
    }
}

module.exports = Server