nagios官网上2013-10-15更新了最新版nagios-4.0.1
下载地址:
一、安装
下载后解压并安装
$ tar zxvf nagios-4.0.1.tar.gz

$ cd nagios-4.0.1/

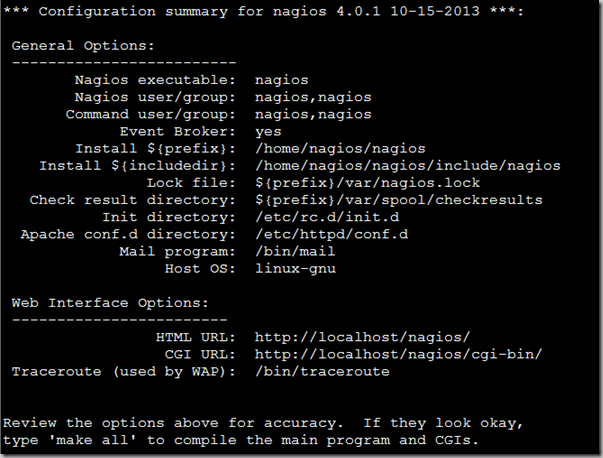
$ ./configure --prefix /home/nagios/nagios
$ make all
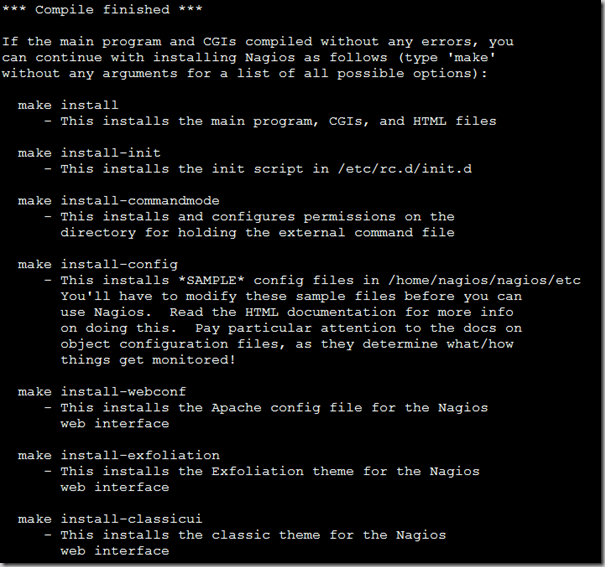
$ make install
# make install-init(需root)

$ make install-commandmode

$ make install-config

# make install-webconf(需root)
安装Nagios 插件
$ tar zxvf nagios-plugins-1.5.tar.gz

$ cd nagios-plugins-1.5/

$ ./configure --prefix /home/nagios/nagios

$ make && make install
二、配置web登陆
- 配置/etc/httpd/conf/httpd.conf文件,在文件最后加入以下代码
#setting for nagios
ScriptAlias /nagios/cgi-bin "/home/nagios/nagios/sbin"
<Directory "/home/nagios/nagios/sbin">
     AuthType Basic
     Options ExecCGI
     AllowOverride None
     Order allow,deny
     Allow from all
     AuthName "Nagios Access"
     AuthUserFile /home/nagios/nagios/etc/htpasswd.user
     Require valid-user
</Directory>
Alias /nagios "/home/nagios/nagios/share"
<Directory "/home/nagios/nagios/share">
     AuthType Basic
     Options None
     AllowOverride None
     Order allow,deny
     Allow from all
     AuthName "nagios Access"
     AuthUserFile /home/nagios/nagios/etc/htpasswd.user
     Require valid-user
</Directory>
- 创建以上配置文件中的/home/nagios/nagios/etc/htpasswd.user文件
$ htpasswd -c /home/nagios/nagios/etc/htpasswd.user <username>
- 将nagios的share目录链接到/var/www/html/nagios
# ln -s /home/nagios/nagios/share /var/www/html/nagios
- 启动nagios服务
# service nagios restart
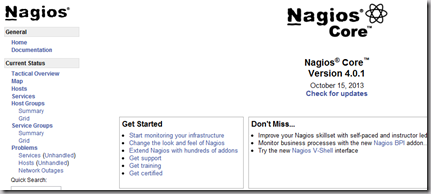
- 验证nagios web是否配置成功,登陆http://x.x.x.x/nagios/,输入刚才设置的用户名密码
如果碰到“Error: Could not read object configuration data!”,检查是否启动nagios服务
三、安装nagios nrpe插件
解压编译安装
$ tar zxvf nrpe-2.15.tar.gz
$ cd nrpe-2.15/
$ ./configure --prefix /home/nagios/nagios
$ make all
$ make install-plugin
$ make install-daemon
$ make install-daemon-config
# make install-xinetd(需root)
在ubuntu下安装的时候,显示error:cannot find ssl libraries错误
需要安装openssl 并使用下面参数
$ ./configure --with-ssl=/usr/bin/openssl --with-ssl-lib=/usr/lib/x86_64-linux-gnu
添加到服务(需root)
在/etc/service文件中添加以下行
nrpe 5666/tcp #nrpe
并修改/etc/xinetd.d/nrpe文件中的only_from项,加入nagios主机的ip,空格隔开
验证是否安装成功
# service xinetd restart
Stopping xinetd:                                          [  OK  ]
Starting xinetd:                                          [  OK  ]

#netstat -an |grep 5666
tcp        0      0 172.16.3.100:56661          172.16.3.110:9000           TIME_WAIT
tcp        0      0 :::5666                     :::*                        LISTEN

#../nagios/libexec/check_nrpe -H localhost
NRPE v2.15
看到版本号说明已经安装成功
被监控机要安装angios-plugin和nrpe-daemon,因为的home目录是用的nfs所以,就装在一起就好了
但是/etc/service和/etc/xinetd.d/nrpe文件还是要在每台被监控主机上修改
基本安装就到这里,剩下的就是修改配置文件了


