Spring MVC简介
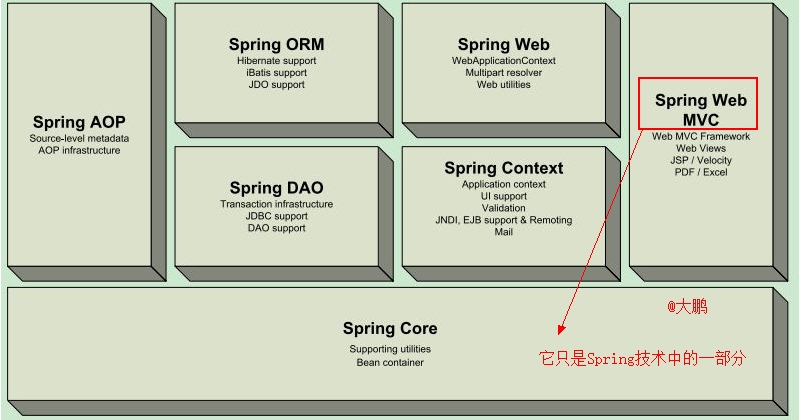
Spring MVC:Spring MVC也叫Spring Web MVC,属于表现层框架,是Spring中的一份子。
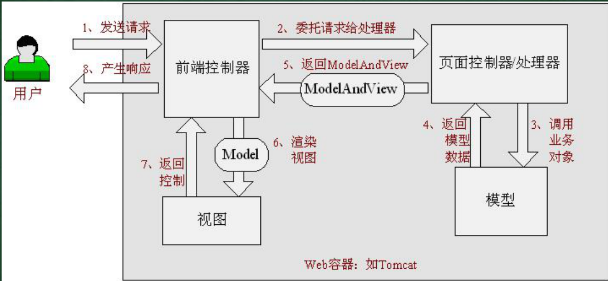
Spring MVC执行流程图
第一个SpringMVC入门案例(用户在提交一个请求之后,服务器端处理器在接受到这个请求后给出一个页面上面显示欢迎信息)
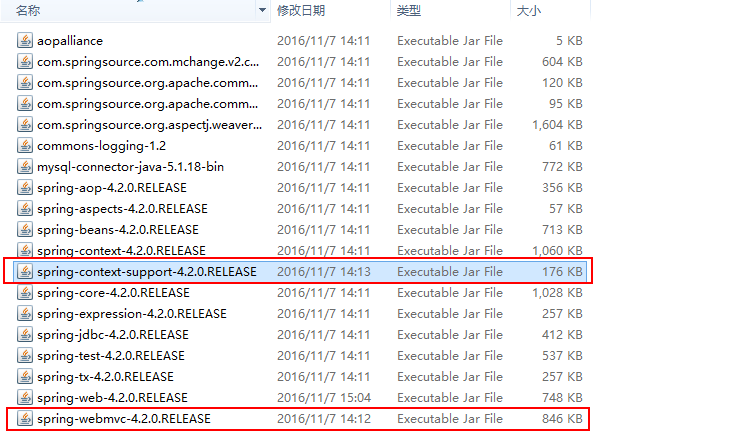
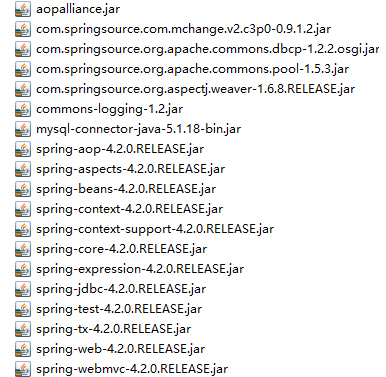
第一步在原有的Spring jar包上导入俩个新的jar包(第一个框的jar包是支持UI模板,邮件模板,缓存等第二个框是实现Spring MVC)
第二步在WEB.XML配置前端控制器也可以叫中央调度器
<!-- 配置中央调度器 -->
    <servlet>
        <servlet-name>springmvc</servlet-name>
        <servlet-class>org.springframework.web.servlet.DispatcherServlet</servlet-class>
        <!-- 配置applicationContext.xml文件路径 -->
        <init-param>
            <param-name>contextConfigLocation</param-name>
            <param-value>classpath:applicationContext.xml</param-value>
        </init-param>
        <!-- Tomcat 启动时候Servlet对象已经生成到内存 0或者负数代表你没有设置一样而且必须是整数 -->
        <load-on-startup>1</load-on-startup>
    </servlet>
    <servlet-mapping>
        <servlet-name>springmvc</servlet-name>
        <url-pattern>*.do</url-pattern>
    </servlet-mapping>
第三步配置处理器类
package cn.lxp.controller;

import javax.servlet.http.HttpServletRequest;
import javax.servlet.http.HttpServletResponse;

import org.springframework.web.servlet.ModelAndView;
import org.springframework.web.servlet.mvc.Controller;

public class MyController implements Controller {

    /**
     * handleRequest   处理请求
     * ModelAndView    返回的类型
     */
    @Override
    public ModelAndView handleRequest(HttpServletRequest request,HttpServletResponse response) throws Exception {

        ModelAndView mav=new ModelAndView();
        mav.addObject("msg", "我们天生爱分享!!");
        //进行处理一道
        mav.setViewName("WEB-INF/jsp/index.jsp");

        return mav;
    }

}
第四步配置applicationContext.xml文件
<?xml version="1.0" encoding="UTF-8"?>
<beans xmlns="http://www.springframework.org/schema/beans"
    xmlns:xsi="http://www.w3.org/2001/XMLSchema-instance"
    xmlns:context="http://www.springframework.org/schema/context"
    xmlns:aop="http://www.springframework.org/schema/aop"
    xmlns:tx="http://www.springframework.org/schema/tx"
    xmlns:mvc="http://www.springframework.org/schema/mvc"
     xsi:schemaLocation="
        http://www.springframework.org/schema/beans http://www.springframework.org/schema/beans/spring-beans.xsd
        http://www.springframework.org/schema/context http://www.springframework.org/schema/context/spring-context.xsd
        http://www.springframework.org/schema/aop http://www.springframework.org/schema/aop/spring-aop.xsd
        http://www.springframework.org/schema/tx http://www.springframework.org/schema/tx/spring-tx.xsd
        http://www.springframework.org/schema/mvc http://www.springframework.org/schema/mvc/spring-mvc.xsd
        ">
        <!-- 注册控制器-->

        <bean id="/hello.do" class="cn.lxp.controller.MyController"></bean>


        </beans>
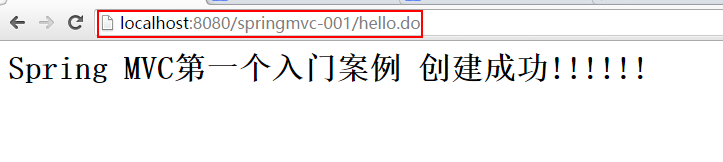
最后我们启动TomCat服务发布项目查看例子实现图
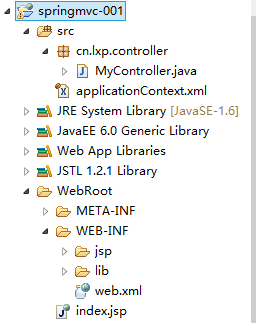
入门案例项目架构图(工具:MyEclipse)
所用jar包
好,入门案例已经实现成功,想学的同学快动起手试试吧,如果需要素材jar包的朋友可以评论通知,期待下次的分享!