安装MySQL 5.7.20
shell> cd /usr/local
shell> groupadd mysql
shell> useradd -g mysql mysql
shell> tar xzvf mysql-5.7.20-linux-glibc2.12-x86_64.tar.gz
shell> cd mysql-5.7.20-linux-glibc2.12-x86_64
这里注意了,以前的版本是有一个my.cnf文件,这个版本不要这个了
如果存在就把它删除吧,否则会出现各种错误
shell> rm -rf /etc/my.cnf
shell> cd /usr/local
shell> ln -s mysql-5.7.20-linux-glibc2.12-x86_64 mysql
shell> cd /usr/local/mysql
shell> chown -R mysql .
shell> chgrp -R mysql .
shell> mkdir /usr/local/mysql/data
shell> /usr/local/mysql/bin/mysqld --initialize --user=mysql --basedir=/usr/local/mysql --datadir=/usr/local/mysql/data
出现以下几个[Warning]不用管它,只要没有[ERROR] 就是安装成功了
[Warning] TIMESTAMP with implicit DEFAULT value is deprecated. Please use --explicit_defaults_for_timestamp server option (see documentation for more details).
[Warning] InnoDB: New log files created, LSN=45790
[Warning] InnoDB: Creating foreign key constraint system tables.
[Warning] No existing UUID has been found, so we assume that this is the first time that this server has been started. Generating a new UUID: a4d71248-c432-11e7-8eab-00163e002e4a.
[Warning] Gtid table is not ready to be used. Table ‘mysql.gtid_executed’ cannot be opened.
[Note] A temporary password is generated for root@localhost: =MqLUlnme6hh
注意了,上面最后一行产一个随机密码,冒号后面的都是密码,我的密码则是=MqLUlnme6hh
这个随机密码第一次登录的时候需要用到
shell> chown -R root .
shell> chown -R mysql data
启动MySQL
shell> cd /usr/local/mysql
shell> bin/mysqld_safe --user=mysql &
登录并更改密码
shell> /usr/local/mysql/bin/mysql -uroot -p
这时提示输入password,输入上面的随机密码
用随机密码登录后,必须要更改密码,否则不能进行任何操作,更改密码:
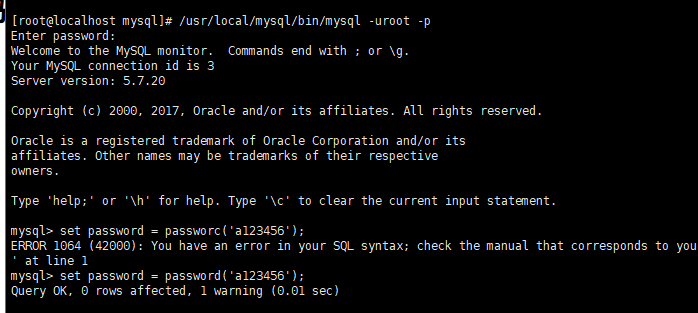
mysql> set password = password('a123456');
mysql> exit;
关闭MySQL服务
shell> /usr/local/mysql/bin/mysqladmin -u root -p shutdown
shell> Enter password:

输入密码回车就关闭数据库
编辑PATH搜索路径
shell> vi /etc/profile
在profile文件末尾增加两行
PATH=/usr/local/mysql/bin:/usr/local/mysql/lib:$PATH
export PATH
使PATH搜索路径立即生效:
shell> source /etc/profile
开机自动启动:
shell> cp /usr/local/mysql/support-files/mysql.server /etc/init.d/mysql
shell> chkconfig --add mysql
手动启动:以root身份执行:
shell> /usr/local/mysql/bin/mysqld_safe --user=mysql &
#赋予root用户所有权限,远程登录密码是123456
grant all privileges on *.* to 'root'@'%' identified by 'a12345678.';(了解下:grant用法 )
#开放3306端口并重启防火墙
firewall-cmd --permanent --add-port=3306/tcp(这边都是错的)
firewall-cmd --reload