最近看到windows azure 在做活动,只需花一块钱就可以体验一个月的windows azure. 于是,我就注册了一个账号也尝试一把云时代,传送门。 注册很简单的,成功后可以看到这个界面。

然后,我就研究了一下怎么把网站发布到云上,在此分享一下。网站是简单的基于asp.net mvc + code first 比较简单。
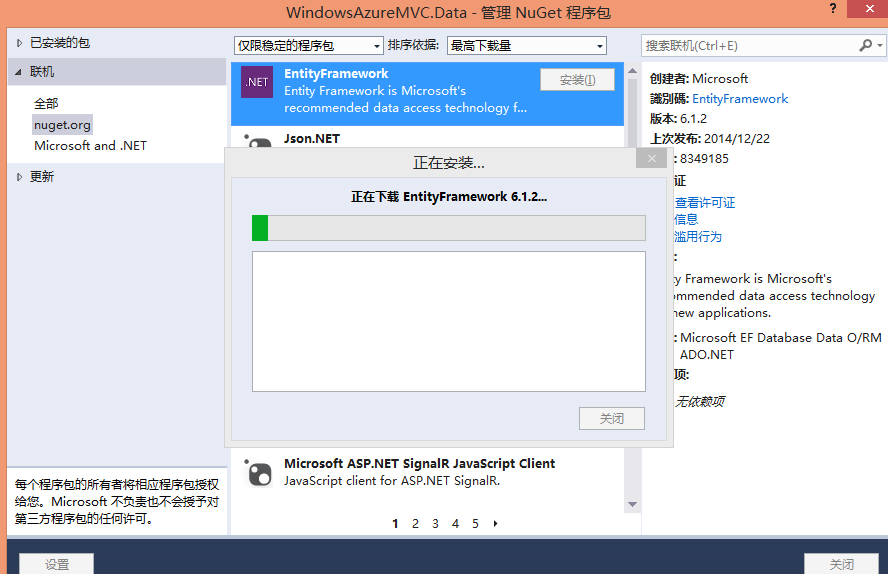
首先新建一个asp.net mvc 的网站。在此我命名为 WindowsAzureMVC,为了支持code first 需要添加entity framework 的dll。右键管理NUGET程序包 添加EntityFramework.
在web.config 文件中添加节点:
1  <connectionStrings>
2     <add name="TestConnect" connectionString="Data Source=(localdb)v11.0;Initial Catalog=Test;Integrated Security=True;Connect Timeout=15;Encrypt=False;TrustServerCertificate=False" providerName="System.Data.SqlClient" />
3   </connectionStrings>
再新建一个AzureDataContext类
 1    public class AzureDataContext : DbContext
 2     {
 3         public AzureDataContext()
 4             : base("name=TestConnect")
 5         {
 6
 7         }
 8
 9         public DbSet<User> User { get; set; }
10     }
11
12     public class User
13     {
14         public Guid Id { get; set; }
15
16         public string Name { get; set; }
17
18         public int Age { get; set; }
19     }
这个就是简单的数据了,表示一个数据库有一个表叫做User。
然后运行nuget命令 先打开Nuget 控制台 视图-》其他窗口-》程序包管理器控制台。
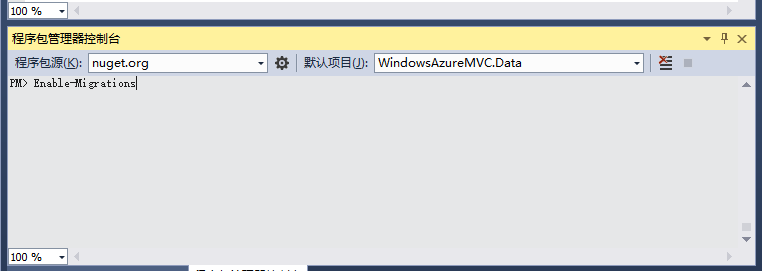
输入Enable-Migrations 会自动生成一个Configuration类
 1    internal sealed class Configuration : DbMigrationsConfiguration<WindowsAzureMVC.Data.AzureDataContext>
 2     {
 3         public Configuration()
 4         {
 5             AutomaticMigrationDataLossAllowed = true;
 6             AutomaticMigrationsEnabled = true;
 7         }
 8
 9         protected override void Seed(WindowsAzureMVC.Data.AzureDataContext context)
10         {
11             context.User.AddOrUpdate(p => p.Id, new User() { Id = Guid.NewGuid(), Age = 1, Name = "test" });
12
13         }
14     }
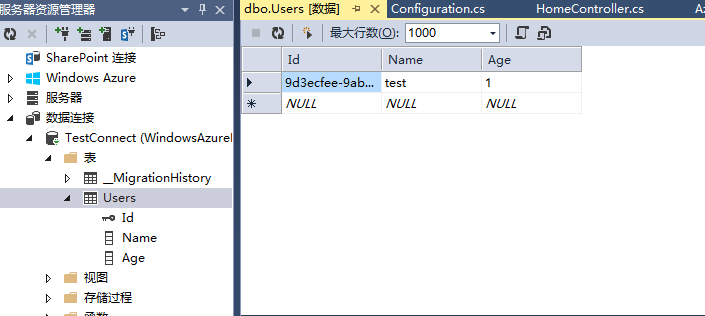
我在seed 方法中加了一个初始化数据。
然后输入 update-database 命令,成功之后 会看到生成的数据库。
然后我在 MVC的controller 和view 里写了一些简单的代码。
 1         public ActionResult Index()
 2         {
 3             User user = new Data.User() { Id = Guid.NewGuid(), Name = "test", Age = new Random().Next(1, 100) };
 4
 5             azureDataContext.User.Add(user);
 6             azureDataContext.SaveChanges();
 7             List<User> userList = azureDataContext.User.ToList();
 8
 9             return View(userList);
10         }
 1 @model List<WindowsAzureMVC.Data.User>
 2 @{
 3     ViewBag.Title = "Home Page";
 4 }
 5 <div class="row">
 6     <table class="table table-bordered">
 7         <caption>用户列表</caption>
 8         <thead>
 9             <tr>
10                 <th>姓名</th>
11                 <th>年龄</th>
12             </tr>
13         </thead>
14         <tbody>
15             @foreach (var item in Model)
16             {
17                 <tr>
18                     <td>
19                         @item.Name
20                     </td>
21                     <td>
22                         @item.Age
23                     </td>
24                 </tr>
25             }
26         </tbody>
27     </table>
28 </div>
OK, 网站这边基本完成,比较简单的演示。
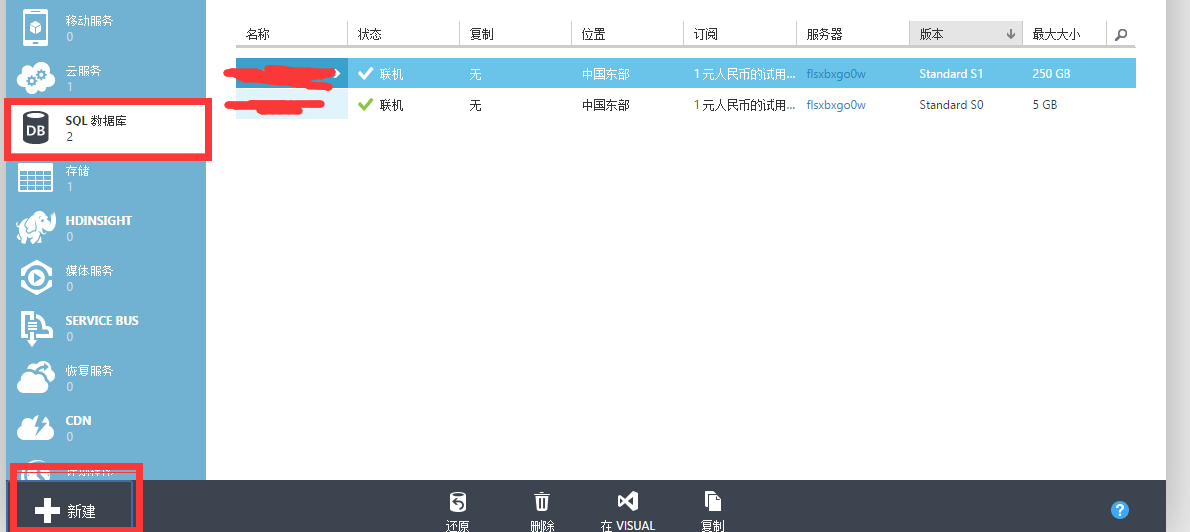
然后发布,首先我需要新建一个数据库,
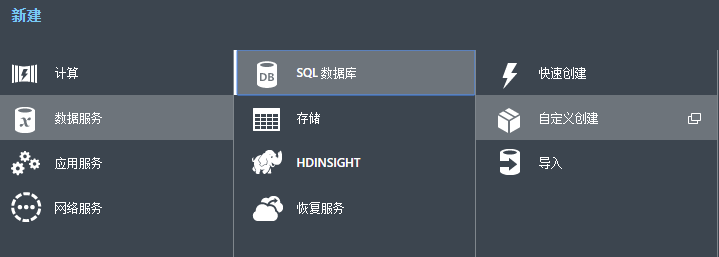

然后新建一个网站,

之后我需要下载发布配置文件,
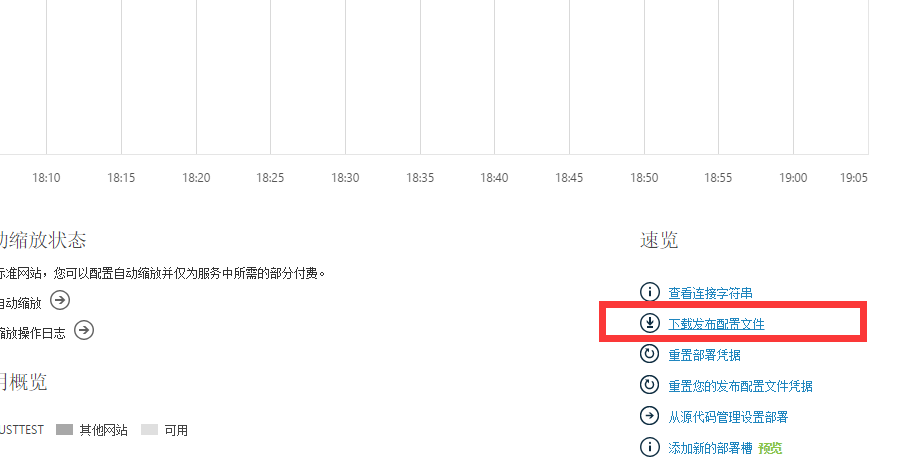
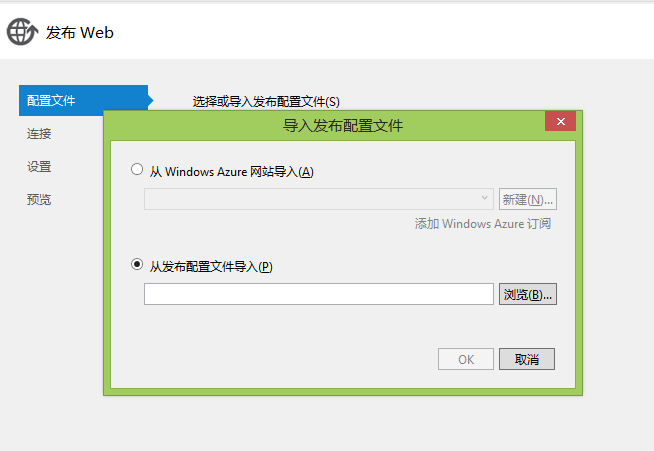
下载的文件名叫justtest.chinacloudsites.cn.PublishSettings 之后就可以发布了,
右键 -》 发布

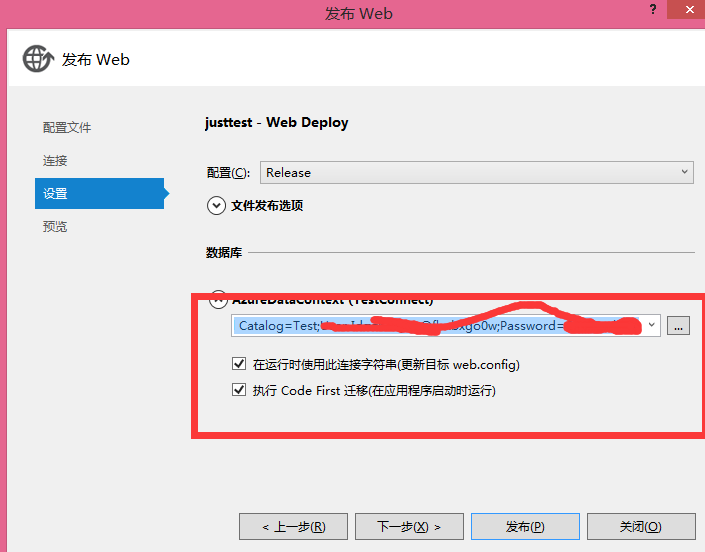
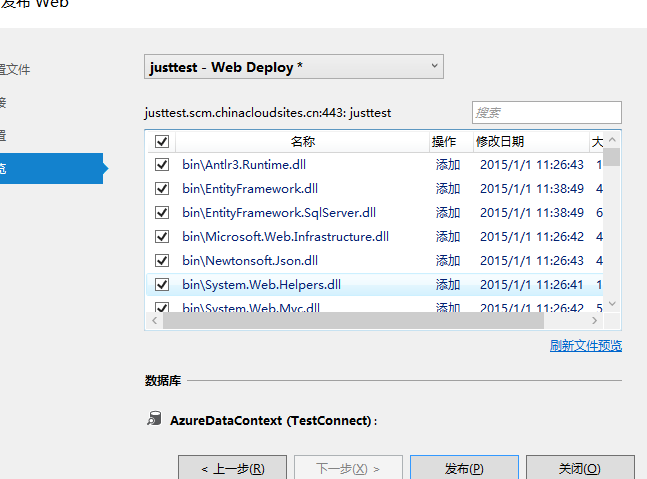
点击发布成功。地址是 http://justtest.chinacloudsites.cn/
基本搞定收工。这就是我的azure 初体验。