摘要:
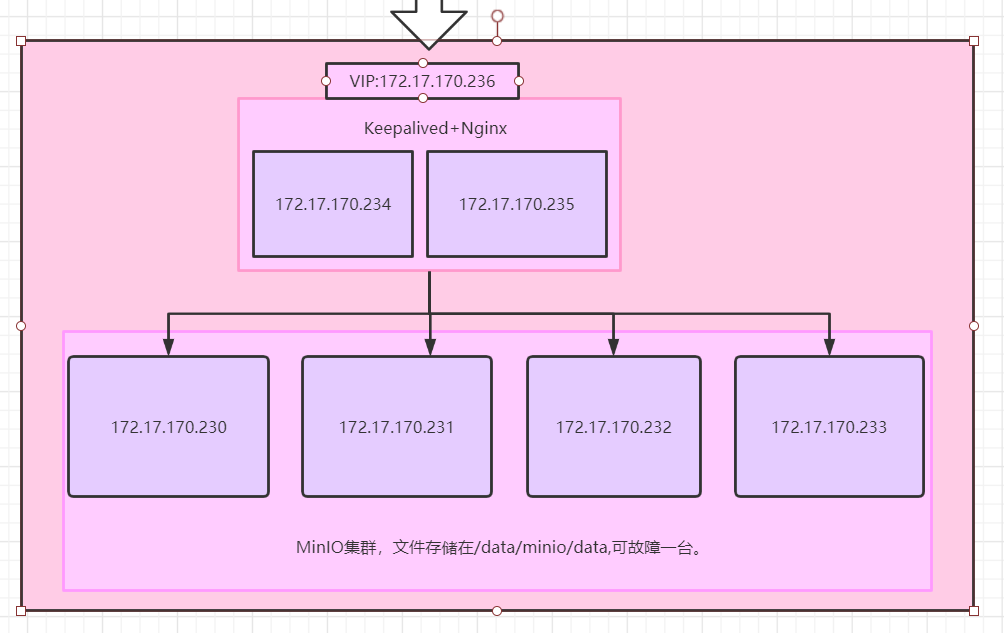
使用4台服务器搭建minIO集群,前段2台服务器使用keepalived+nginx实现高可用和负载均衡。
6台服务器使用系统CentOS07.
搭建minIO集群:
以下操作要在minio的4台上都执行一遍
#在4台minio上下载minioserver程序
wget https://dl.minio.io/server/minio/release/linux-amd64/minio
#创建minio启动脚本,内容如下
vim miniostart.sh
#!/bin/bash

export MINIO_ACCESS_KEY=minio
export MINIO_SECRET_KEY=Mima+123456   #密码要包含大小写,数字
/root/minio server --config-dir /etc/minio --address :9000 http://172.17.170.230/data/minio/data http://172.17.170.231/data/minio/data http://172.17.170.232/data/minio/data  http://172.17.170.233/data/minio/data
#给脚本和minio程序添加执行权限
 chmod +x minio miniostart.sh
#将minio添加到systemctl中管理,添加脚本如下
vim /usr/lib/systemd/system/minio.service
[Unit]
Description=Minio service
Documentation=https://docs.minio.io/

[Service]
WorkingDirectory=/root/
ExecStart=/root/miniostart.sh

Restart=on-failure
RestartSec=5

[Install]
WantedBy=multi-user.target
#设置minio开机启动
systemctl enable minio
#关闭防火墙
systemctl disable firewalld
#重启
reboot
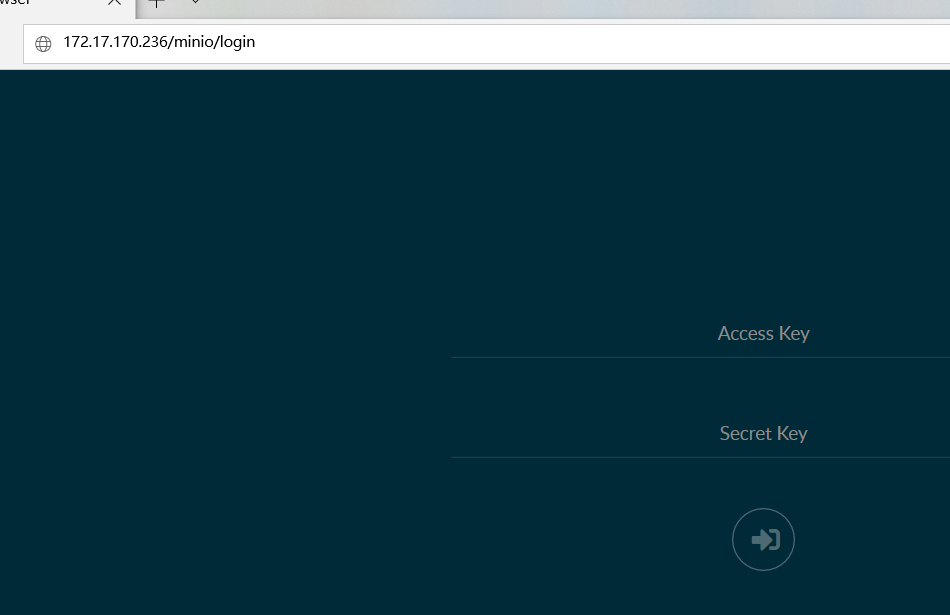
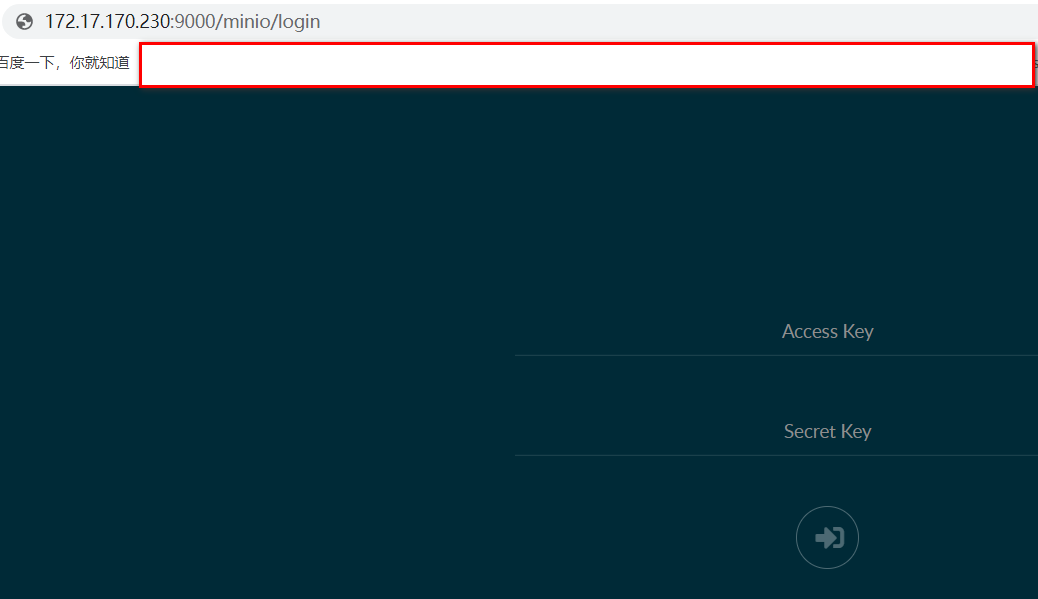
重启后输入任意ip:9000就可看到minio页面,输入刚才设置的账号密码就可登录
Keepalived+Nginx
在前段的2台上执行以下操作。
Keepalived
#安装nginx
yum -y install nginx.x86_64
#安装keepalived
yum -y install keepalived.x86_64
#配置keepalived,2台一个为master一个为backup,主从模式,主的配置如下
vim /etc/keepalived/keepalived.conf
! Configuration File for keepalived

global_defs {
   notification_email {
     xxx@126.com   #通知收件人
   }
   notification_email_from admin@test.com
   smtp_server 172.17.168.106  #smtpip
   smtp_connect_timeout 30
   router_id mm01   #主机名
}

vrrp_instance VI_1 {
    state MASTER    #主的一台为master
    interface eth0  #主机的网卡
    virtual_router_id 60 #2台一样就可
    priority 100    #主的100
    advert_int 1
        nopreempt    #非抢占模式
    authentication {
        auth_type PASS
        auth_pass 1111
    }
    virtual_ipaddress {
        172.17.170.236   #虚拟IP
    }
}
#监听虚拟ip和端口
virtual_server 172.17.170.236 80  {
    delay_loop 6
    lb_algo rr
    lb_kind DR
    nat_mask 255.255.255.0
    persistence_timeout 50
    protocol TCP
    #这台服务上的ip和服务端口
    real_server 172.17.170.234 80 {
                weight 1
                notify_down /etc/keepalived/killkeep.sh  #如果nginx故障的话就杀掉这台的keepalived,
                TCP_CHECK {                              #虚拟ip就到了另外那台,此脚本就是杀keepalived
                  connect_port 80
                  connect_timeout 3
                  nb_get_retry 2
                  delay_before_retry 1
                }
  }
}
从的配置如下:
! Configuration File for keepalived

global_defs {
   notification_email {
     xxx@126.com   #通知收件人
   }
   notification_email_from admin@test.com
   smtp_server 172.17.168.106  #smtpip
   smtp_connect_timeout 30
   router_id mm01   #主机名
}

vrrp_instance VI_1 {
    state BACKUP    #从的一台为BACKUP
    interface eth0  #主机的网卡
    virtual_router_id 60 #2台一样就可
    priority 50    #从的50
    advert_int 1
        nopreempt
    authentication {
        auth_type PASS
        auth_pass 1111
    }
    virtual_ipaddress {
        172.17.170.236   #虚拟IP
    }
}
#监听虚拟ip和端口
virtual_server 172.17.170.236 80  {
    delay_loop 6
    lb_algo rr
    lb_kind DR
    nat_mask 255.255.255.0
    persistence_timeout 50
    protocol TCP
    #这台服务上的ip和服务端口
    real_server 172.17.170.235 80 {
                weight 1
                notify_down /etc/keepalived/killkeep.sh
                TCP_CHECK {
                  connect_port 80
                  connect_timeout 3
                  nb_get_retry 2
                  delay_before_retry 1
                }
  }
}
#杀keepalived脚本
vim /etc/keepalived/killkeep.sh
#!/bin/bash
pkill keepalived
#添加执行权限
chmod +x killkeep.sh
Nginx
#安装Nginx
yum -y install nginx.x86_64
#配置Nginx负载均衡模式
vim /etc/nginx/nginx.conf
events {
    worker_connections 1024;
}

http {
    upstream myserver{
        server 172.17.170.230:9000 weight=1; #转发给4台Minio
        server 172.17.170.231:9000 weight=1;
        server 172.17.170.232:9000 weight=1;
        server 172.17.170.233:9000 weight=1;
    }
    log_format  main  '$remote_addr - $remote_user [$time_local] "$request" '
                      '$status $body_bytes_sent "$http_referer" '
                      '"$http_user_agent" "$http_x_forwarded_for"';

    access_log  /var/log/nginx/access.log  main;

    sendfile            on;
    tcp_nopush          on;
    tcp_nodelay         on;
    keepalive_timeout   3;
    types_hash_max_size 2048;

    include             /etc/nginx/mime.types;
    default_type        application/octet-stream;

    # Load modular configuration files from the /etc/nginx/conf.d directory.
    # See http://nginx.org/en/docs/ngx_core_module.html#include
    # for more information.
    include /etc/nginx/conf.d/*.conf;

    server {
        listen       80 ;
        listen       [::]:80 default_server;
        server_name  172.17.170.236;           #虚拟IP
        root         /usr/share/nginx/html;
        client_max_body_size 0;
        # Load configuration files for the default server block.
        include /etc/nginx/default.d/*.conf;

        location / {
                proxy_set_header Host $http_host;  #将客户端请求原样转发
                proxy_pass http://myserver;        #转发给上面配置的4台minio

        }

        error_page 404 /404.html;
        location = /404.html {
        }
#关闭防火墙,设置keepalived和nginx开机启动

systemctl disable firewalld

systemctl enable keepalived
systemctl enable nginx

#然后重启
reboot
重启后使用虚拟IP即可访问