工欲善其事,必先利其器,坚持才能更好
这篇文章主要是强调怎么使用asp.net上传图片并且能够裁剪,这个功能主要使用在注册信息的时候需要上传头像并且图片格式很大的时候能够把图片裁剪成更小的图片。下面来看一下具体的实现过程。
第一步,首先利用vs创建一个webform页面。

第二步,在uploadimg.aspx中加入一个upload控件,一个上传按钮,一个显示图片的控件,一个重置按钮,一个panel控件。

第三步,点击上传按钮,进入Btnsubmit_Click()事件中,在该方法下写入上传图片的代码。
具体实现代码如下:


 string FileName = string.Empty;
            string FilePath = string.Empty;
            string Extention = string.Empty;
            if (FileUpload1.HasFile)
            {
                Extention = Path.GetExtension(FileUpload1.FileName).ToLower();
                if (Extention == ".jpg" || Extention == ".bmp" || Extention == ".gif" || Extention == ".jpeg" || Extention == ".png")
                {
                    FileName = Guid.NewGuid().ToString() + Extention;
                    FilePath = Path.Combine(Server.MapPath("~/Images"), FileName);
                    FileUpload1.SaveAs(FilePath);
                    PnlCrop.Visible = true;
                    Imgtocrop.ImageUrl = "~/Images/" + FileName;
                }
                else
                {
                    lblMsg.ForeColor = Color.Red;
                    lblMsg.Text = "只允许上传jpg,bmp,gif,jpeg,png的图片格式";
                }
            }
            else
            {
                lblMsg.ForeColor = Color.Red;
                lblMsg.Text = "没有文件上传";
            }
第四步,上传完图片之后,下面就应该是裁剪了,这里的裁剪利用jquery实现。因此首先你必须下载裁剪文件所需要的js文件。
下载js的网站http://code.ciaoca.com/jquery/jcrop/,下载完之后解压,找到jquery.Jcrop.js和jquery.Jcrop.css两个文件添加到网站中。
具体实现在页面的头部添加以下代码
<script type="text/javascript" src="http://code.jquery.com/jquery-1.8.2.js"></script>
    <script src="js/jquery.Jcrop.js" type="text/javascript"></script>
    <link href="css/jquery.Jcrop.css" rel="stylesheet" type="text/css" />
    <script type="text/javascript">
        $(document).ready(function () {
            $('#<%=Imgtocrop.ClientID%>').Jcrop({
                onSelect: getAreaToCrop
            });
        });
        function getAreaToCrop(c) {
            $('#XCoordinate').val(parseInt(c.x));
            $('#YCoordinate').val(parseInt(c.y));
            $('#Width').val(parseInt(c.w));
            $('#Height').val(parseInt(c.h));
        }
    </script>

第五步,单击裁剪按钮,进入按钮的单击事件添加裁剪并保存的代码。
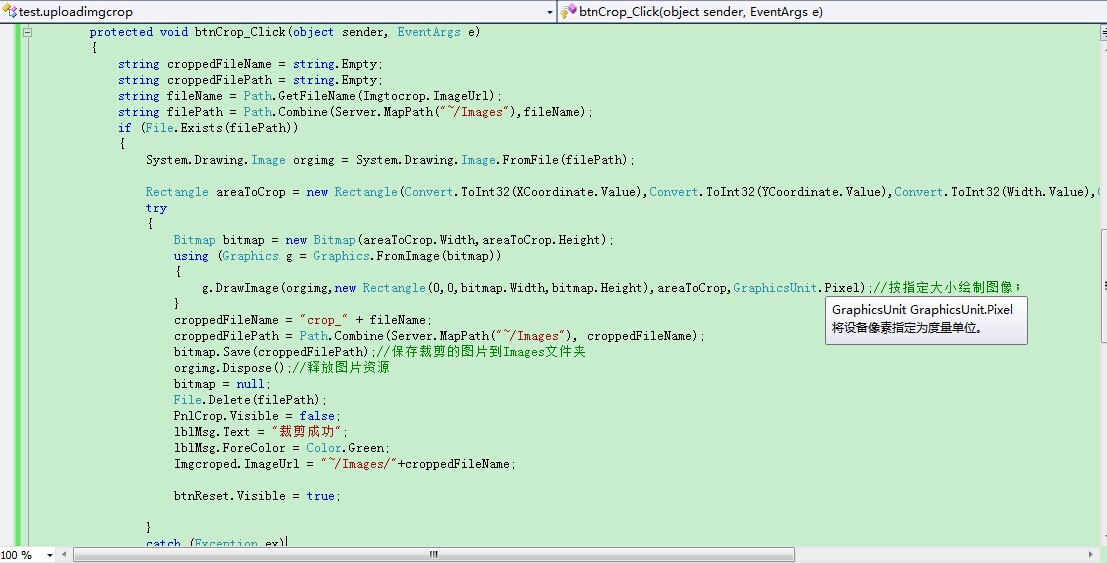
具体实现代码如下:
protected void btnCrop_Click(object sender, EventArgs e)
        {
            string croppedFileName = string.Empty;
            string croppedFilePath = string.Empty;
            string fileName = Path.GetFileName(Imgtocrop.ImageUrl);
            string filePath = Path.Combine(Server.MapPath("~/Images"),fileName);
            if (File.Exists(filePath))
            {
                System.Drawing.Image orgimg = System.Drawing.Image.FromFile(filePath);

                Rectangle areaToCrop = new Rectangle(Convert.ToInt32(XCoordinate.Value),Convert.ToInt32(YCoordinate.Value),Convert.ToInt32(Width.Value),Convert.ToInt32(Height.Value));
                try
                {
                    Bitmap bitmap = new Bitmap(areaToCrop.Width,areaToCrop.Height);
                    using (Graphics g = Graphics.FromImage(bitmap))
                    {
                        g.DrawImage(orgimg,new Rectangle(0,0,bitmap.Width,bitmap.Height),areaToCrop,GraphicsUnit.Pixel);//按指定大小绘制图像;
                    }
                    croppedFileName = "crop_" + fileName;
                    croppedFilePath = Path.Combine(Server.MapPath("~/Images"), croppedFileName);
                    bitmap.Save(croppedFilePath);//保存裁剪的图片到Images文件夹
                    orgimg.Dispose();//释放图片资源
                    bitmap = null;
                    File.Delete(filePath);
                    PnlCrop.Visible = false;
                    lblMsg.Text = "裁剪成功";
                    lblMsg.ForeColor = Color.Green;
                    Imgcroped.ImageUrl = "~/Images/"+croppedFileName;

                    btnReset.Visible = true;

                }
                catch (Exception ex)
                {
                    lblMsg.Text = "异常信息为 " + ex.Message.ToString();
                }
                finally
                {
                    fileName = string.Empty;
                    filePath = string.Empty;
                    croppedFileName = string.Empty;
                    croppedFilePath = string.Empty;
                }
            }
        }
最后一步添加重置按钮的代码
       protected void btnReset_Click(object sender, EventArgs e)
        {
            Imgcroped.ImageUrl = "";
            lblMsg.Text = string.Empty;
            btnReset.Visible = false;
        }
下面是最后运行结果
