UEditor富文本编辑器简单使用
一、下载地址:https://ueditor.baidu.com/website/
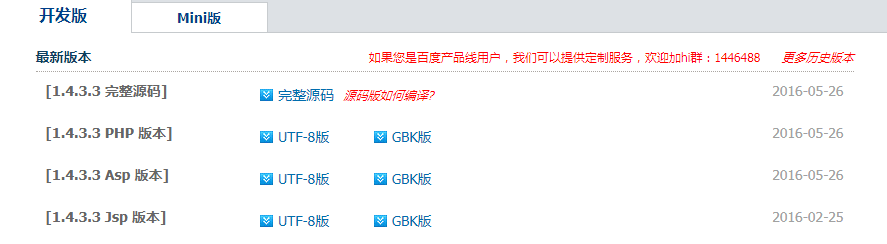
官网中并没有 python 版本的 UEditor 富文本编辑器,本文简单介绍 python 版本的 UEditor ,UEditor 源码下载链接:
UEditor 使用文档:http://fex.baidu.com/ueditor/
二、UEditor 使用
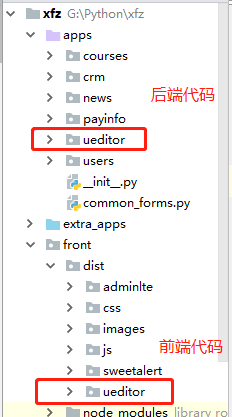
Ueditor富文本编辑器源码,分为前端源码及后端源码,我们需要将前端源码(js、css文件等)放置在前端代码目录,后端源码放置在后端代码目录,如下:
1、前端使用
1)js 文件引用:
<script src="{% static 'ueditor/ueditor.config.js' %}"></script>
<script src="{% static 'ueditor/ueditor.all.min.js' %}"></script>
2)需要使用 UEditor 的地方:
<script id="editor" type="text/plain">   // 固定用法
     {{ news.content|safe }}   // 内容
</script>
3)初始化 ueditor 富文本框:
<script>
    // 初始化 ueditor
    $(function () {
        window.ue = UE.getEditor('editor',{  //  window.ue 全局变量
        'initialFrameHeight': 400,   // ueditor 高度
        'serverUrl': '{% url "ueditor:upload" %}'  // ueditor 服务端url
           })
        });
</script>
2、后端使用
1)xfz/urls.py:凡是 ueditor 相关的url都转到ueditor目录下的urls.py中匹配
# xfz/urls.py
path('ueditor/',include('apps.ueditor.urls')),   # ueditor 富文本
2)settings.py 相关配置
INSTALLED_APPS 注册:
INSTALLED_APPS = [
    '…',
    'apps.ueditor',
]
其他配置:
# ueditor 配置
UEDITOR_UPLOAD_TO_SERVER = True  # 上传到当前服务器 ,true
MEDIA_UPLOAD = os.path.join(MEDIA_ROOT, 'news', 'newsImg')
UEDITOR_UPLOAD_PATH = MEDIA_UPLOAD  # 上传的路径

UEDITOR_CONFIG_PATH = os.path.join(BASE_DIR,'front','dist','ueditor','config.json')  # ueditor config 路径
至此,UEditor 富文本编辑器简单使用便介绍到这里了,如有兴趣可参考上述所给文档。
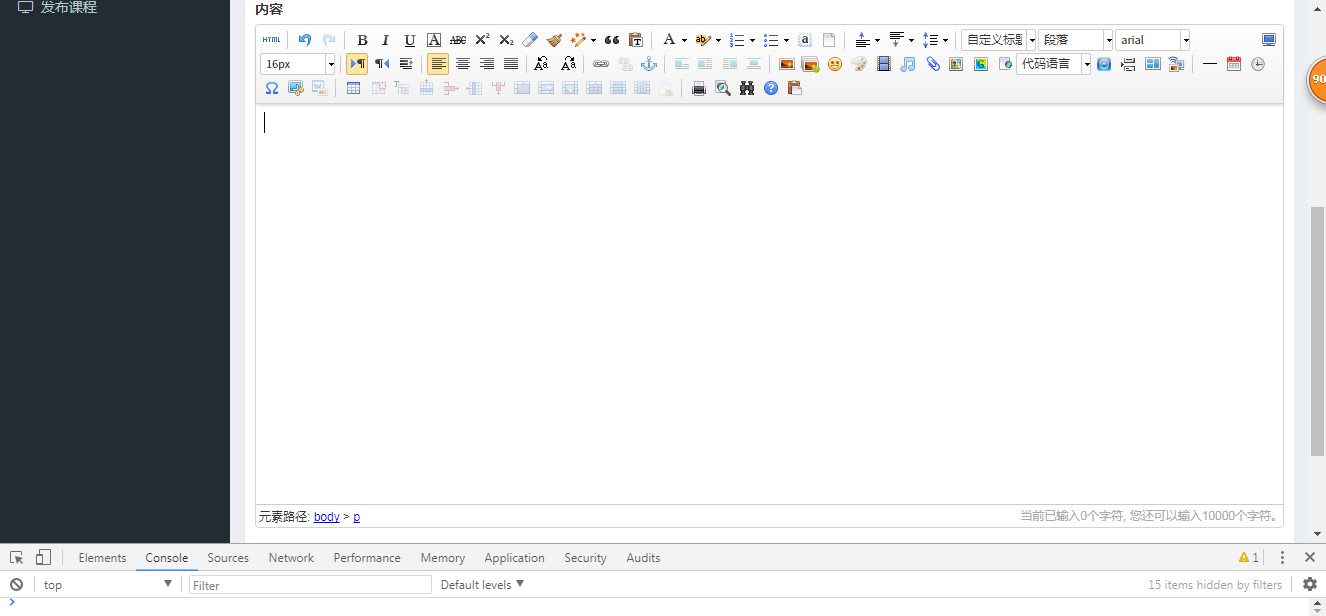
UEditor 初始化后界面:
此时,在UEditor 编辑器中上传图片等,会直接上传到 settings.py 中配置所指定的路径中。需要注意的是,在表单中使用 UEditor 富文本编辑器时,不能使用传统的 form 表单的形式提交数据,因为后端无法获取到富文本框中的数据。
如果表单中含有富文本数据需提交,建议使用 ajax 提交的方式来完成,具体实现可参考项目链接: