1、下载 jks2pfx 解压至C:jks2pfx 目录;
2、DOS窗口执行以下命令:
C:jks2pfx>keytool -genkey -v -alias fjjxu -keyalg RSA -keystore C:jks2pfxfjjxu.keystore -validity 36500 -dname "CN=(192.168.1.60),OU=(单位名),O=(单位名),L=(福州),ST=(福建),C=(中国)"
密码设置为:123456
将 C:jks2pfxfjjxu.keystore 文件改为 fjjxu.jks 后执行以下命令:
C:jks2pfx>JKS2PFX fjjxu.jks 123456 fjjxu exportfile C:jks2pfx
密码设置为:123456
3、拷贝C:jks2pfx 目录下的 exportfile.crt、exportfile.key文件至nginx 的 confcert 目录下,并将exportfile.crt重命名为exportfile.pem
nginx.conf 文件配置:
http {
include mime.types;
default_type application/octet-stream;
sendfile on;
keepalive_timeout 65;
upstream localhost {
server localhost:81 weight=1;
}
server {
listen 80;
listen 443 ssl;
server_name localhost;
client_max_body_size 20M;
ssl_certificate "cert/exportfile.pem";
ssl_certificate_key "cert/exportfile.key";
ssl_session_cache shared:SSL:1m;
ssl_session_timeout 10m;
#强制使用https 其中 192.168.1.60 为本地服务器IP地址
if ($scheme = http) {
return 301 https://192.168.1.60$request_uri;
}
location / {
root html;
index index.html index.htm;
proxy_pass http://localhost;
proxy_send_timeout 30;
proxy_read_timeout 30;
proxy_set_header Host $host;
proxy_set_header X-Real-IP $remote_addr;
proxy_set_header X-Forwarded-For $proxy_add_x_forwarded_for;
}
error_page 500 502 503 504 /50x.html;
location = /50x.html {
root html;
}
}
}
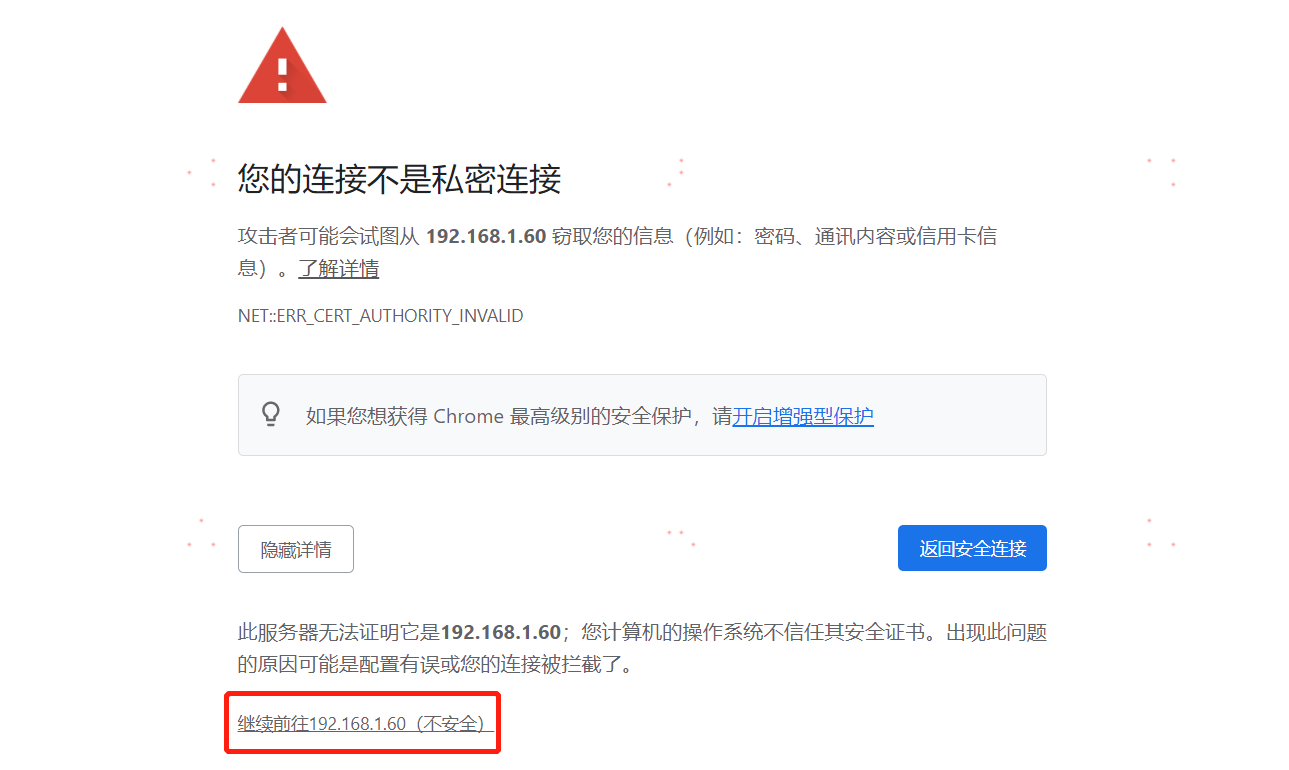
4、验证 http://192.168.1.60 将自动重定向至 https://192.168.1.60