为了方便本次使用的是Myeclipse8.5
一、创建web工程,搭建Struts框架开发环境:
步骤1::导入struts框架所需的jar包

步骤2:在web.xml中配置struts2.0主过滤器
<?xml version="1.0" encoding="UTF-8"?>
<web-app version="2.5"
    xmlns="http://java.sun.com/xml/ns/javaee"
    xmlns:xsi="http://www.w3.org/2001/XMLSchema-instance"
    xsi:schemaLocation="http://java.sun.com/xml/ns/javaee
    http://java.sun.com/xml/ns/javaee/web-app_2_5.xsd">
  <welcome-file-list>
    <welcome-file>index.jsp</welcome-file>
  </welcome-file-list>
  <!-- struts2配置 -->
    <filter>
        <filter-name>struts2</filter-name>
        <filter-class>org.apache.struts2.dispatcher.ng.filter.StrutsPrepareAndExecuteFilter</filter-class>
    </filter>
    <filter-mapping>
        <filter-name>struts2</filter-name>
        <url-pattern>/*</url-pattern>
    </filter-mapping>

    <welcome-file-list>
     <welcome-file>index.jsp</welcome-file>
    </welcome-file-list>

</web-app>
步骤3:导入struts.xml配置文件
<?xml version="1.0" encoding="UTF-8" ?>
<!DOCTYPE struts PUBLIC
    "-//Apache Software Foundation//DTD Struts Configuration 2.0//EN"
    "http://struts.apache.org/dtds/struts-2.0.dtd">
<struts>
    <package name="" namespace="/" extends="struts-default">
        <action name="" class="">
            <result name=""></result>
        </action>
    </package>
</struts>
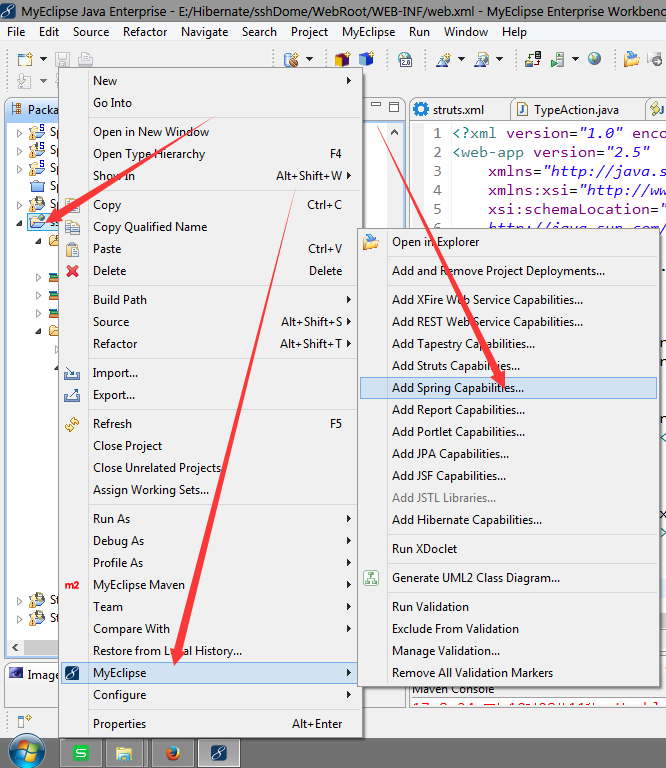
二、导入spring的框架
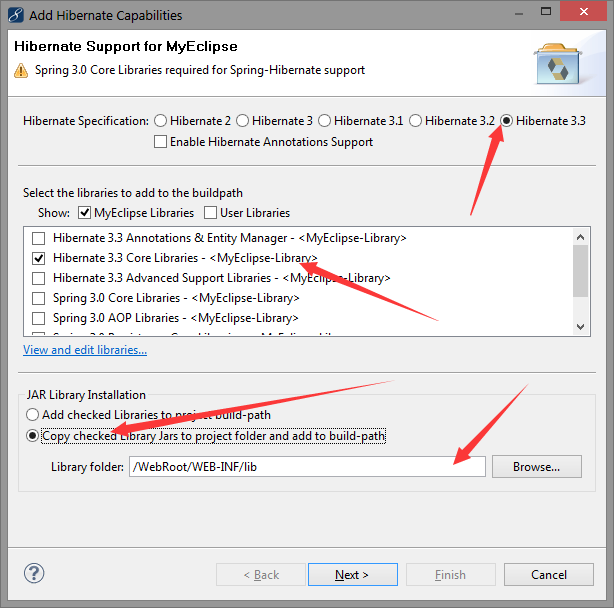
博主这里是直接使用Myeclipse自带工具生成的
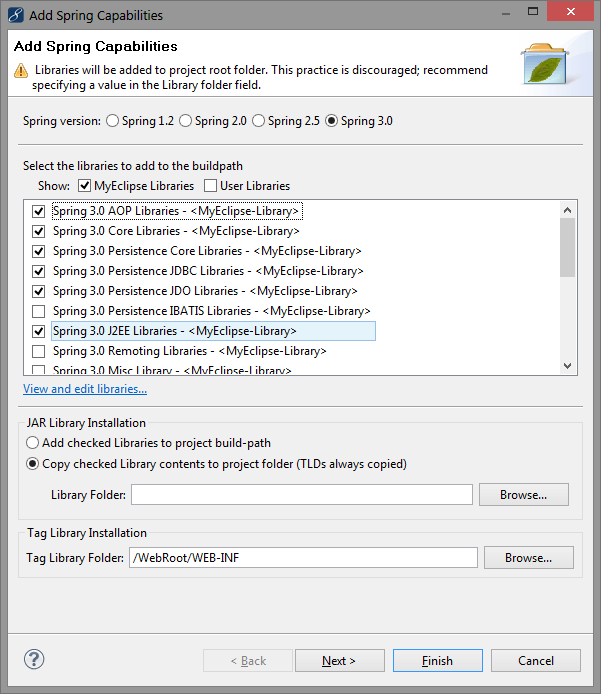
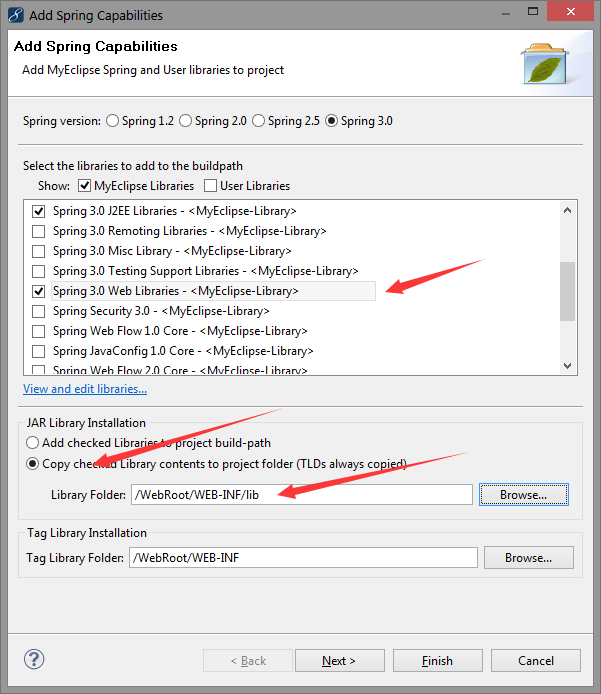
选择需要的包,由于屏幕小就做两次截图,选择好包设置包的存放路径
去掉生成xml文件,因为要用到其他配置所以我们到后面自己创建
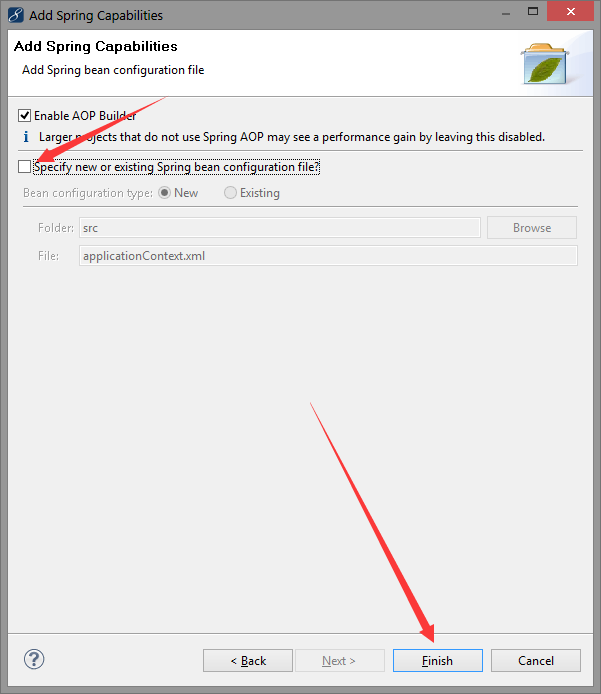
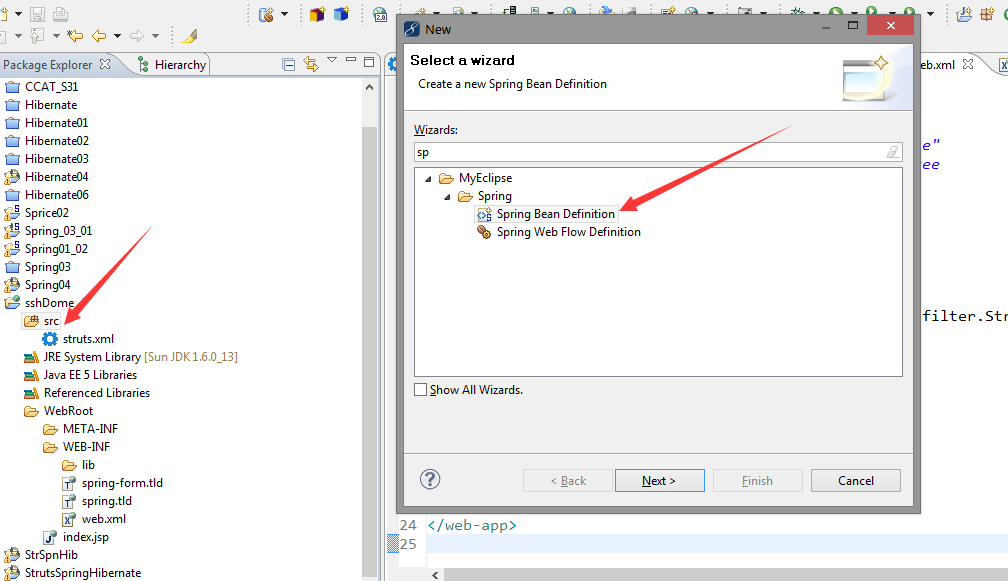
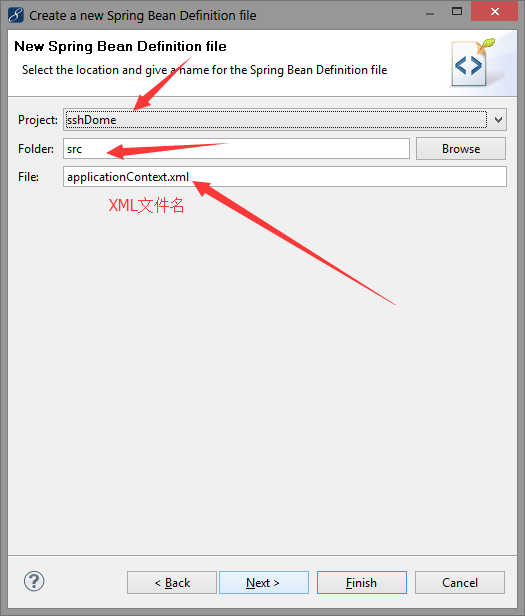
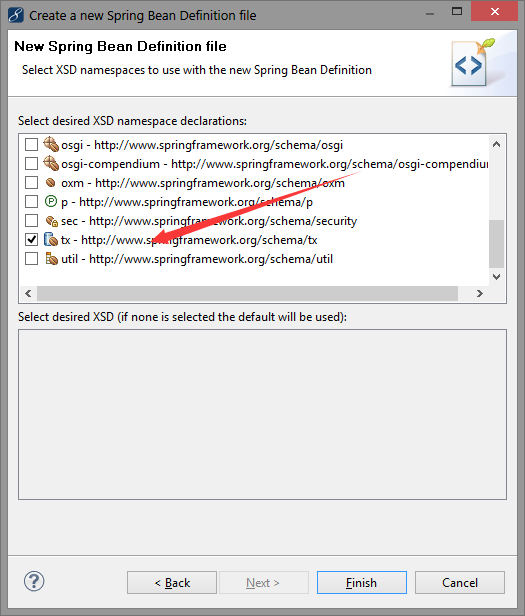
单击右键创建spring bean配置文件

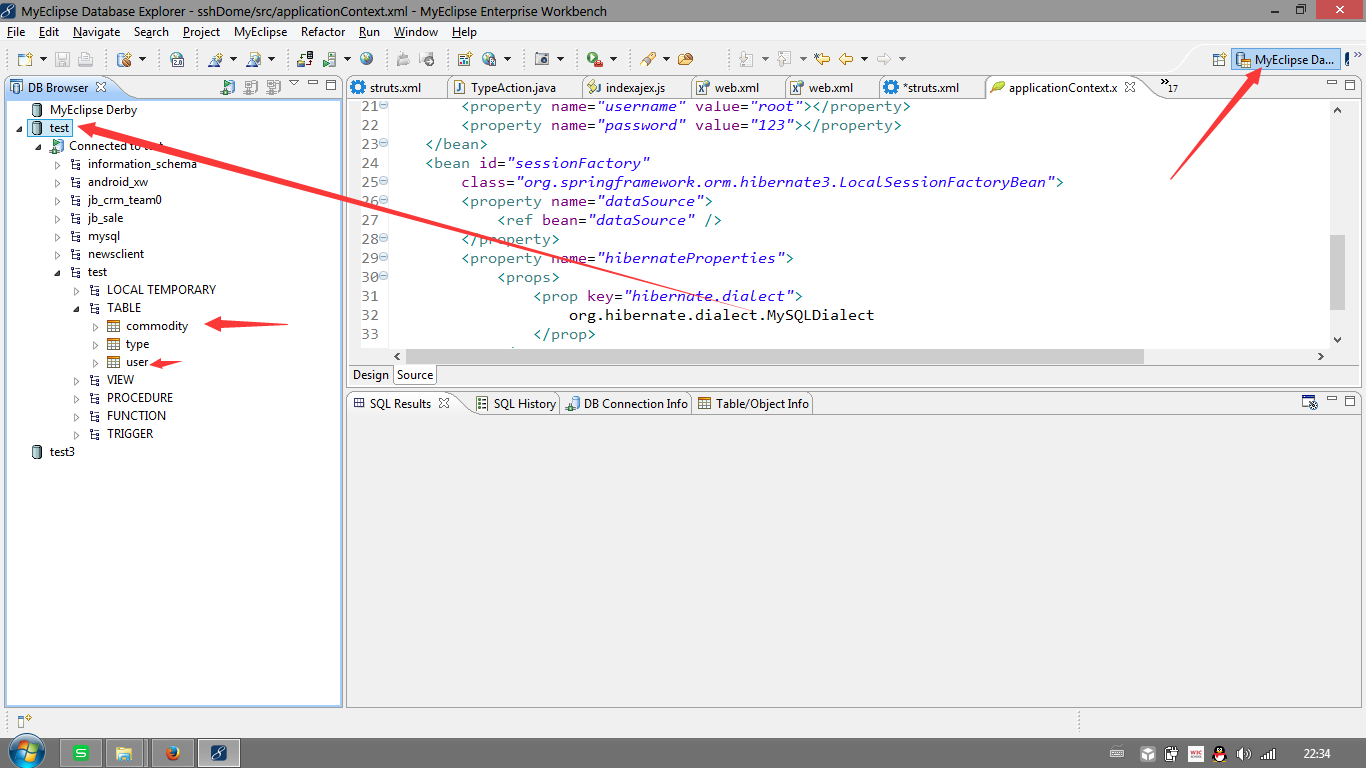
三、导入hibernate
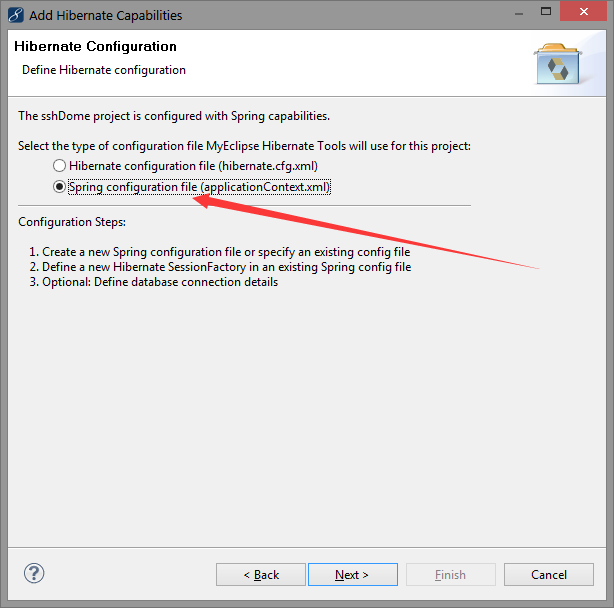


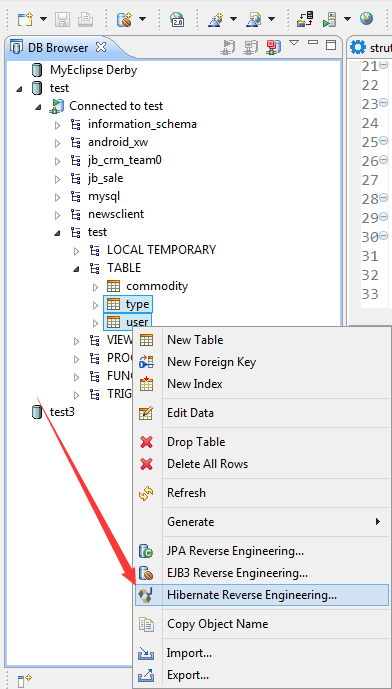
反向生成dao类和实体类


配置事物切面

<!--配置事物 -->
        <!-- 配置事物切面 -->
        <bean id="aspesc" class="org.springframework.orm.hibernate3.HibernateTransactionManager">
            <property name="sessionFactory" ref="sessionFactory"></property>
        </bean>
        <!--配置通知 -->
        <tx:advice id="uadvive" transaction-manager="aspesc">
            <tx:attributes>
                <tx:method name="find*" read-only="true"/>
                <tx:method name="add*" propagation="REQUIRED"/>
                <tx:method name="upd*" propagation="REQUIRED"/>
                <tx:method name="del*" propagation="REQUIRED"/>
            </tx:attributes>
        </tx:advice>
        <aop:config>
            <aop:pointcut expression="execution(* com.zzx.service.*.*(..))" id="tranponit"/>
            <aop:advisor advice-ref="uadvive" pointcut-ref="tranponit"/>
        </aop:config>
web.xml添加配置

<!--配置spring监听器 -->
    <listener>
        <listener-class>org.springframework.web.context.ContextLoaderListener</listener-class>
    </listener>
    <context-param>
        <param-name>contextConfigLocation</param-name>
        <param-value>classpath:applicationContext.xml</param-value>
    </context-param>
配置完毕