1.首先下载elasticsearch for windows
官网地址:https://www.elastic.co/downloads/elasticsearch,这里我下载的是2.4.2。
2.安装jdk,jdk版本最好在1.7以上,否则无法启动elasticsearch服务
官方建议:
We recommend installing the Java 8 update 20 or later, or Java 7 update 55 or later.Previous versions of Java 7 are known to have bugs that can cause index corruption and data loss. Elasticsearch will refuse to start if a known-bad version of Java is used.
3.解压下载包到某个目录,例如:解压到D:elasticsearch-2.4.2elasticsearch-2.4.2。
进入解压文件的bin目录,双击执行elasticsearch.bat 如图,
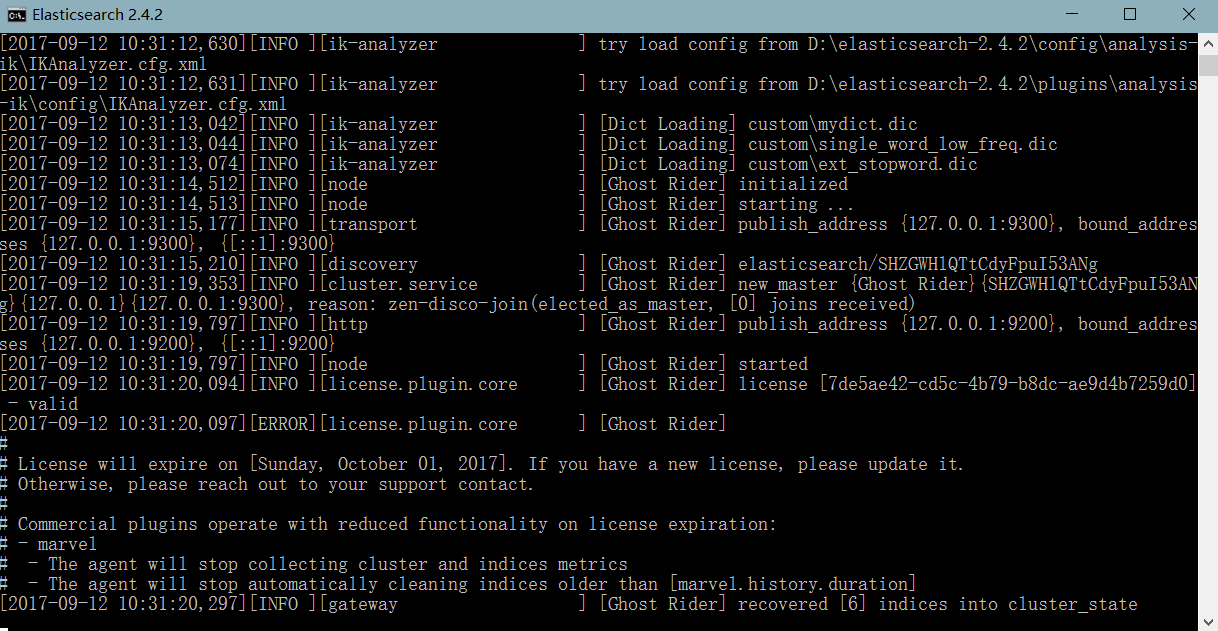
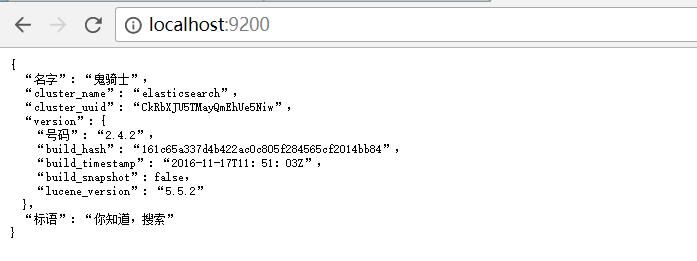
进入 http://localhost:9200 ,出现以下页面,说明安装成功。
如果要停止服务: ctrl+c 即可。
插件安装
1.安装head插件
安装head插件,在网页上管理、监视集群的状态。
打开cmd命令窗口,进入解压文件的bin目录,然后执行命令:
plugin install mobz/elasticsearch-head
由于楼主安装过 不截图演示 。
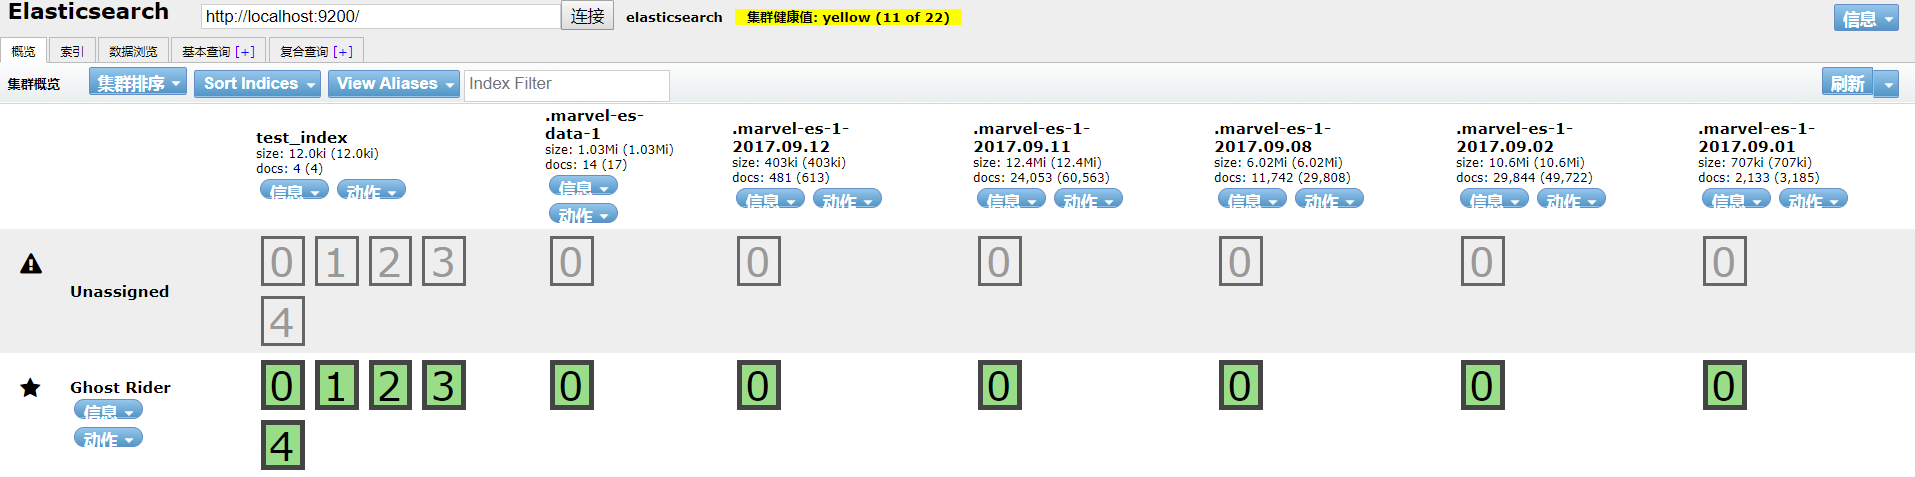
浏览http://localhost:9200/_plugin/head/,出现如下界面,则安装成功:
集群健康值总共三个颜色 分别代表:
1.绿色代表所有的主分片和副分片都可用。
2.黄色代表副分片不是全部可用。
3.红色代表主分片不是全部可用 。
2.安装marvel插件
进入es安装目录的bin目录,执行命令:
bin/plugin install license
bin/plugin install marvel-agent
进入kibana的bin目录(首先下载kibana):
bin/kibana plugin --install elasticsearch/marvel/latest
如果机器没有连网,则上述命令无法执行,需要首先下载安装文件包,下载地址:
· https://download.elastic.co/elasticsearch/release/org/elasticsearch/plugin/license/2.4.2/license-2.4.2.zip (sha1)
· https://download.elastic.co/elasticsearch/release/org/elasticsearch/plugin/marvel-agent/2.4.2/marvel-agent-2.4.2.zip (sha1)
· https://download.elasticsearch.org/elasticsearch/marvel/marvel-2.4.2.tar.gz (sha1)
然后分别执行命令:
进入es的bin目录:
plugin install file:///D:/elasticsearch-2.4.2/license-2.4.2.zip
plugin install file:///D:/elasticsearch-2.4.2/marvel-agent-2.4.2.zip
进入kibana的bin目录:
kibana plugin --install marvel --url file:///path/to/file/marvel-2.4.2.tar.gz
最后访问:http://localhost:5601/app/marvel
3.安装ik分词插件
首先在git上下载已经编译好的代码,一定要选择和自己的es版本对应,否则无法启动服务,git下载地址如下:
https://github.com/medcl/elasticsearch-analysis-ik/releases
注意对应的es版本
然后把文件解压放在es的plugins的analysis-ik目录下,如果没有此目录,则新建。
最后在es的conf中elasticsearch.yml文件末尾中加入 index.analysis.analyzer.ik.type: "ik"
测试分词插件是否可以分词:
在浏览器输入:
基本插件如上 自己记录 一部分摘自网络 ,如有侵权,删