STEP ONE.做好前置工作
开发工具:VS Code
我们用VS Code进入这个项目,打开src文件夹下的components文件夹下的HelloWorld.vue文件。
删除多余的代码,至下图状态。
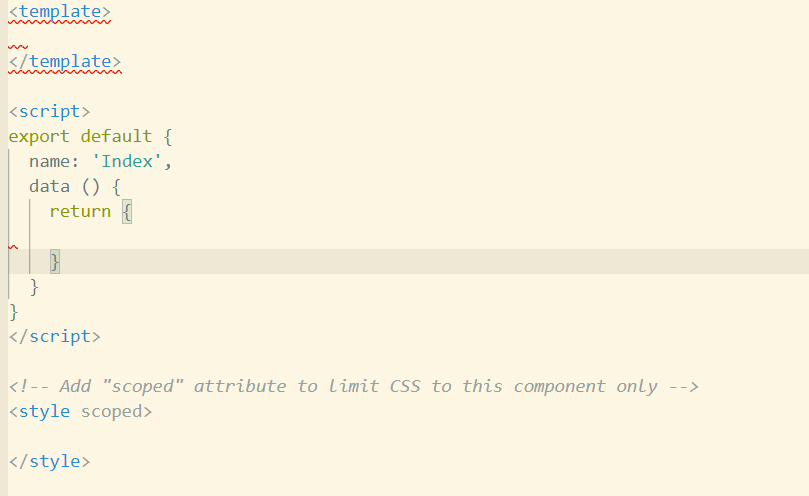
这是我们的游戏主页面。所以将 HelloWorld.vue文件重命名为 Index.vue,其中脚本里的 name改为'Index',父文件夹components重命名为views。
router文件夹里的index.js将 import HelloWorld from ‘@/views/HelloWorld’改为import Index from '@/views/Index'.
routes里的主页改为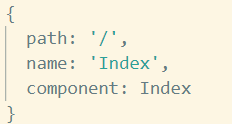
最后修改app.Vue.删除<img src="./assets/logo.png">
然后再进入localhost:8080就会看到一片空白。
STEP TWO:开始创建轮廓。
 1 <div id="container" class="bg">
 2         <!--ui-->
 3         <div id="ui_bg" class="ui_bg">
 4             <div style="float:left;margin-right:4px;">
 5                 速度:<span>1</span>
 6             </div>
 7             <div style="float:left;">
 8                 当前分数:<span>0</span>
 9             </div>
10             <div style="float:right;">
11                 最高分数:<span>0</span>
12             </div>
13         </div>
14         <game-canvas></game-canvas>
15     </div>
此时网页会报错。那是因为我们没有定义game-canvas。
在src文件夹下新建comonents文件夹,然后在里面新建 GameCanvas.vue文件。
这里,我们将定义game-canvas组件。
<template>
  <div>
      <canvas id = "game_canvas"></canvas>
  </div>
</template>
在html代码里,我们简单地定义一个canvas
data () {
    return {
      // 地图大小
      TETRIS_ROWS: 20,
      TETRIS_COLS: 14,
      canvasCtx: null,
      CELL_SIZE: 24// 每个格子的大小
    }
  }
在脚本里,data里存放了地图的行数,列数,每个格子的大小。这有助于我们后期改进。
mounted () { // 页面加载
    // 初始化canvas
    var canvas = document.getElementById('game_canvas')
    this.canvasCtx = canvas.getContext('2d')
    canvas.width = this.TETRIS_COLS * this.CELL_SIZE
    canvas.height = this.TETRIS_ROWS * this.CELL_SIZE
    this.width = canvas.width
    this.height = canvas.height
    // 绘制背景
    this.drawMap()
    // 调整container的大小
    var h = canvas.height
    h += document.getElementById('ui_bg').getBoundingClientRect().height// 加上ui_bg的高度
    var container = document.getElementById('container')
    container.style.height = h + 'px'
    container.style.width = canvas.width + 'px'
  }
mounted(),实例挂载后调用。也就是html加载完后执行。这里我们将Index.vue的container的大小调整了一番。
drawMap () {
      this.canvasCtx.beginPath()
      // TETRIS_COLS
      for (let i = 1; i < this.TETRIS_COLS; i++) {
        this.canvasCtx.moveTo(i * this.CELL_SIZE, 0)
        this.canvasCtx.lineTo(i * this.CELL_SIZE, this.height)
      }
      for (let i = 1; i < this.TETRIS_ROWS; i++) {
        this.canvasCtx.moveTo(0, i * this.CELL_SIZE)
        this.canvasCtx.lineTo(this.width, i * this.CELL_SIZE)
      }
      this.canvasCtx.closePath()
      this.canvasCtx.strokeStyle = '#b4a79d'
      this.canvasCtx.lineWidth = 0.6
      this.canvasCtx.stroke()
      // 第一行,最后一行,第一列,最后一列粗一点。
      this.canvasCtx.beginPath()
      this.canvasCtx.moveTo(0, 0)
      this.canvasCtx.lineTo(this.width, 0)
      this.canvasCtx.moveTo(0, this.height)
      this.canvasCtx.lineTo(this.width, this.height)
      this.canvasCtx.moveTo(0, 0)
      this.canvasCtx.lineTo(0, this.height)
      this.canvasCtx.moveTo(this.width, 0)
      this.canvasCtx.lineTo(this.width, this.height)
      this.canvasCtx.closePath()
      this.canvasCtx.strokeStyle = '#b4a79d'
      this.canvasCtx.lineWidth = 2
      this.canvasCtx.stroke()
    }
drawMap方法主要绘制了地图。
获取大小使用了getBoundingClientRect()而不使用this.$refs是因为在这时,this.$refs还没有被定义。
如此一来,我们的游戏地图就做好了。
接下来,我们回到Index.vue调用它!
import GameCanvas from '@/components/GameCanvas.vue'

export default {
  name: 'Index',
  data () {
    return {
      data: {
        speed: 1,
        cur_points: 0,
        max_points: 0
      }
    }
  },
  components: {
    GameCanvas
  }
}
对了!虽然我们在脚本里是使用驼峰式命名GameCanvas,但在html代码里,由于html不区分大小写,所以如果我们使用驼峰式调用GameCanvas,那么他就会报错。所以我们在html里使用短线连接game-canvas调用。
最后是css美化:
div>span{
  font-family:tmb;
  font-size:18pt;
  color:green;
}
*{
  margin:0;
  padding:0;
}
.bg{
  font-size:13pt;
  background-color:rgb(239, 239, 227);
  /*好看的渐变色*/
  background-image:radial-gradient(rgb(239, 239, 227), rgb(230, 220, 212));
  /*阴影*/
  box-shadow:#cdc8c1 -1px -1px 7px 0px;
  padding-bottom:4px;
  margin:0 auto;
}

.ui_bg{
  border-bottom:1px #a69e9ea3 solid;
  padding-bottom:2px;
  overflow:hidden;/*没有这句的话因为子div都设置了float,所以是浮在网页上的,所以父div就没有高度,这句清除了浮动,让父div有了子div的高度*/
}
完工!
看效果:
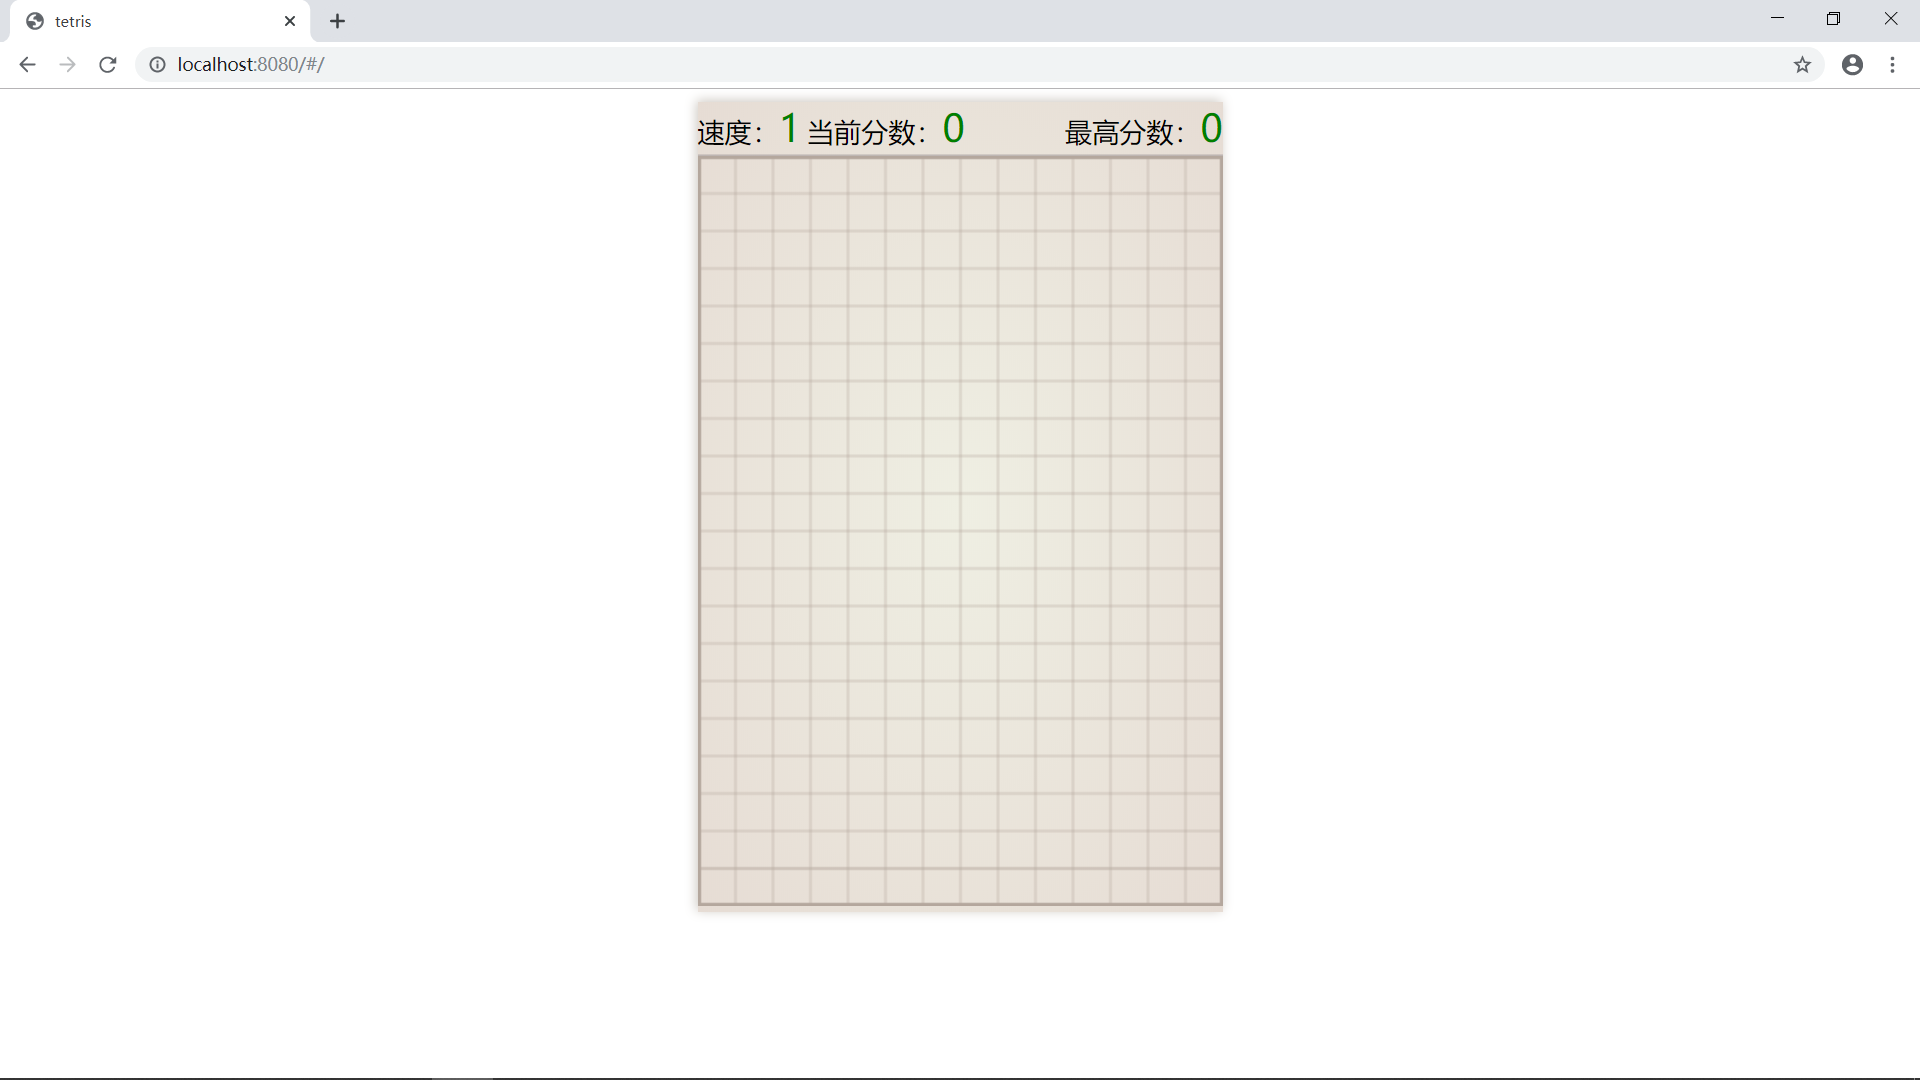
还是有点儿丑啊!
