本示例完成一个每隔一分钟向C:\log.txt文件写入一条记录为例,讲述一个Windows Service 程序的开发,安装与调试
原程序,加文档示例下载
目录索引
1 开发工具
2 开发过程
3 安装
4 开发调试
5 注意事项
6 参考资料
1. 开发工具
1.1 Visual Stuo.net 2010
1.2 Windows 7
2. 开发过程
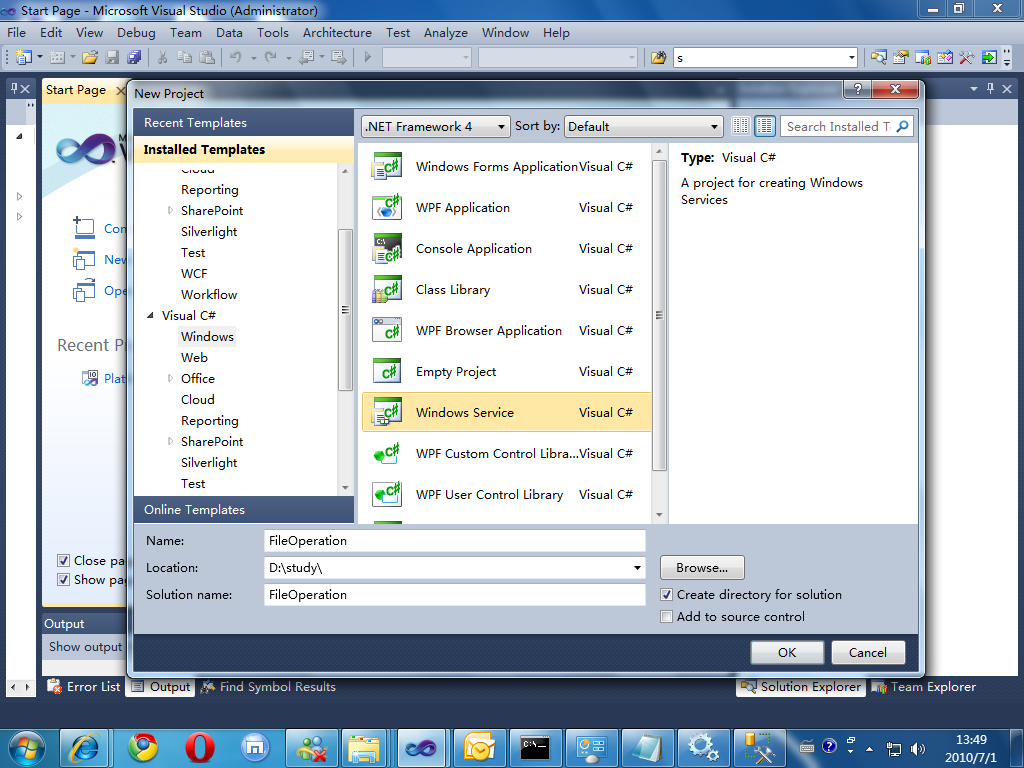
2.2 打开Visual Studio.net 2010 ,在C# 下边新建Windows Service 程序,命名为FileOperation,保存在D:\study\目录下边,如下图所示
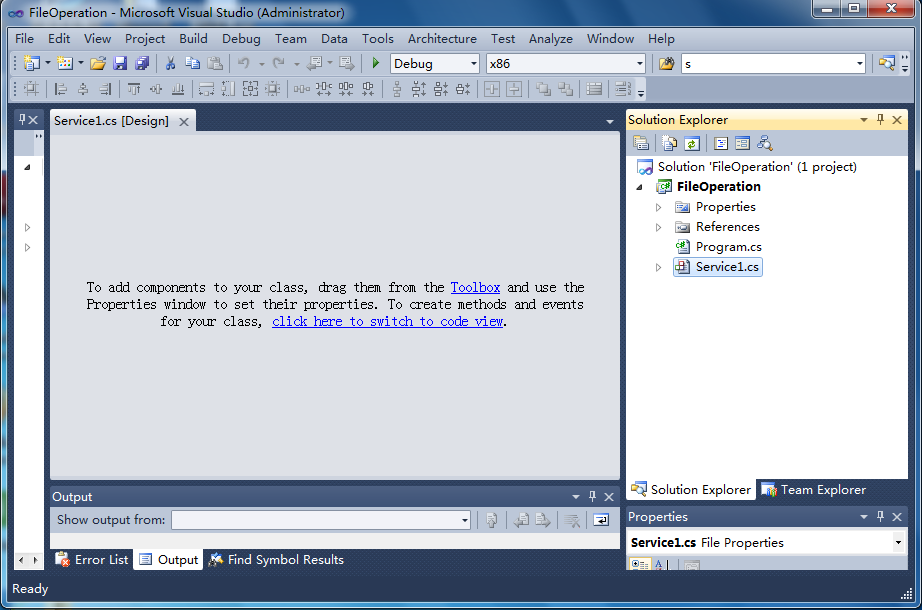
2.3 点击OK以后,展示出新建的项目如下图所示
2.4 其中Program.cs 文件里的程序如下
 代码
代码

using System.Collections.Generic;
using System.Linq;
using System.ServiceProcess;
using System.Text;
namespace FileOperation
{
static class Program
{
/// <summary>
/// The main entry point for the application.
/// </summary>
static void Main()
{
ServiceBase[] ServicesToRun;
ServicesToRun = new ServiceBase[]
{
new Service1()
};
ServiceBase.Run(ServicesToRun);
}
}
}
整个Service程序将从这里开始
默认情况下,VS会为你新建一个名为Service1的服务程序,右击Service1.cs然后选择View Code,打开服务程序的代码窗,程序如下
代码
using System.Collections.Generic;
using System.ComponentModel;
using System.Data;
using System.Diagnostics;
using System.Linq;
using System.ServiceProcess;
using System.Text;
namespace FileOperation
{
public partial class Service1 : ServiceBase
{
public Service1()
{
InitializeComponent();
}
protected override void OnStart(string[] args)
{
}
protected override void OnStop()
{
}
}
}
其中OnStart(),OnStop() 根据你的需要写入你在Service程序开始和停止的时候要干什么
2.5 既是要定时往C盘根目录去新建一个文件夹,那就需要一个Timer,并且告知他一分钟执行一次,加上Timer以后代码如下
代码
using System;
using System.Collections.Generic;
using System.ComponentModel;
using System.Data;
using System.Diagnostics;
using System.Linq;
using System.ServiceProcess;
using System.Text;
using System.Timers;
namespace FileOperation
{
public partial class Service1 : ServiceBase
{
private readonly Timer _MyTimer;
public Service1()
{
InitializeComponent();
_MyTimer = new Timer(1 * 60 * 1000); //单位为分钟
_MyTimer.Elapsed += _MyTimerElapsed;
}
protected override void OnStart(string[] args)
{
_MyTimer.Start();
}
protected override void OnStop()
{
_MyTimer.Stop();
}
internal void _MyTimerElapsed(object sender, ElapsedEventArgs e)
{
try
{
//添加往C盘新建文本文件的程序
}
catch (Exception ex)
{ }
}
}
}
注意引用 : using System.Timers;
只要在internal void _MyTimerElapsed(object sender, ElapsedEventArgs e) 方法中添加你的程序即可
2.6 既是要文件操作,首先需要添加相关命名空间的引用,以方便你的代码编写
完了以后你的程序如下
代码
{
try
{
//添加往C盘新建一个文本文件的程序
try
{
string logFileName = @"C:\\log.txt"; // 文件路径
FileInfo fileinfo = new FileInfo(logFileName);
using (FileStream fs = fileinfo.OpenWrite())
{
StreamWriter sw = new StreamWriter(fs);
sw.WriteLine("=====================================");
sw.Write("添加日期为:" + DateTime.Now.ToString() + "\r\n");
sw.WriteLine("=====================================");
sw.Flush();
sw.Close();
}
}
catch (Exception ex)
{
// ex.ToString();
}
}
catch (Exception ex)
{ }
}
2.7 接下来就程序的安装与调试,看以上新建目录程序是否正常
3. 安装
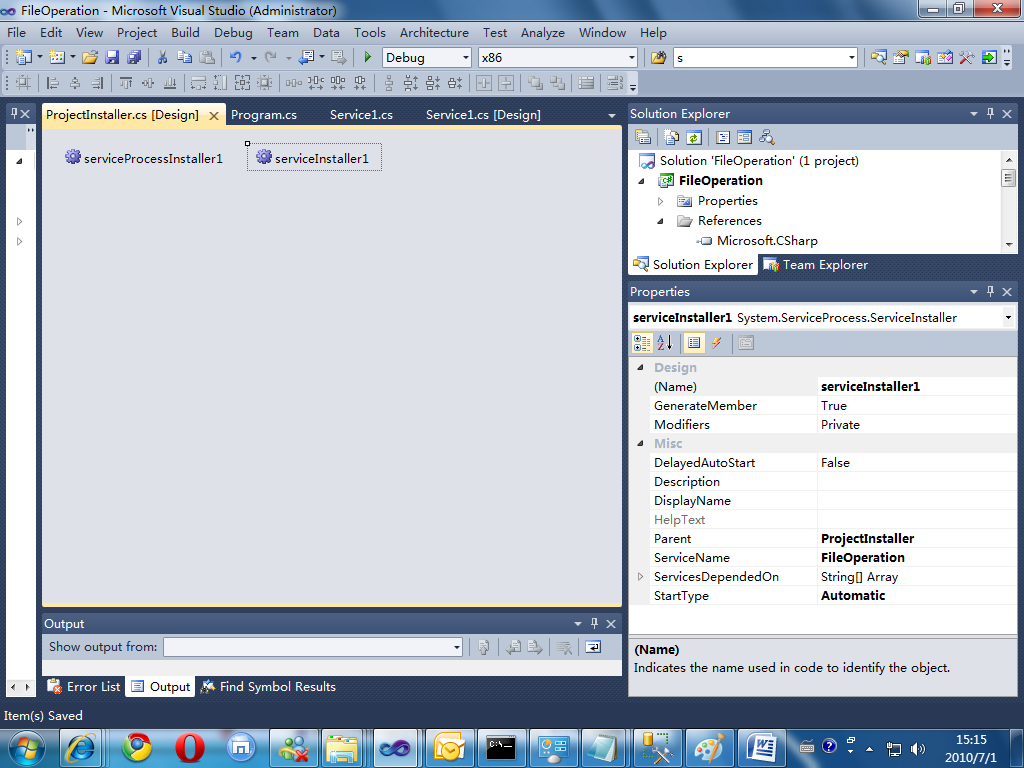
1.1 右击Service1 选择 View Desinger 打开设计视图,右击设计视图的空白处选择add Installer ,会为你新建ProjectInstaller.cs安装项目文件,打开刚刚新建的ProjectInstaller.cs的设计视图,单击serviceInstaller1,在属性窗口,将ServiceNmae 设置为FileOperation ,StartType 属性设置为Automatic表示系统启动后自动运行服务程序如下图所示,将serviceProcessInstaller1 的Account属性设置为LocalService
3.1 通过以上步骤以后,一个服务程序开发基本完成,你只需要把它安装即可,选择解决方案,生成解决方案,再打开你的方案位置文件夹下,看看你的Bin目录,出现如下文件
FileOperation.exe
FileOperation.pdb
FileOperation.vshost.exe
FileOperation.vshost.exe.manifest
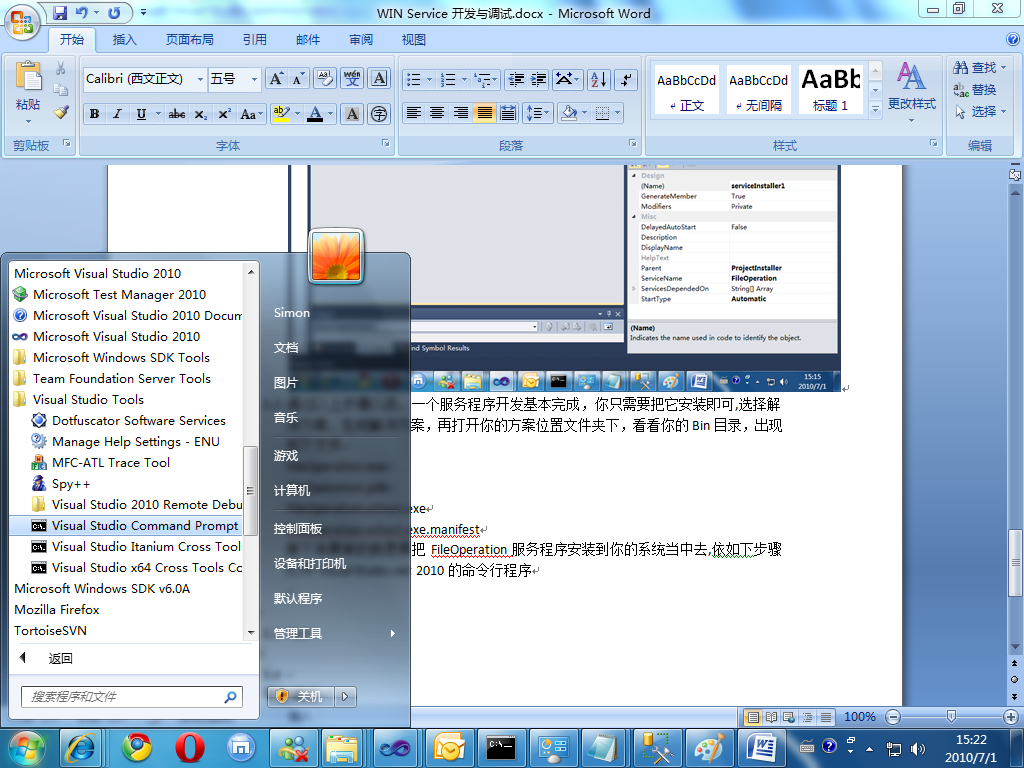
接下来要做的就是要把FileOperation服务程序安装到你的系统当中去,依如下步骤打开Visual Studio.net 2010的命令行程序
如下图所示
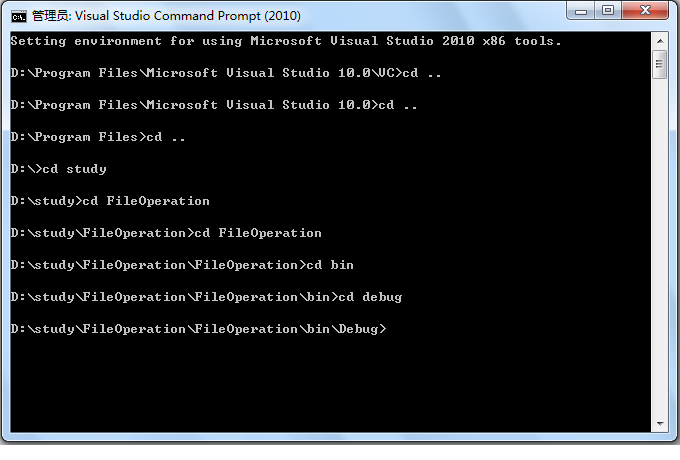
3.2 将命令行程序转到你项目bin文件夹下如下图所示
3.3 安装和缷载Windows Service的命令分别是
installutil 服务程序.exe, installutil /u服务程序.exe
这里我先安装项目,输入如下命令
Installutil FileOperation.exe
将出现如下图所示内容
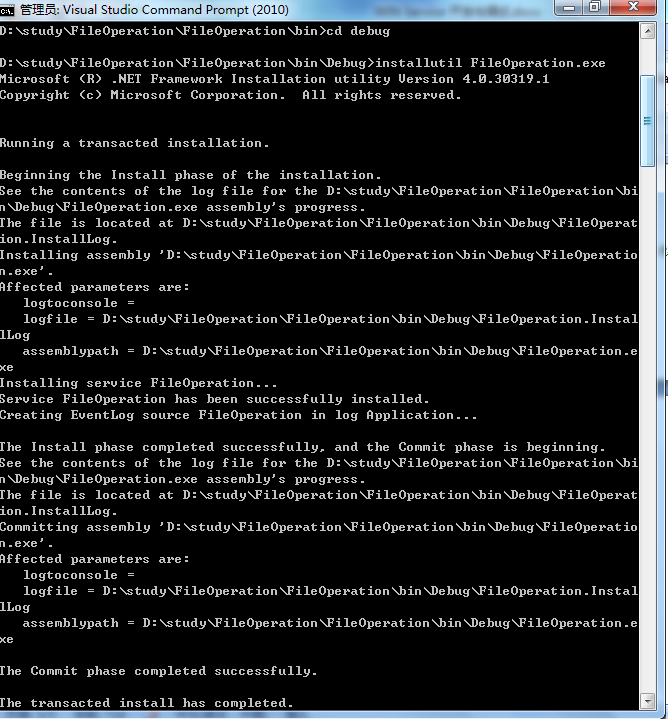
最后内容将看到
The Commit phase completed successfully
the transacted install has completed
表示服务程序已经安装完成
通过以下步骤打开服务窗口,你将看到名为FileOperation服务程序
开始->控制面版->系统与安全->管理工具->服务
你需要手动启动服务,一段时间以后你将看到log.txt 文件里写的信息
4. 开发调试
1.1 Windows service 程序无法像其它程序那样按F5去设置断点来调试,需要采用附加进程的方式,依如下操作便加像平常一样去调试程序了
Debug->Attach to process,选中刚刚开发好的FileOperation进程后,点击attach,便可以设置断点了,由于之前的程序是一分钟执行一次写文件操作,你每隔一分钟将会收到一次调试,需要注意的是,你调试的程序一定要和你安装的服务程序是完全一样的。
5. 注意事项
略
6. 参考文资料
http://msdn.microsoft.com/zh-cn/library/9k985bc9(v=VS.80).aspx