系统、软件环境:
Centos 6.5
elasticsearch 6.1.1
elasticsearch 安装的话是很简单的,但是安装完成启动的时候报错,下面我就一一的来描述错误,并提供相应的解决方法.
1、安装
官网下载安装包
https://www.elastic.co/downloads/elasticsearch
然后解压
tar -zxvf elasticsearch-6.1.1.tar.gz -C /opt/modules/
安装就至此完成了
2、然后启动
cd /opt/modules/elasticsearch-6.1.1
bin/elasticsearch &
但是没有启动成功,大致遇到的问题如下:
3、遇到的问题
3.1:警告提示
[2016-11-06T16:27:21,712][WARN ][o.e.b.JNANatives ] unable to install syscall filter:
java.lang.UnsupportedOperationException: seccomp unavailable: requires kernel 3.5+ with CONFIG_SECCOMP and CONFIG_SECCOMP_FILTER compiled in
at org.elasticsearch.bootstrap.Seccomp.linuxImpl(Seccomp.java:349) ~[elasticsearch-5.0.0.jar:5.0.0]
at org.elasticsearch.bootstrap.Seccomp.init(Seccomp.java:630) ~[elasticsearch-5.0.0.jar:5.0.0]
报了一大串错误,其实只是一个警告。
解决:使用新的linux版本,就不会出现此类问题了。
3.2:ERROR: bootstrap checks failed
max file descriptors [4096] for elasticsearch process likely too low, increase to at least [65536]
max number of threads [1024] for user [lishang] likely too low, increase to at least [2048]
解决:切换到root用户,编辑limits.conf 添加类似如下内容
vi /etc/security/limits.conf
添加如下内容:
* soft nofile 65536
* hard nofile 131072
* soft nproc 4096
* hard nproc 4096
3.3:max number of threads [1024] for user [lish] likely too low, increase to at least [2048]
解决:切换到root用户,进入limits.d目录下修改配置文件。
vi /etc/security/limits.d/90-nproc.conf
修改如下内容:
* soft nproc 1024
#修改为
* soft nproc unlimited(正常情况下,最好不要这么改,因为我是测试环境,自己搭建的虚拟机,所以为了省事,就这样写了,按照报错信息,修改为 4096就可以了)
4.4:max virtual memory areas vm.max_map_count [65530] likely too low, increase to at least [262144]
解决:切换到root用户修改配置sysctl.conf
vi /etc/sysctl.conf
添加下面配置:
vm.max_map_count=655360
并执行命令:
sysctl -p
4.5:max file descriptors [4096] for elasticsearch process likely too low, increase to at least [65536]
解决:修改切换到root用户修改配置limits.conf 添加下面两行
命令:vi /etc/security/limits.conf
* hard nofile 65536
* soft nofile 65536
4.6 [2]: system call filters failed to install; check the logs and fix your configuration or disable system call filters at your own risk
修改 es 安装目录下 config/elasticsearch.yml 内容
添加如下的配置:
bootstrap.system_call_filter: false
5、然后再次启动(后台启动),就可以了
bin/elasticsearch &
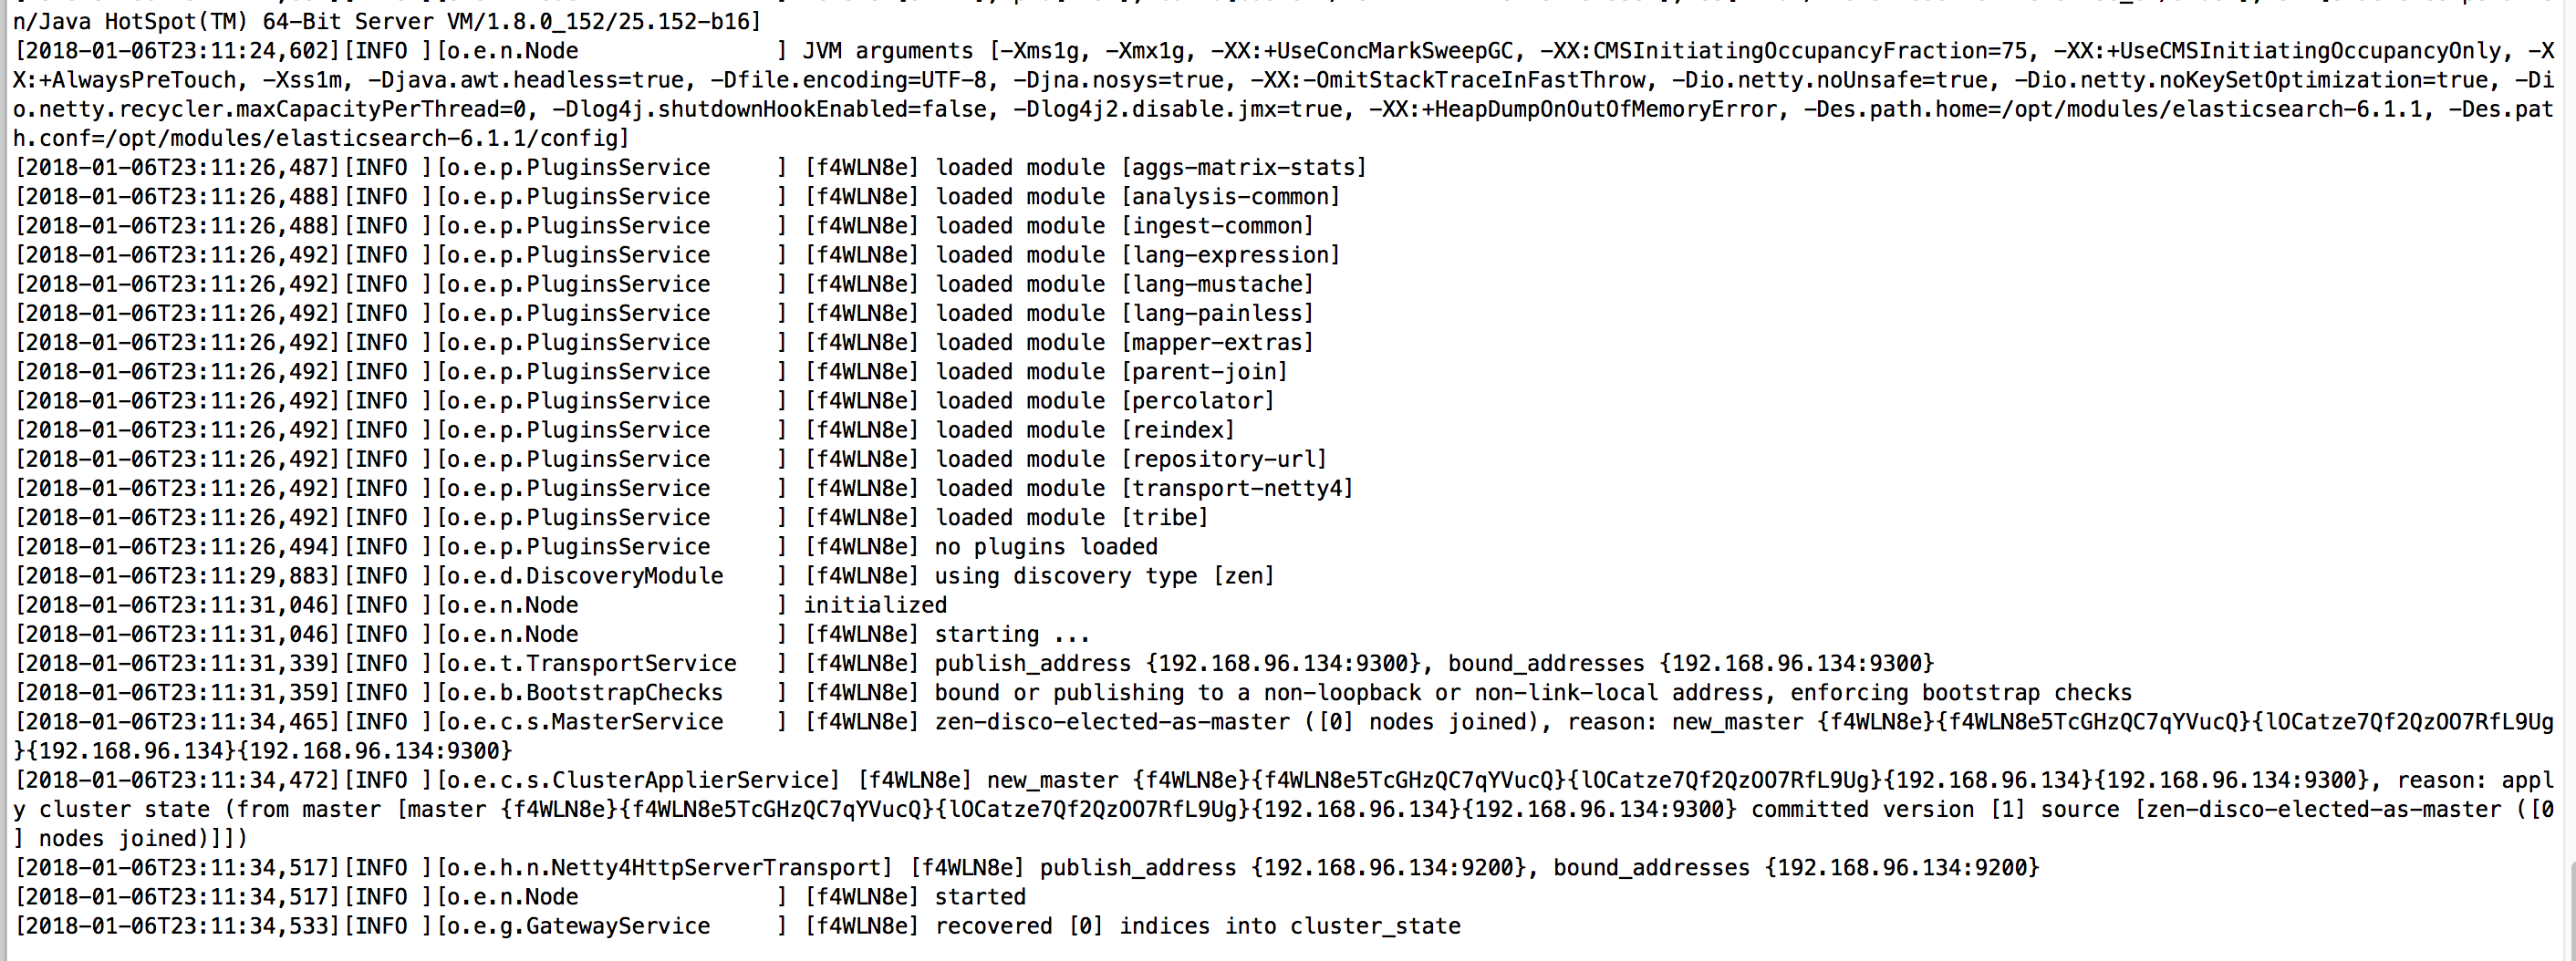
可以看到已经启动成功。
6、2018.02.02 在我们公司服务器安装的时候又遇到了一个问题,在此也记录一下吧
[2018-02-02T16:33:50,402][WARN ][o.e.b.JNANatives         ] Unable to lock JVM Memory: error=12, reason=无法分配内存
[2018-02-02T16:33:50,404][WARN ][o.e.b.JNANatives         ] This can result in part of the JVM being swapped out.
[2018-02-02T16:33:50,404][WARN ][o.e.b.JNANatives         ] Increase RLIMIT_MEMLOCK, soft limit: 65536, hard limit: 65536
[2018-02-02T16:33:50,404][WARN ][o.e.b.JNANatives         ] These can be adjusted by modifying /etc/security/limits.conf, for example:
        # allow user 'es' mlockall
        es soft memlock unlimited
        es hard memlock unlimited
解决方案:
使用当前启动 es 的用户,我的启动用户就是 es,所以在 es 账户下执行如下的命令:
ulimit -H -l
unlimited
好了,今天 es 的安装说明就到这里了。