上一篇,我们讲到了如何利用BCS服务,直接连接到SQL Server数据库实现一些简单的应用程序集成的场景。看起来很不错,不是吗?
但是,事实上,直接连接到数据库也许有时候是不可能实现的任务,很多系统并不可能直接将数据库暴露出来的。地球人都知道,那样的风险极高。
那么,比较可行的是什么方式呢?我觉得很多系统倒是有公开一些服务,这些服务有的使用Web Service实现,有的不是。这都不要紧。总之,由这些服务去连接数据库,而我们做集成的时候,并不需要知道数据库在哪里?以及什么结构等等信息。
这一篇,我们讲解使用WCF作为服务,实现应用程序集成的简单步骤
1. 创建一个测试用的服务
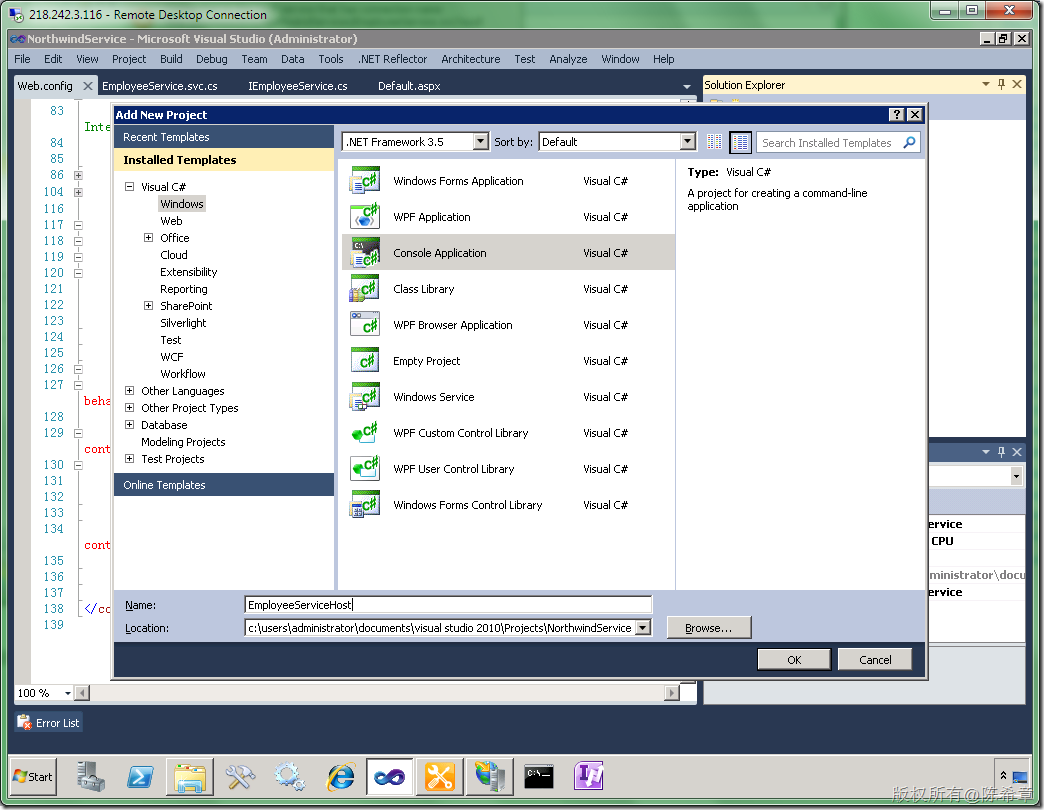
为了快速开发,我们会将该服务宿主在一个Web Application中,所以首先我们需要创建这个Application
默认会有下面这样的项目结构
我们无需修改default.aspx.因为我们根本不使用它
为了读取数据库,我们可以创建一个LINQ to SQL数据模型
我们可以将Northwind数据库的连接定义在Server Explorer中,并且将Employees表拖拽到这个设计器中来
保存该模型。下面我们就来添加我们的服务了
修改这个IEmployeeService成下面这样
using System;
using System.Collections.Generic;
using System.Linq;
using System.Runtime.Serialization;
using System.ServiceModel;
using System.Text;

namespace NorthwindService
{
    // NOTE: You can use the "Rename" command on the "Refactor" menu to change the interface name "IEmployeeService" in both code and config file together.
    [ServiceContract]
    public interface IEmployeeService
    {
        [OperationContract]
        Employee[] GetEmployeeList();

        [OperationContract]
        Employee GetEmployeeItem(int id);
    }
}
接下来修改EmployeeService.svc.cs
using System;
using System.Collections.Generic;
using System.Linq;
using System.Runtime.Serialization;
using System.ServiceModel;
using System.Text;

namespace NorthwindService
{
    // NOTE: You can use the "Rename" command on the "Refactor" menu to change the class name "EmployeeService" in code, svc and config file together.
    public class EmployeeService : IEmployeeService
    {

        public Employee[] GetEmployeeList()
        {
            NorthwindDataContext context = new NorthwindDataContext();
            return context.Employees.ToArray();
        }

        public Employee GetEmployeeItem(int id)
        {
            NorthwindDataContext context = new NorthwindDataContext();
            return context.Employees.FirstOrDefault(e => e.EmployeeID == id);
        }
    }
}
这样就好了,下面我们可以测试该服务了
选中“EmployeeService.svc”这个文件,右键,
如果看到下面这样的界面,则基本上是表示服务创建没有什么大的问题
点击http://localhost:8027/EmployeeService.svc?wsdl这个链接
我们可以用一个工具来测试一下到底能不能返回正确的结果
点击“File”=》”Add Service”,然后输入服务地址
【注意】你的地址可能和我不一样,主要检查端口号
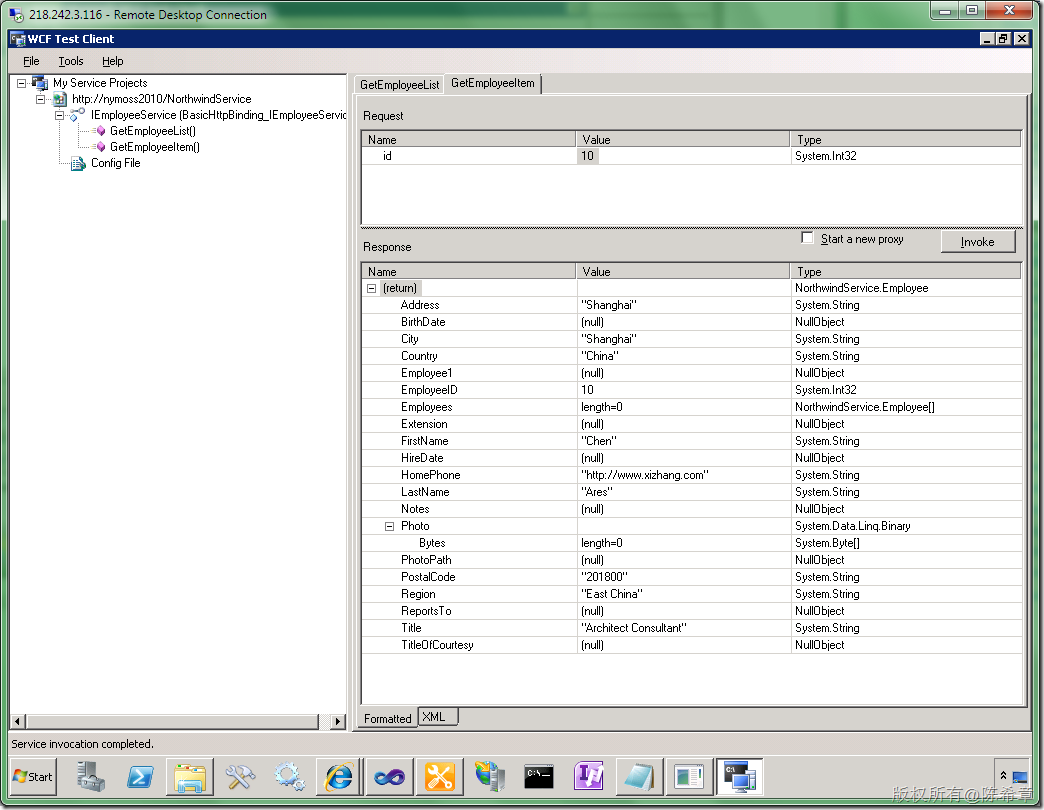
双击GetEmployeeItem,输入一个id的值(例如10),然后点击 ”Invoke“按钮
好,如果是这样的话,则表示该服务是能够正常工作的。
2. 创建BCS 内容类型,使用该服务
既然服务准备好了,下面我们就来看看如何在BCS外部内容类型中使用该服务
首先,仍然是在下面的界面中,点击左上角的 “External Content Type”按钮
然后做一些必要的修改,使界面看起来像下面这样
仍然是点击”Click here to discover external data sources …“
再次点击 “Add Connection”
将Type设置为WCF Service
Ooooop ,我收到了一个错误
它的意思是说,不能使用localhost这个写法。好吧,我们从善如流吧。我们可以将网站发布到IIS
【注意】这个发布向导是VS2010新增的,还可以
发布之后,应该可以看到IIS中如下的效果
然后,我们确认在浏览器中,可以通过下面的地址访问到服务
http://nymoss2010/NorthwindServices/EmployeeService.svc
修改下面的地址
但是却仍然是报告错误
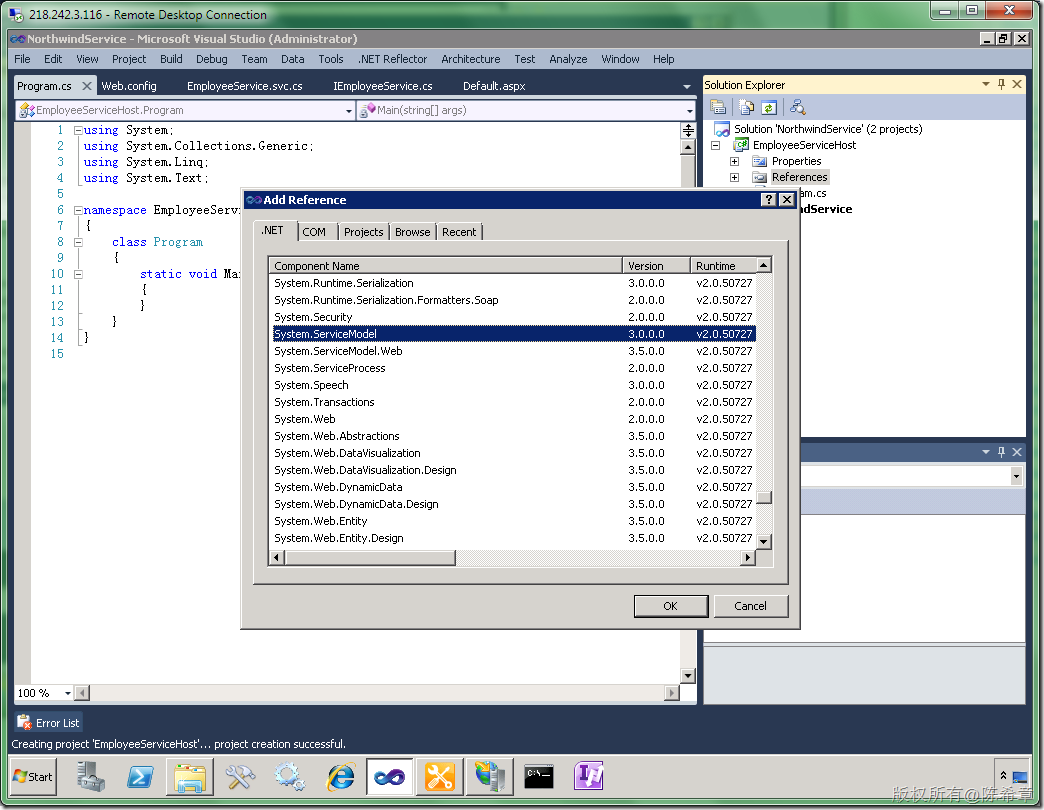
My God !![]() 好吧,再大的困难也难不倒英雄的中华儿女们。为了排除到底是不是IIS的问题,我们可以单独来做一个宿主好了。
好吧,再大的困难也难不倒英雄的中华儿女们。为了排除到底是不是IIS的问题,我们可以单独来做一个宿主好了。
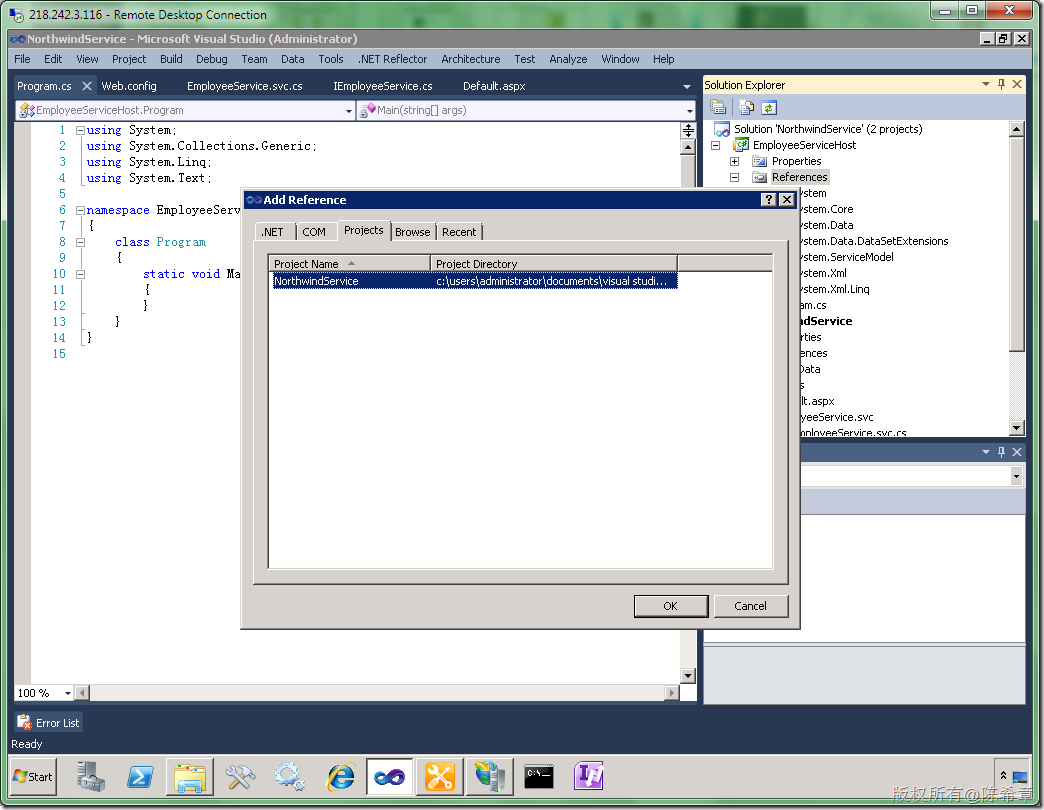
添加引用
在Main方法中编写如下代码
using System;
using System.Collections.Generic;
using System.Linq;
using System.Text;
using System.ServiceModel;
using NorthwindService;
using System.ServiceModel.Description;

namespace EmployeeServiceHost
{
    class Program
    {
        static void Main(string[] args)
        {
            using (ServiceHost host = new ServiceHost(
                typeof(EmployeeService), new Uri("http://nymoss2010/NorthwindService")))
            {
                host.AddServiceEndpoint(
                    typeof(IEmployeeService).FullName,
                    new BasicHttpBinding(),
                    "");


                ServiceMetadataBehavior behavior = new ServiceMetadataBehavior();
                behavior.HttpGetEnabled = true;
                host.Description.Behaviors.Add(behavior);

                host.AddServiceEndpoint(
                    "IMetadataExchange",
                    MetadataExchangeBindings.CreateMexHttpBinding(),
                    "mex");

                host.Open();
                Console.WriteLine("Server is ready");
                Console.Read();

            }
        }
    }
}
同时,在这个宿主中添加一个配置文件app.config,编辑内容如下
providerName="System.Data.SqlClient" />
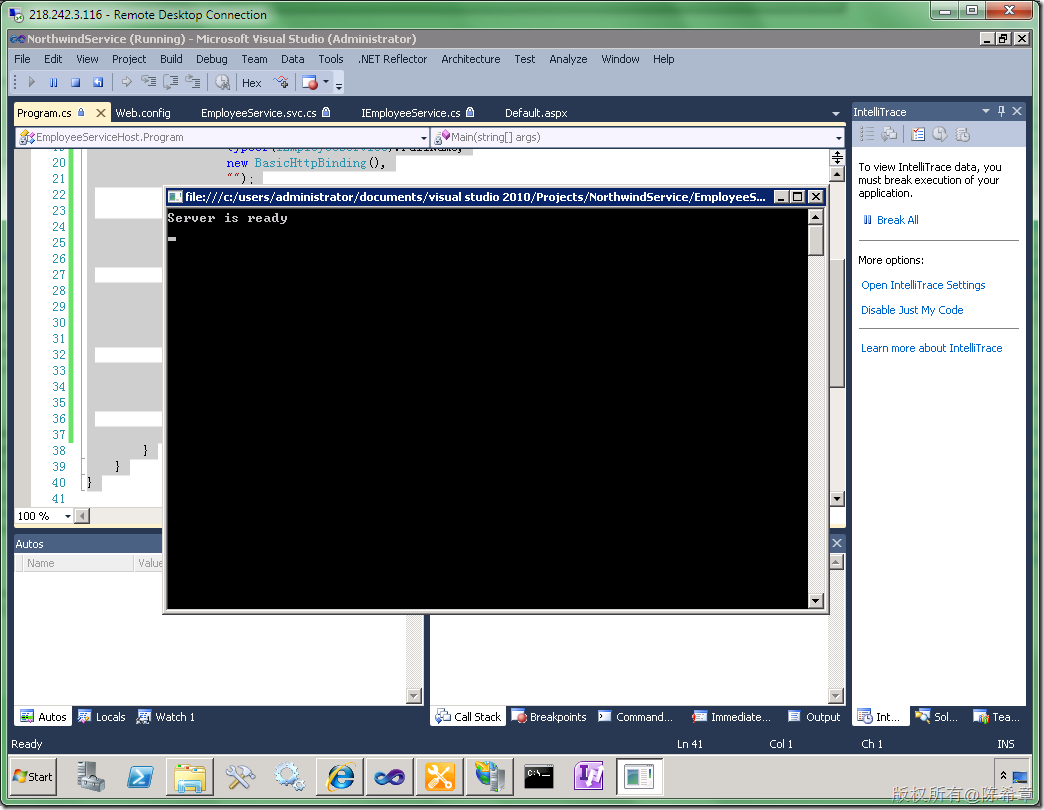
将该程序启动为调试状态
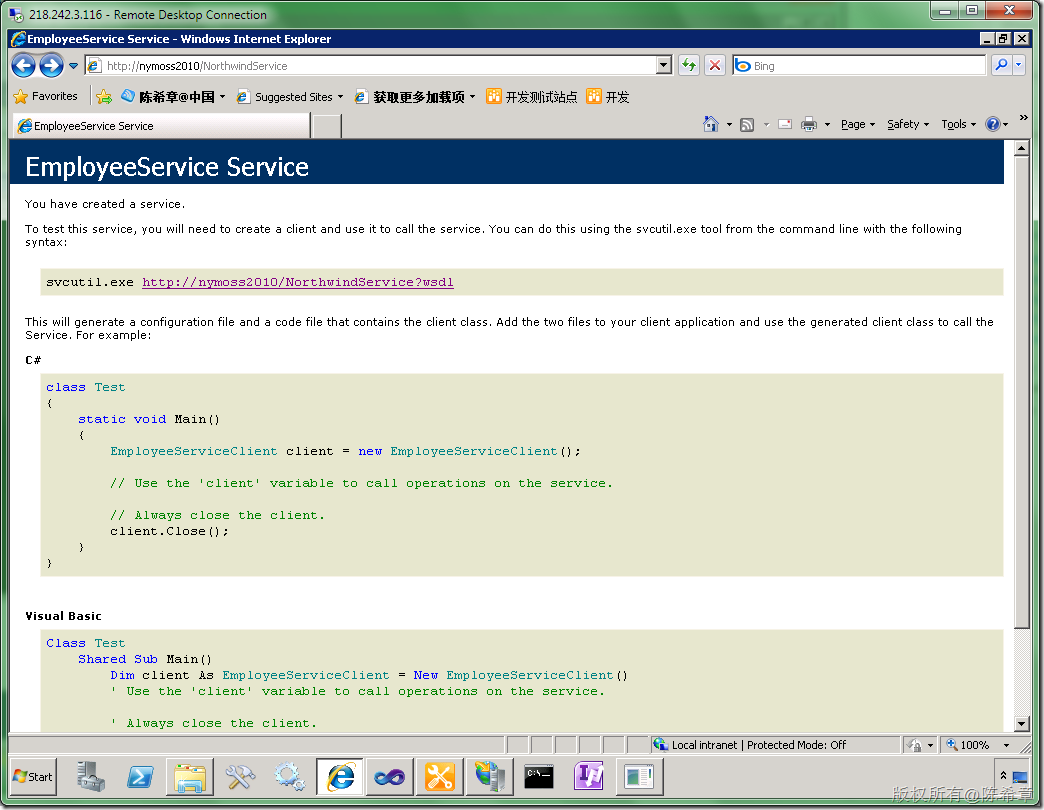
然后可以通过下面地址访问到该服务
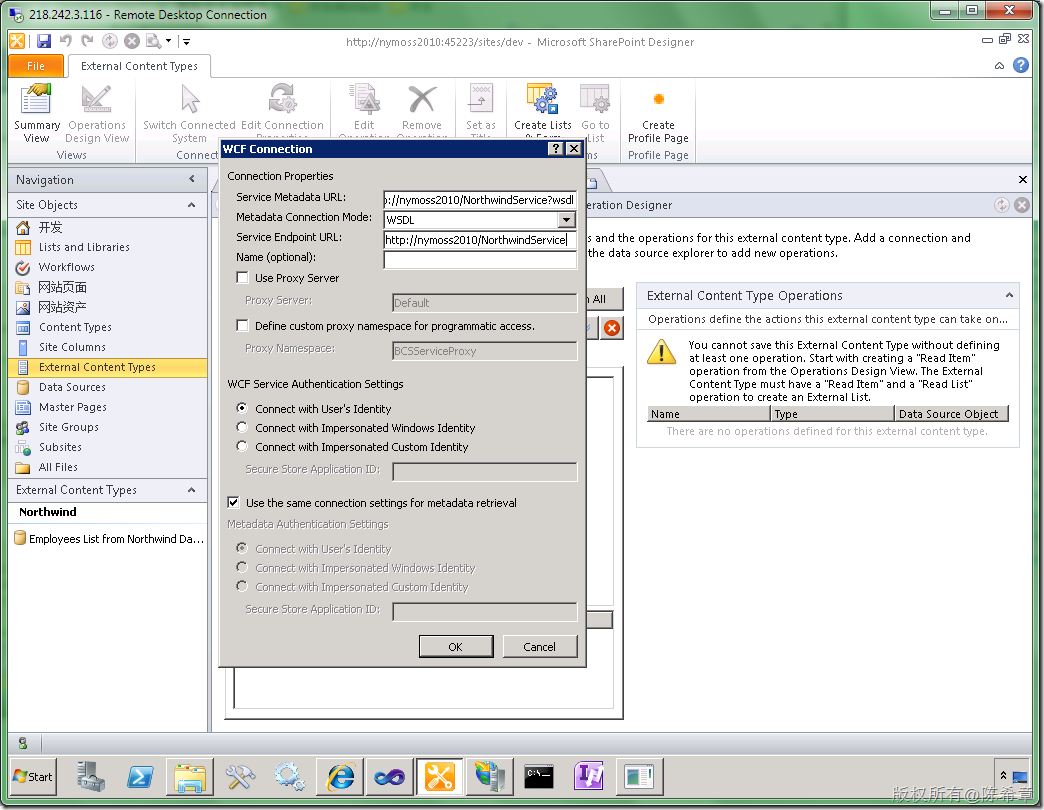
然后再去添加该服务吧
【注意】Service Metadata URL是有一个?wsdl的后缀的
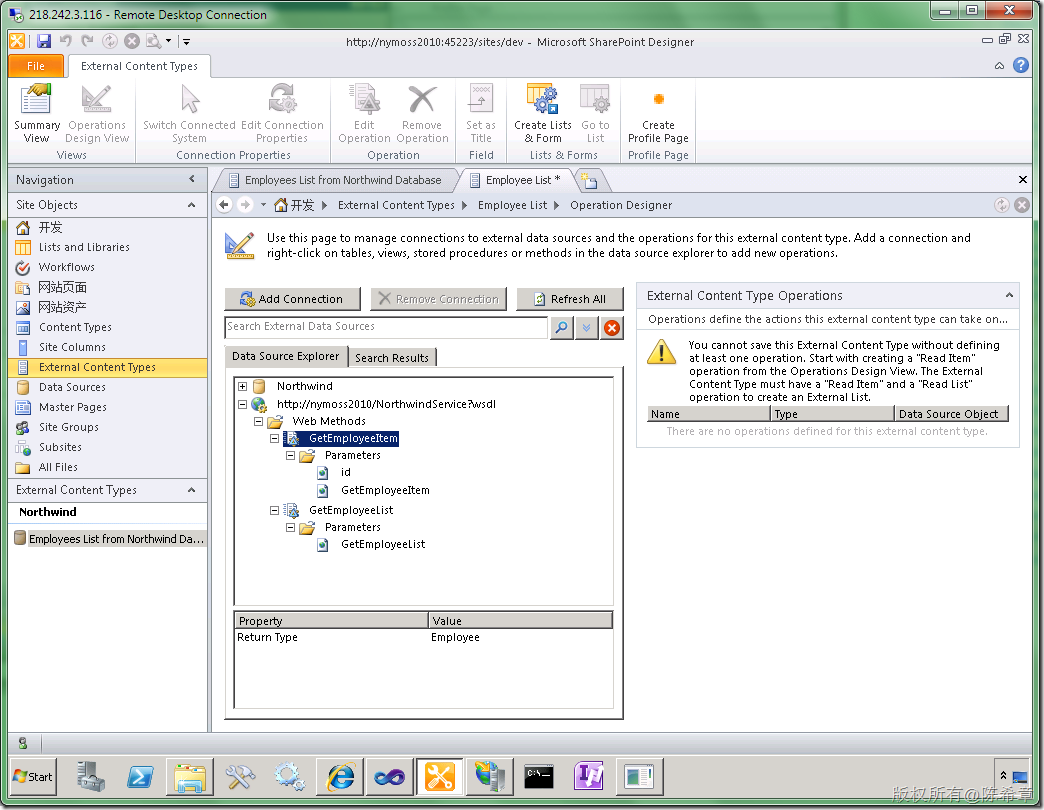
【注意】我们发现现在是可以了。所以刚才那个应该是IIS某些地方出了问题,也可能是因为beta版的缘故吧。暂时不理会它。
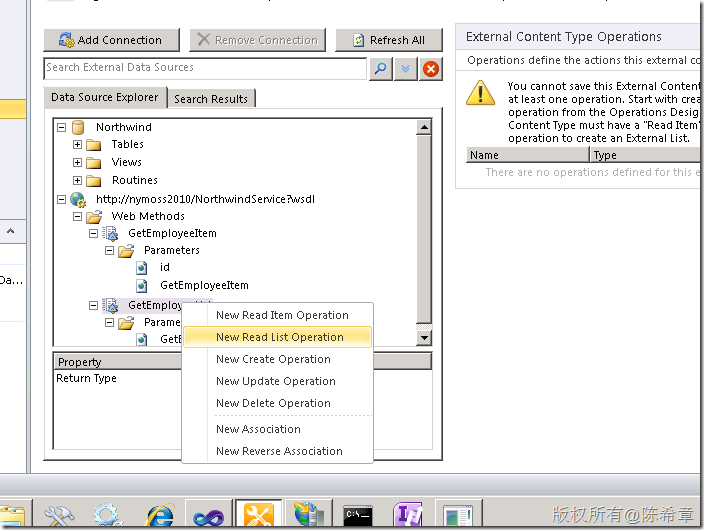
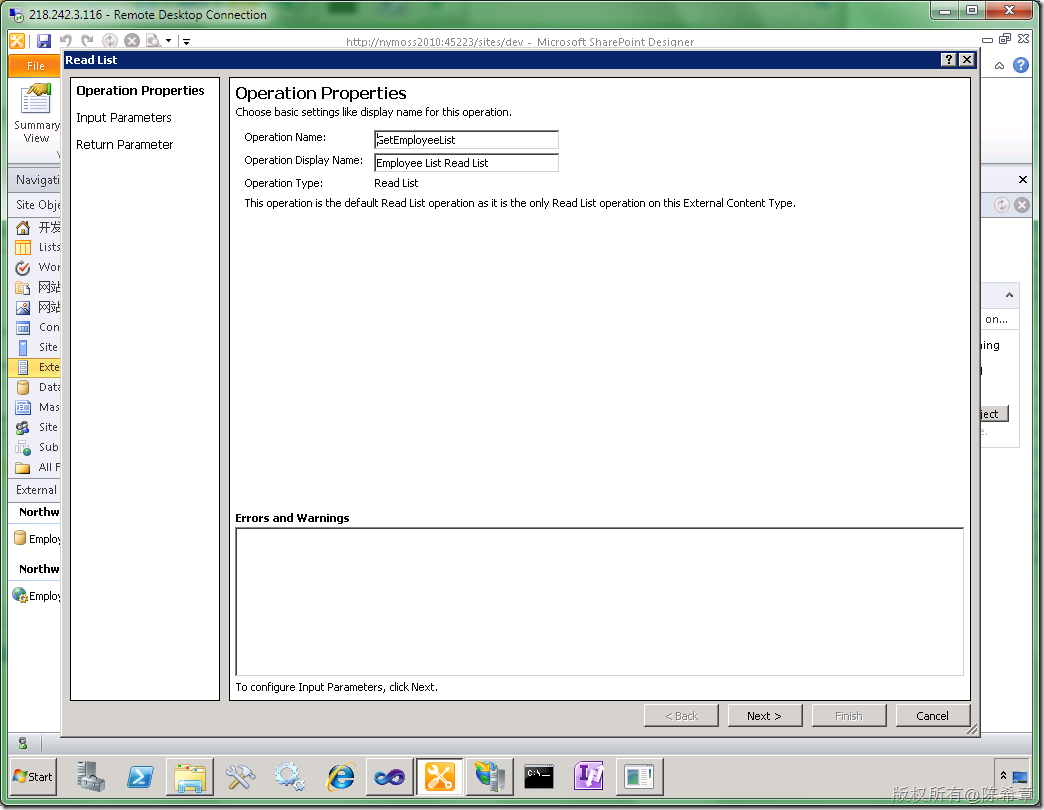
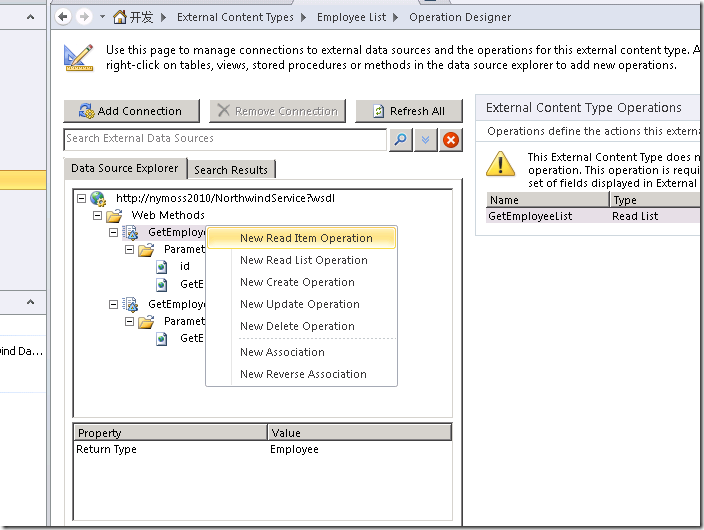
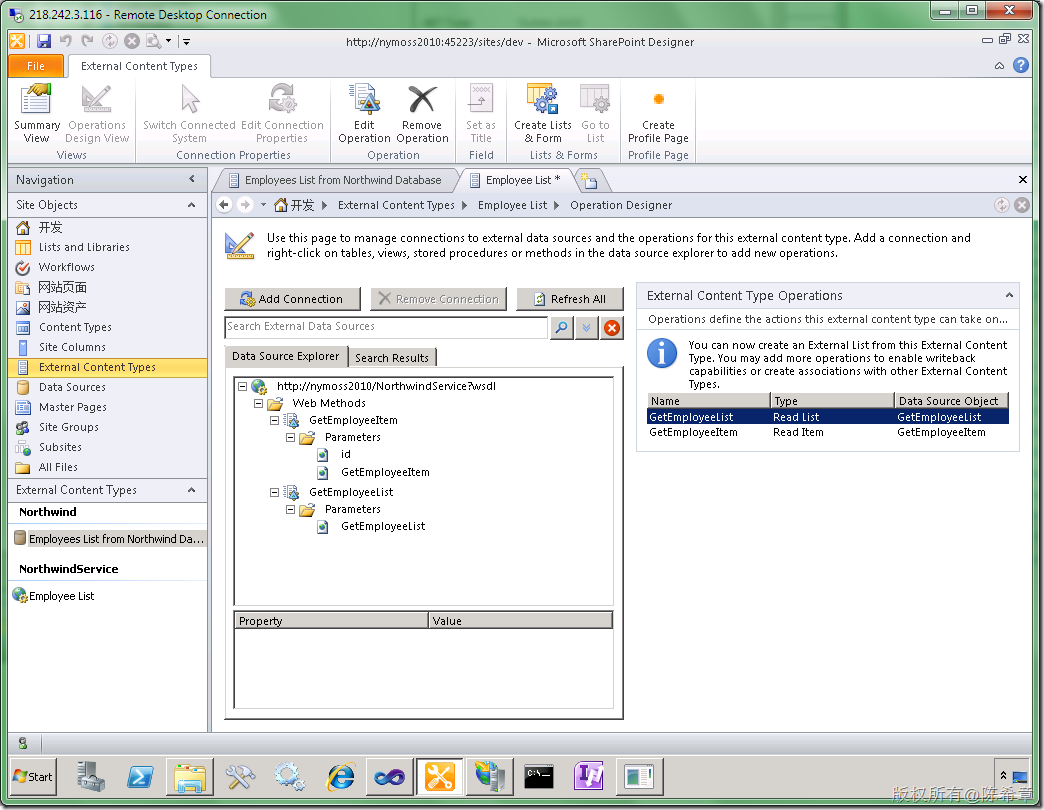
选中 “GetEmployeeList”,右键,选择”New Read List Operation“
点击Next
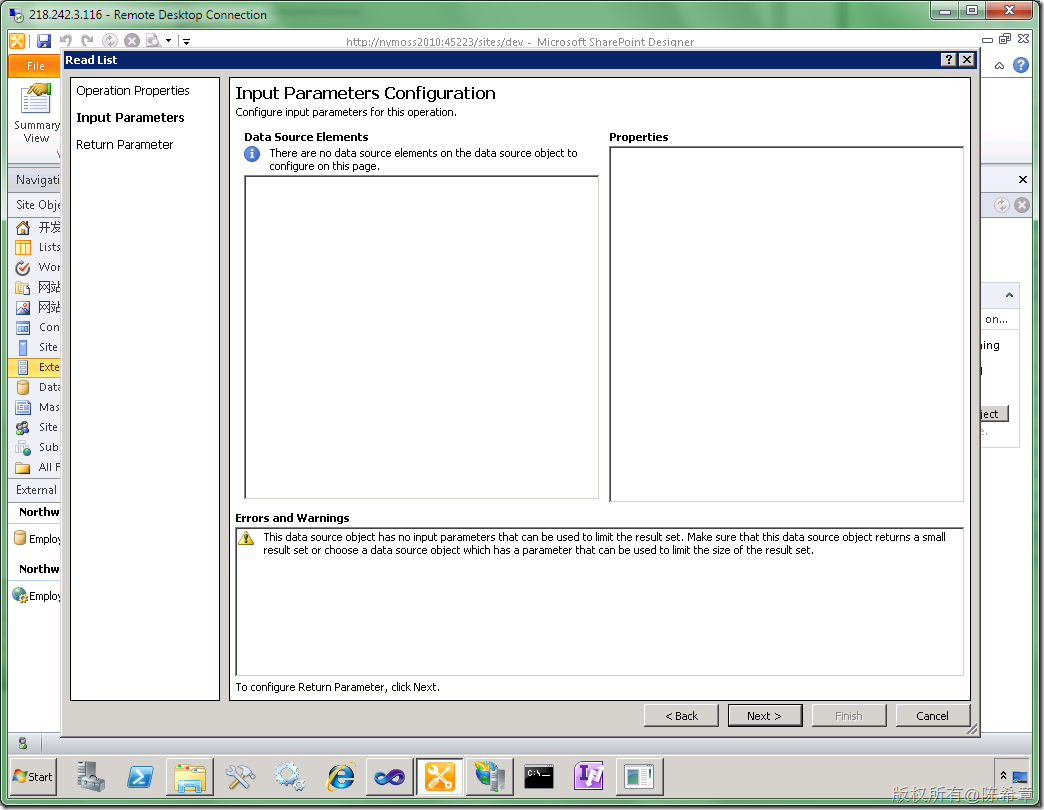
继续Next
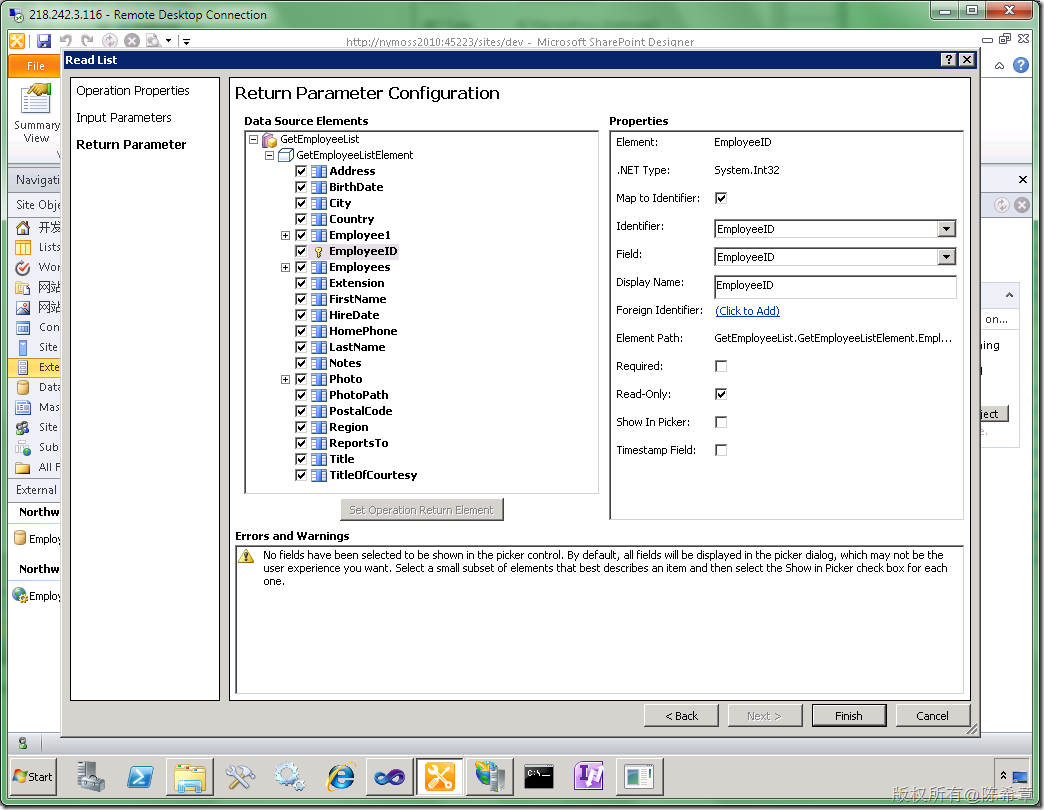
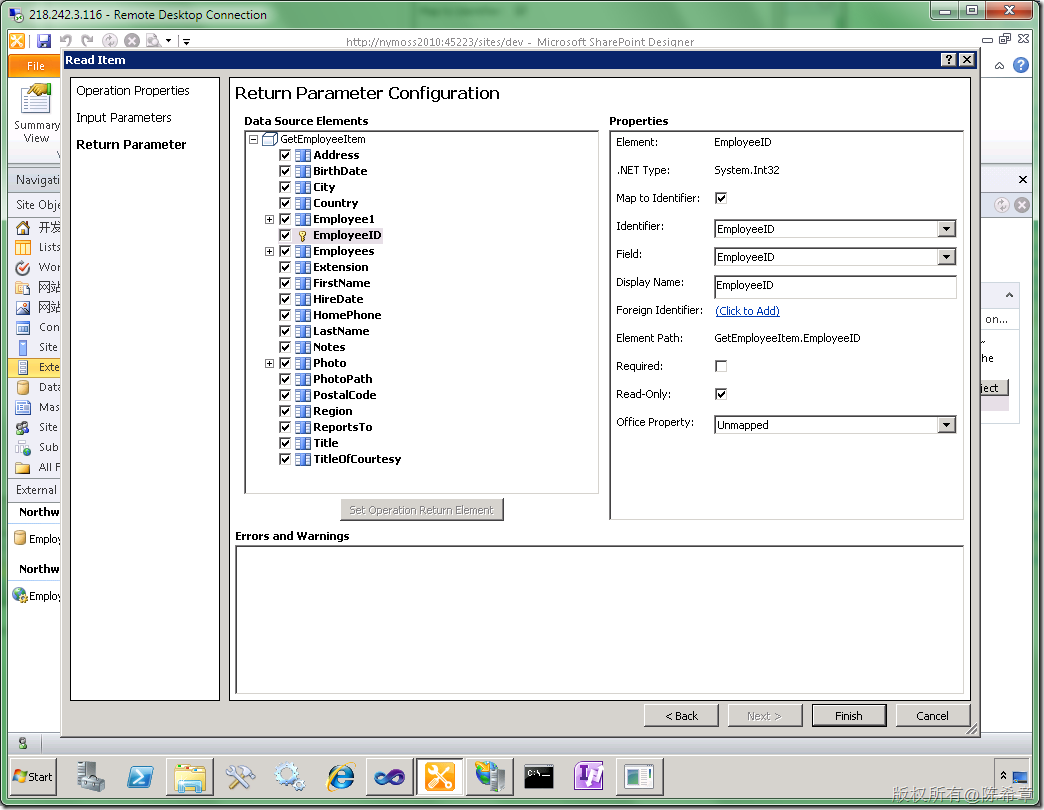
选中”EmployeeId“,将其Map toIdentifier
点击Finish完成该Operation的定义
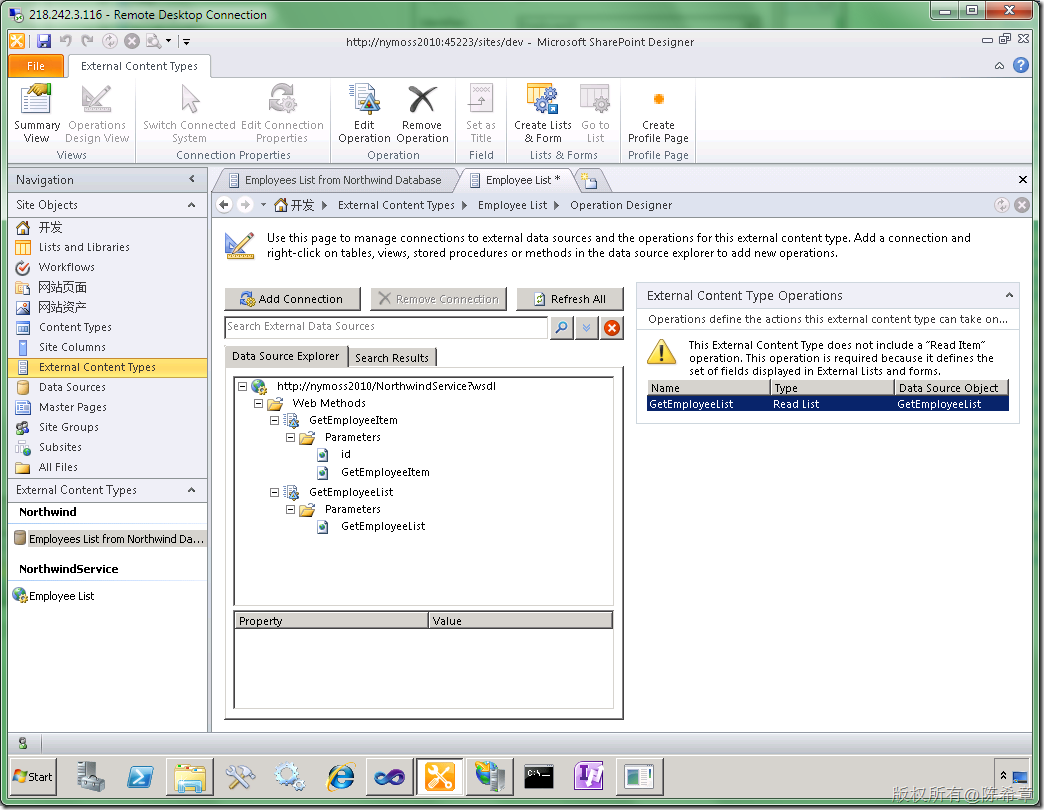
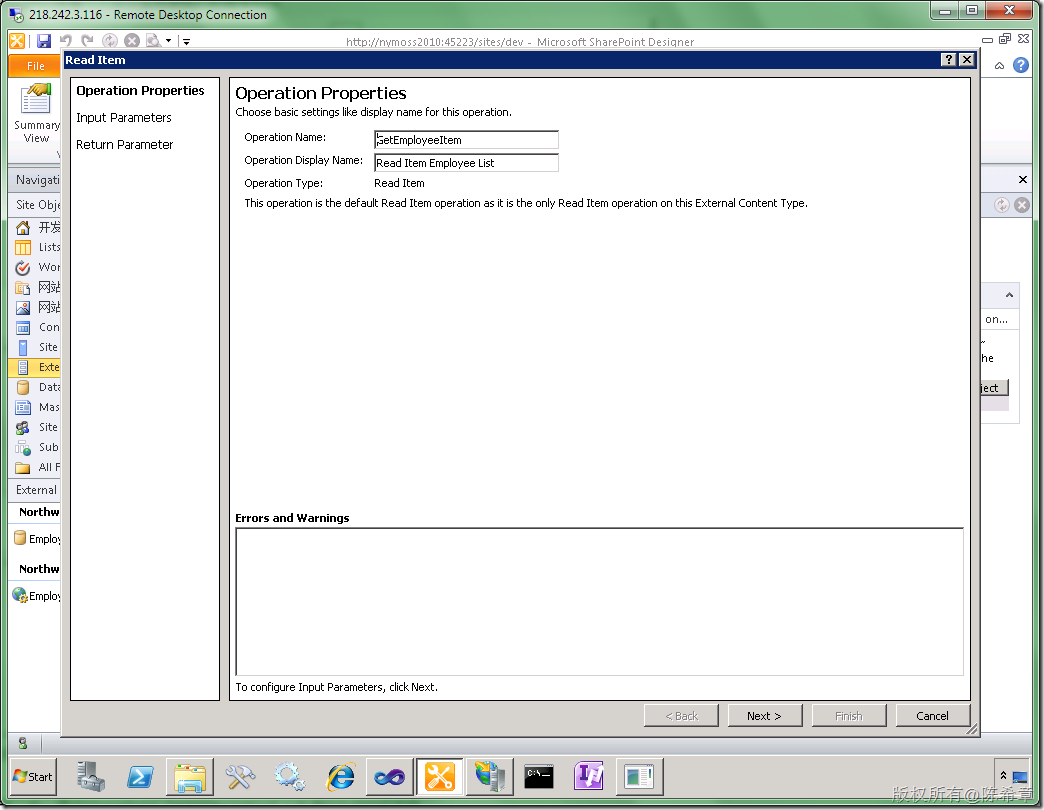
然后,我们再 选中GetEmployeeItem,右键,New Read Item Operation
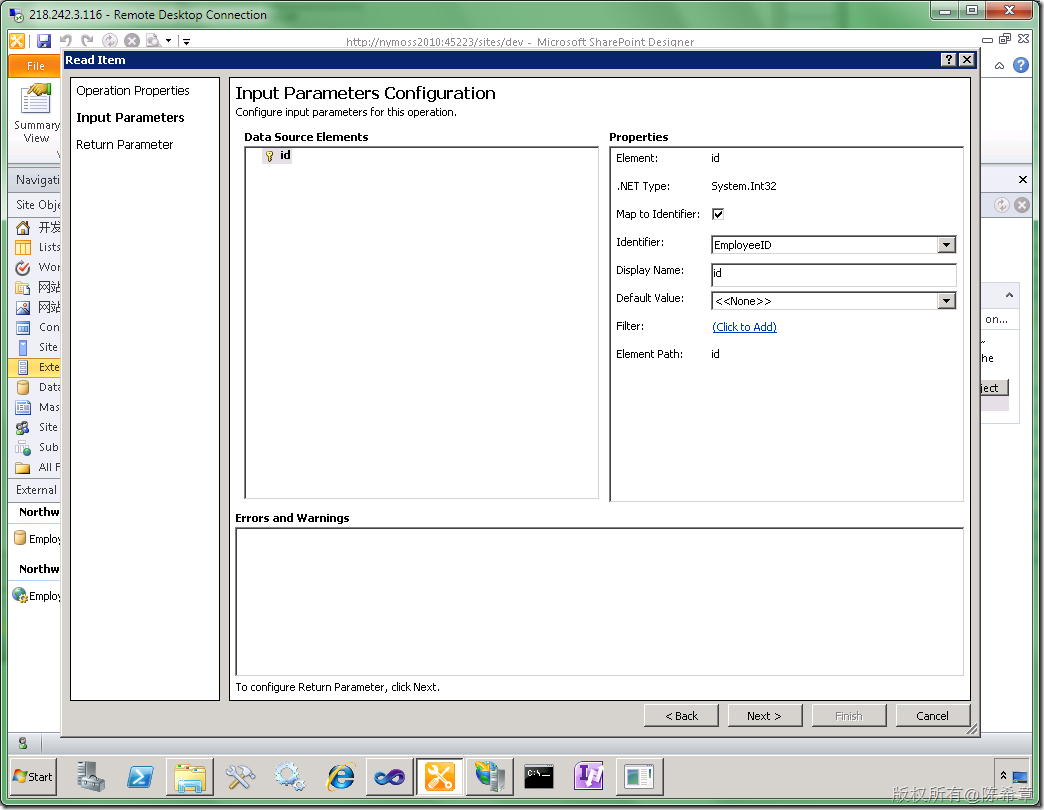
【注意】这里也需要Map to identifier
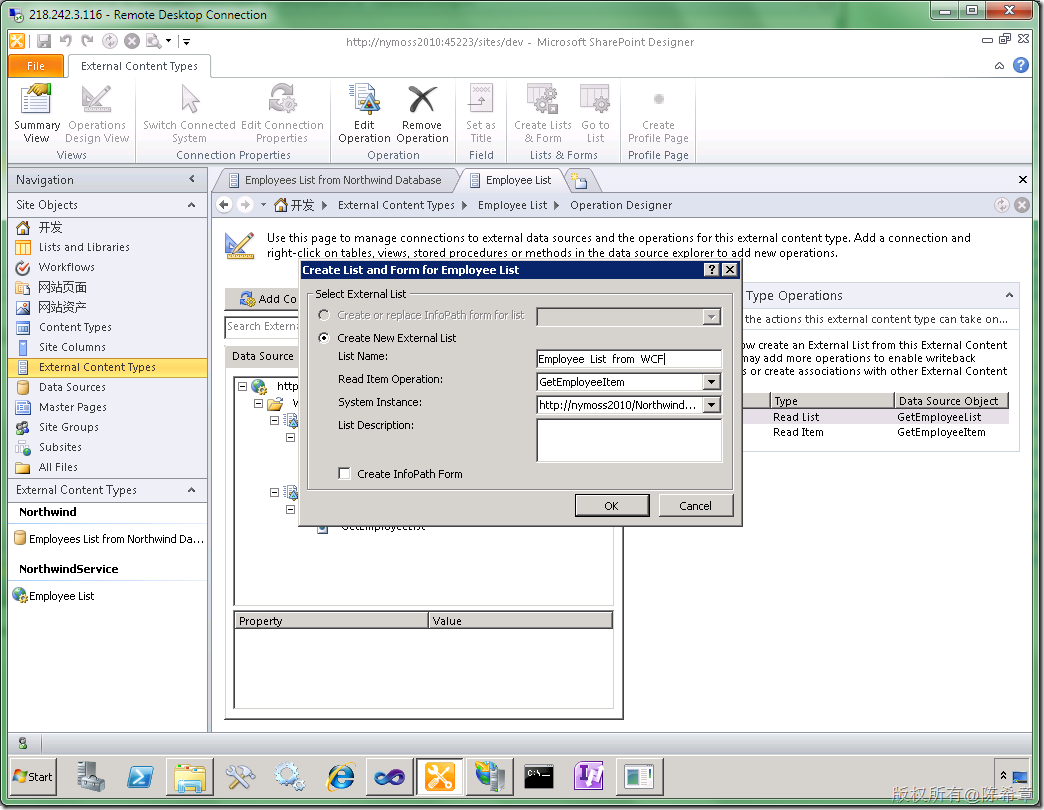
保存(CTRL+S) ,然后点击“Create Lists & Form”按钮
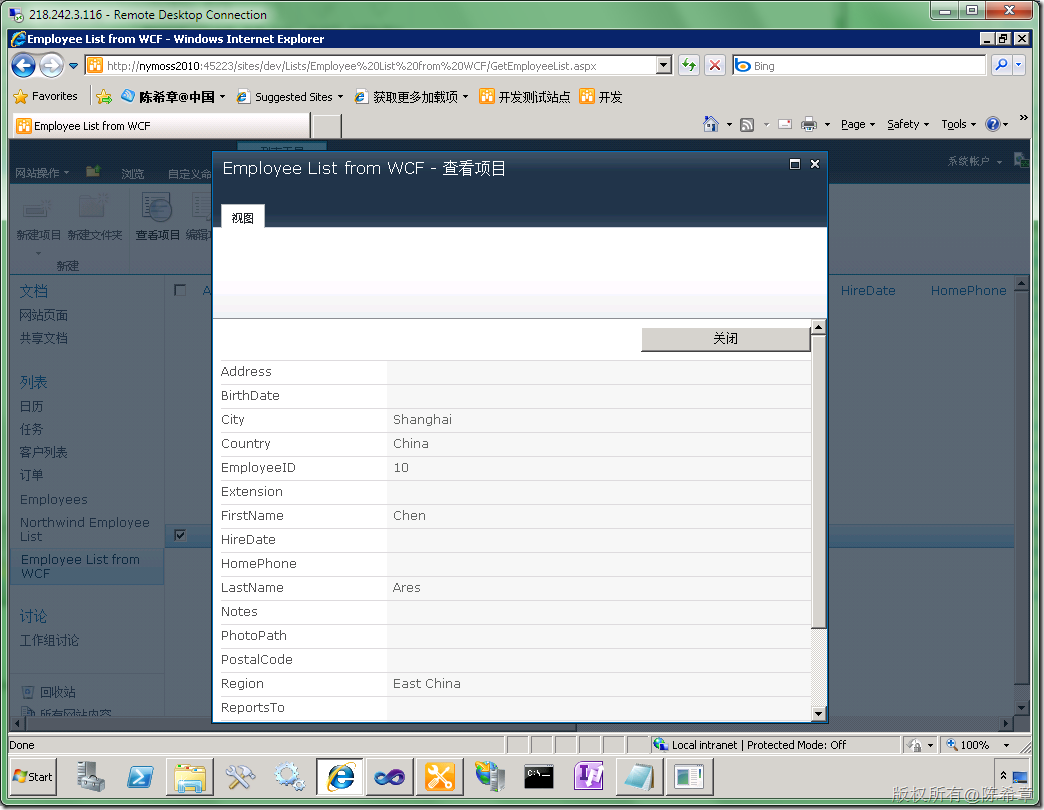
创建成功之后,我们兴冲冲地去网页中查看这个列表,却发现如下的错误
这是好事多磨啊,![]() focus,focus……. 继续排除错误
focus,focus……. 继续排除错误
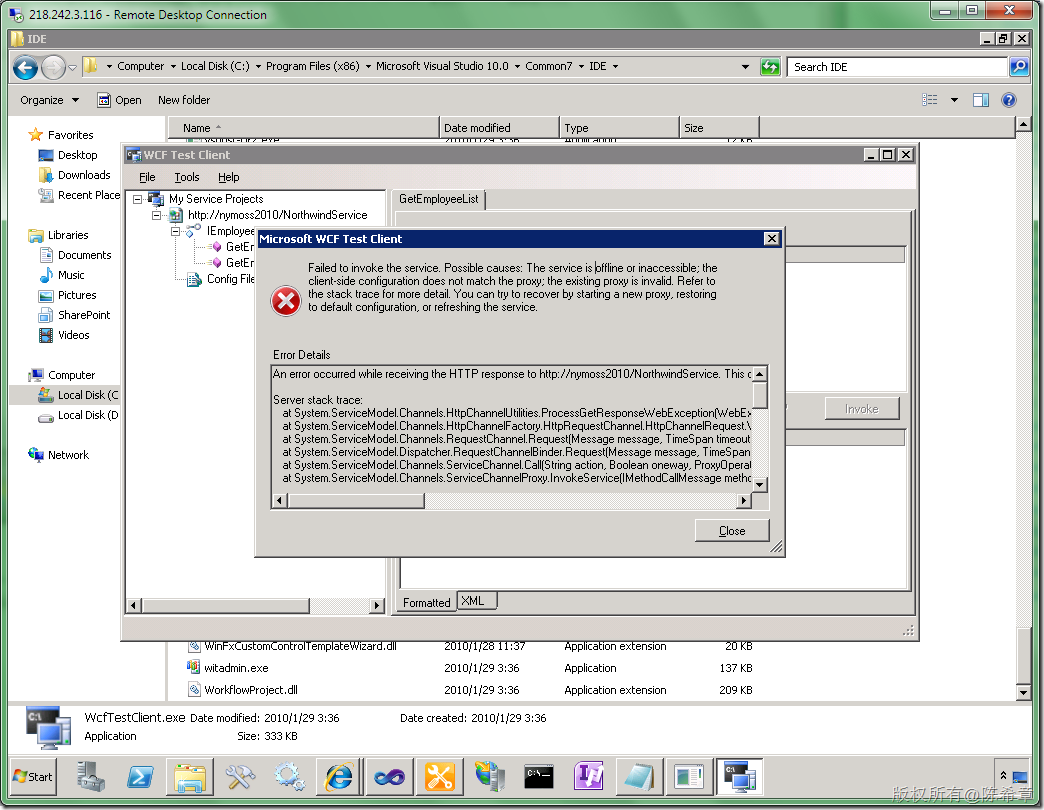
我用之前用过的一个工具,来确认一下方法哪里出了问题。我发现果然是那个GetEmployeeList出现了问题
但是,GetEmployeeitem却是可以返回的
那么,这说明什么问题呢?我联想到员工表是有一个相片字段的,而相片的长度是很长的,应该是总的数据量超过了WCF的默认限制(64KB)所导致的问题
为了验证我的想法,我修改一下源代码
        public Employee[] GetEmployeeList()
        {
            //NorthwindDataContext context = new NorthwindDataContext();
            //return context.Employees.ToArray();
            return new Employee[]{
                new Employee(){EmployeeID=1,FirstName="Ares",LastName="Chen"}
            };
        }
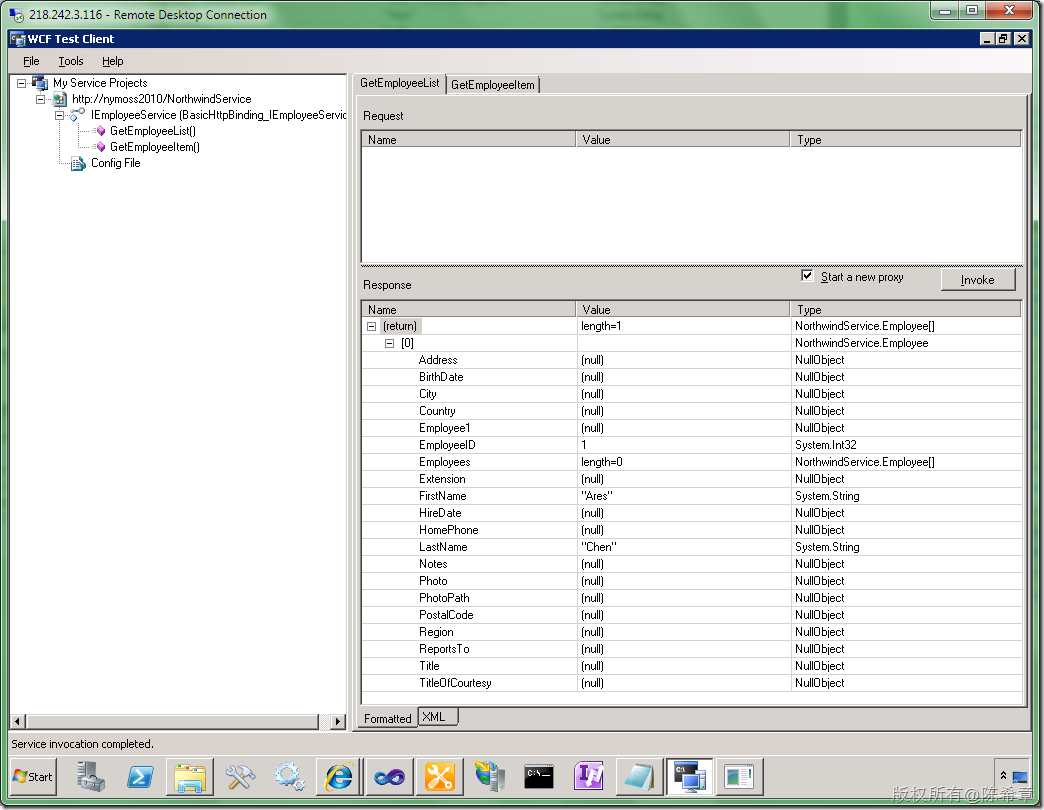
然后再测试
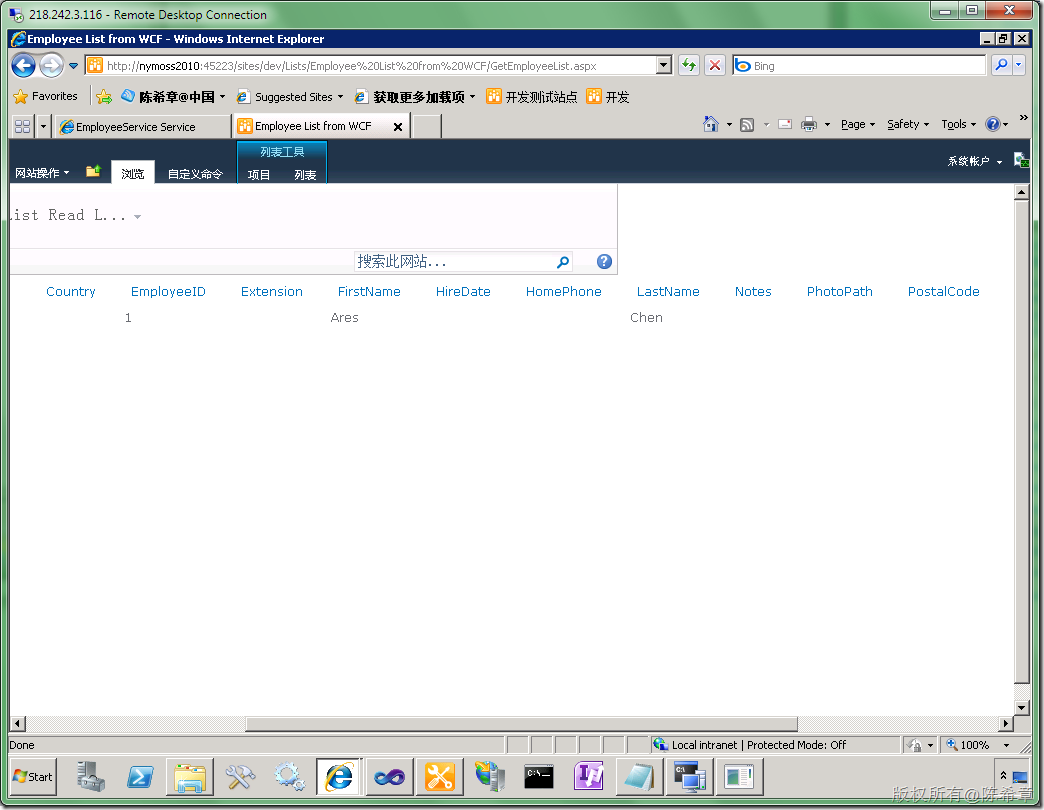
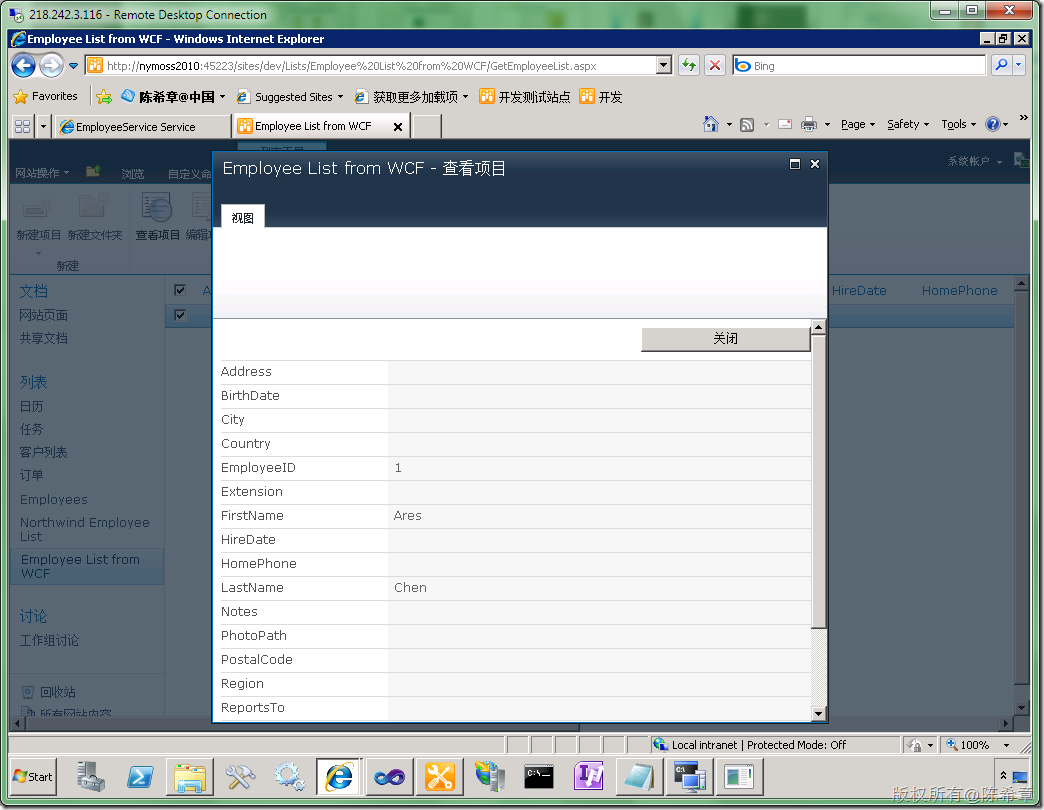
现在就可以正常返回了。所以,我们如果回到网页中去,刷新列表,应该也是可以的
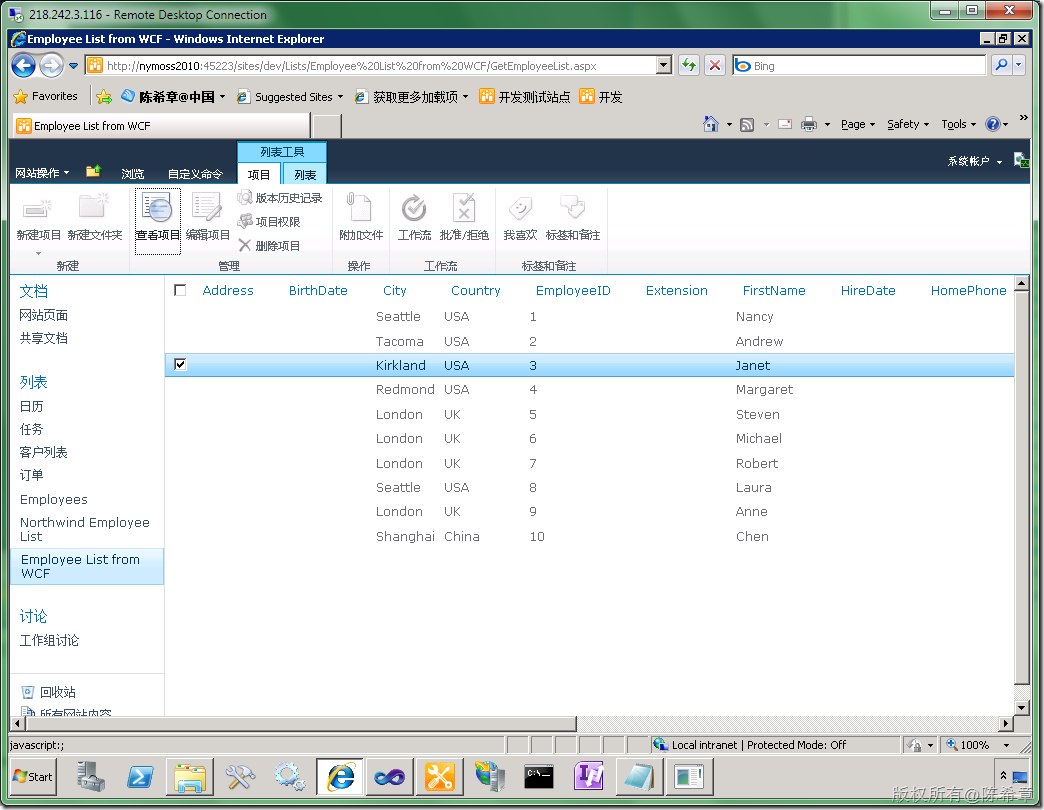
为了避免图片导致数据太大,我们修改了代码如下。
using System;
using System.Collections.Generic;
using System.Linq;
using System.Runtime.Serialization;
using System.ServiceModel;
using System.Text;

namespace NorthwindService
{
    // NOTE: You can use the "Rename" command on the "Refactor" menu to change the class name "EmployeeService" in code, svc and config file together.
    public class EmployeeService : IEmployeeService
    {

        public Employee[] GetEmployeeList()
        {
            NorthwindDataContext ctx = new NorthwindDataContext();
            List result = new List();
            foreach (var e in ctx.Employees)
            {
                result.Add(new Employee
                        {
                            EmployeeID = e.EmployeeID,
                            FirstName = e.FirstName,
                            LastName = e.LastName,
                            Country = e.Country,
                            Region = e.Region,
                            City = e.City
                        });

            }
            return result.ToArray();

        }

        public Employee GetEmployeeItem(int id)
        {
            NorthwindDataContext context = new NorthwindDataContext();
            var e = context.Employees.FirstOrDefault(emp => emp.EmployeeID == id);

            return new Employee
                        {
                            EmployeeID = e.EmployeeID,
                            FirstName = e.FirstName,
                            LastName = e.LastName,
                            Country = e.Country,
                            Region = e.Region,
                            City = e.City
                        };


        }
    }
}
【注意】当然,有可以通过调整WCF的binding的一些参数来让它可以传输更多数据量,那属于是WCF本身的技术。大家有兴趣可以参考一下
http://msdn.microsoft.com/en-us/library/system.servicemodel.basichttpbinding.maxbuffersize.aspx
总结:这一篇文章讲解了如何结合WCF技术实现应用程序集成设计。这是比直接访问数据库要灵活得多的一种方案。
如你所见,我在写这个文档的时候,估计暴露出来了一些错误的场景,这可以帮助大家更好地学习和掌握有关的技术。
转载自:http://blog.csdn.net/chen_xizhang/article/details/5953729


