10-简单圆形图片裁剪
裁剪图片思路.
开启一个图片上下文.
上下文的大小和原始图片保持一样.以免图片被拉伸缩放.
在上下文的上面添加一个圆形裁剪区域.圆形裁剪区域的半径大小和图片的宽度一样大.
把要裁剪的图片绘制到图片上下文当中.
从上下文当中取出图片.
关闭上下文.

1.如何设置圆形路径?
     UIBezierPath *path = [UIBezierPath bezierPathWithOvalInRect:
                        CGRectMake(0, 0, image.size.width, image.size.width)];


2.如何把一个路径设为裁剪区域?
    [path addClip];
代码实现:
#import "ViewController.h"

@interface ViewController ()
@property (weak, nonatomic) IBOutlet UIImageView *imagView;

@end

@implementation ViewController

- (void)viewDidLoad {
    [super viewDidLoad];
    // 1.添加要裁剪的图片
    UIImage *image = [UIImage imageNamed:@"girl"];
    //2.开启位图上下文(跟图片相同大小的上下文)
    UIGraphicsBeginImageContextWithOptions(image.size, NO, 0);
    //3.设置裁剪区域
    UIBezierPath *path = [UIBezierPath bezierPathWithOvalInRect:CGRectMake(0, 0, image.size.width, image.size.height)];
    //把路径设置成裁剪区域
    [path addClip];
    //4.把图片绘制到上下文当中.
    [image drawAtPoint:CGPointZero];
    //5.从上下文当中生成一张图片
     UIImage *newImage = UIGraphicsGetImageFromCurrentImageContext();
    //6.关闭位图
    UIGraphicsEndImageContext();
    //显示裁剪之后的图片
    self.imagView.image = newImage;

}


@end
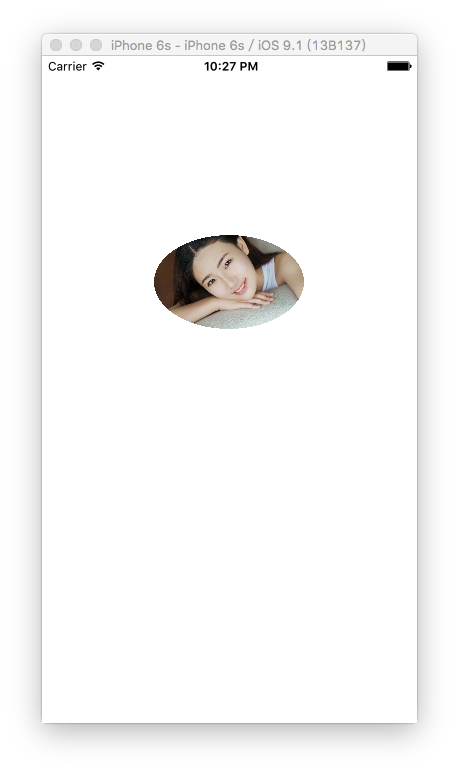
实现效果: