1、安装Apache
[root@localhost ~]# yum -y install httpd
设置开启自启动
[root@localhost ~]# chkconfig httpd on
启动httpd服务
[root@localhost ~]# service httpd start
Starting httpd: httpd: Could not reliably determine the server's fully qualified domain name, using ::1 for ServerName
                                                           [  OK  ]
测试:如果是远程访问的话,需要在服务器上放行80端口
2.安装Mysql
[root@localhost ~]# yum -y install mysql mysql-server mysql-devel
#开机自启动
[root@localhost ~]# chkconfig mysqld on
#启动mysqld服务
[root@localhost ~]# service mysqld start

[root@localhost ~]# service mysqld status
mysqld (pid  2064) is running...
设置密码:
[root@localhost ~]#  /usr/bin/mysql_secure_installation
Set root password? [Y/n] Y
New password:
Re-enter new password:
Password updated successfully!
Reloading privilege tables..
 ... Success!


By default, a MySQL installation has an anonymous user, allowing anyone
to log into MySQL without having to have a user account created for
them.  This is intended only for testing, and to make the installation
go a bit smoother.  You should remove them before moving into a
production environment.

Remove anonymous users? [Y/n] Y
 ... Success!

Normally, root should only be allowed to connect from 'localhost'.  This
ensures that someone cannot guess at the root password from the network.

Disallow root login remotely? [Y/n] Y
 ... Success!

By default, MySQL comes with a database named 'test' that anyone can
access.  This is also intended only for testing, and should be removed
before moving into a production environment.

Remove test database and access to it? [Y/n] Y
 - Dropping test database...
 ... Success!
 - Removing privileges on test database...
 ... Success!

Reloading the privilege tables will ensure that all changes made so far
will take effect immediately.

Reload privilege tables now? [Y/n] Y
 ... Success!

Cleaning up...


All done!  If you've completed all of the above steps, your MySQL
installation should now be secure.
查看监听的端口
[root@localhost ~]# netstat -tulpn | grep -i mysql
tcp        0      0 0.0.0.0:3306                0.0.0.0:*                   LISTEN      2064/mysqld
可以看到mysqld已经启动,监听在3306端口上
3、安装php
安装相关模块:为了让PHP支持MySQL,我们可以安装php-mysql软件包;也可使用以下命令搜索可用的php模块
[root@localhost ~]# yum -y install php php-mysql
# 安装php常用扩展
[root@localhost ~]# yum search php  #东西太多,就不显示出来了
[root@localhost ~]# yum -y install gd php-gd gd-devel php-xml php-common php-mbstring php-ldap php-pear php-xmlrpc php-imap
### 重启httpd服务,这一步很重要
[root@localhost ~]#  service httpd restart
Stopping httpd:                                            [  OK  ]
Starting httpd: httpd: Could not reliably determine the server's fully qualified domain name, using ::1 for ServerName
                                                           [  OK  ]
测试php
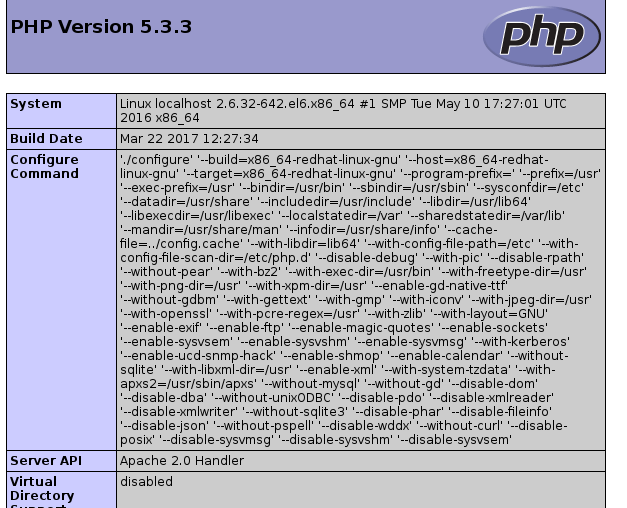
root@localhost ~]# cd /var/www/html/

[root@localhost html]# vim index.php

<?php

    phpinfo();

?>
然后,我们再次在浏览器键入http://localhost 或 http://本机IP ,应该会看到如下页面
查看版本:
php版本:
[root@localhost html]# php -v
PHP 5.3.3 (cli) (built: Mar 22 2017 12:27:09)
Copyright (c) 1997-2010 The PHP Group
Zend Engine v2.3.0, Copyright (c) 1998-2010 Zend Technologies
mysql版本
[root@localhost html]# mysql -V
mysql  Ver 14.14 Distrib 5.1.73, for redhat-linux-gnu (x86_64) using readline 5.1
apache版本:
[root@localhost html]# apachectl -v
Server version: Apache/2.2.15 (Unix)
Server built:   Oct 19 2017 16:43:38

或者:
[root@localhost html]# httpd -v
Server version: Apache/2.2.15 (Unix)
Server built:   Oct 19 2017 16:43:38
http://www.linuxidc.com/Linux/2014-07/104563.htm