一.建立项目servlet01
在入门Servlet项目中建立一个子项目模块(此处不再赘述如何建立),补全maven项目中的java和resources文件夹,添加类HelloServlet.java,添加web.xml中的映射关系,添加tomcat (注意保持只有一个jar包方式把所有项目的jar都打进来了,删除其他项目的jar包,添加自己的jar包),运行验证是否搭建正确!
二.ServletContext对象
在web容器启动时,它会为每一个web程序创建一个对应的ServletContext对象,用来代表当前的web的应用。
ServletContext对象的几个重点所用:
-
共享数据:对于几个不同的Servlet之间可以相互传递数据
-
获取初始化参数:在web.xml中配置的参数,可以被或得到
-
请求转发:获得请求转发给别的Servlet
-
读取资源文件:此处需要注意配置资源过滤防止读取不了资源文件
1.共享数据: 在servlet中保存的数据可以在另一个servlet中被访问
例子:
在HelloServlet中代码
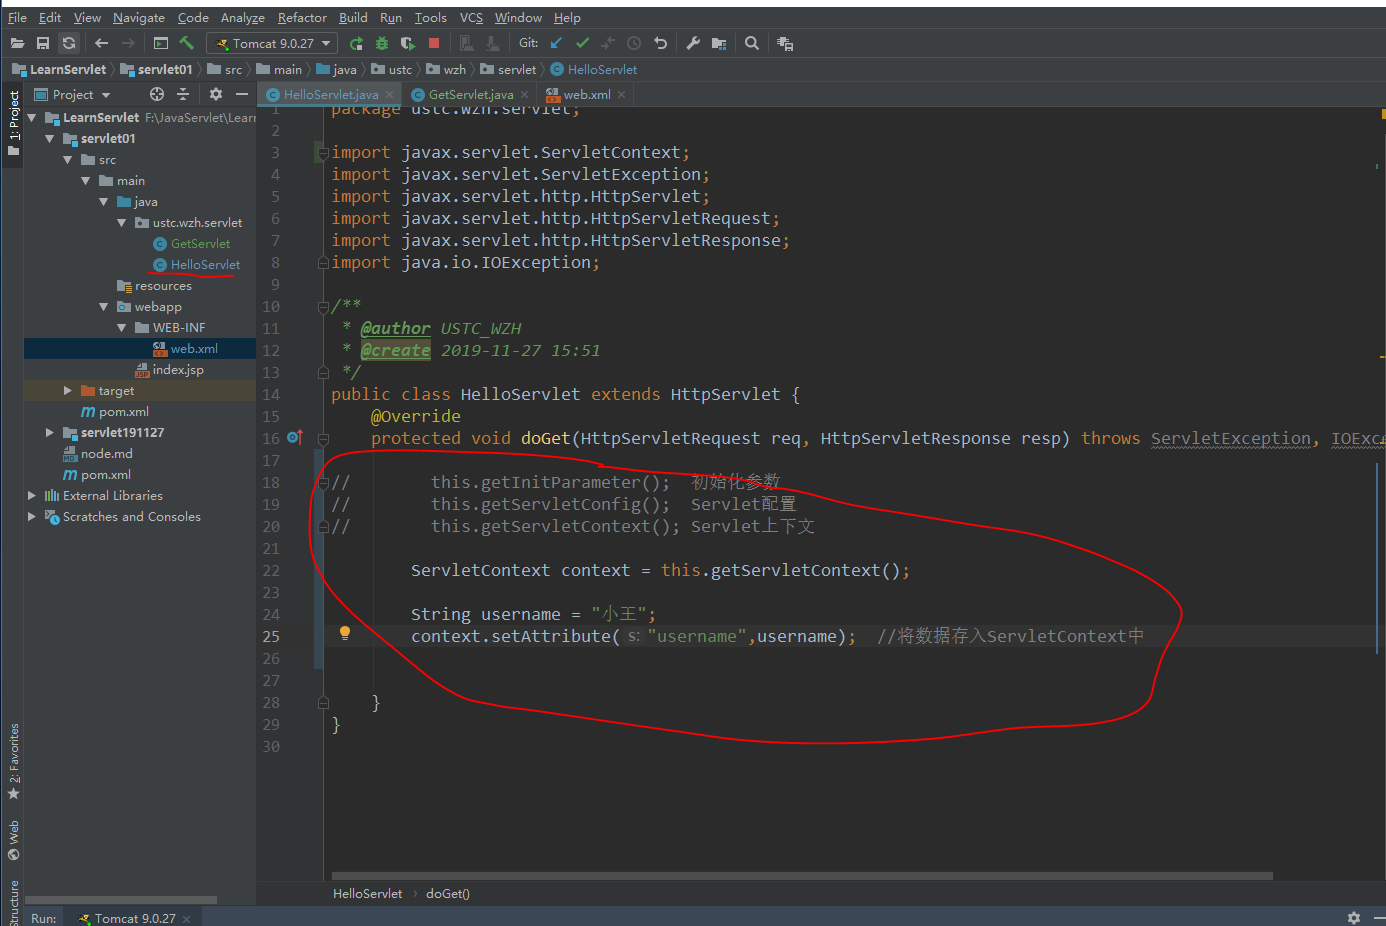
 1 @Override
 2     protected void doGet(HttpServletRequest req, HttpServletResponse resp) throws ServletException, IOException {
 3
 4 //        this.getInitParameter();  初始化参数
 5 //        this.getServletConfig();  Servlet配置
 6 //        this.getServletContext(); Servlet上下文
 7
 8         ServletContext context = this.getServletContext();
 9
10         String username = "小王";
11         context.setAttribute("username",username);  //将数据存入ServletContext中
12
13
14     }
在GetServlet中的代码
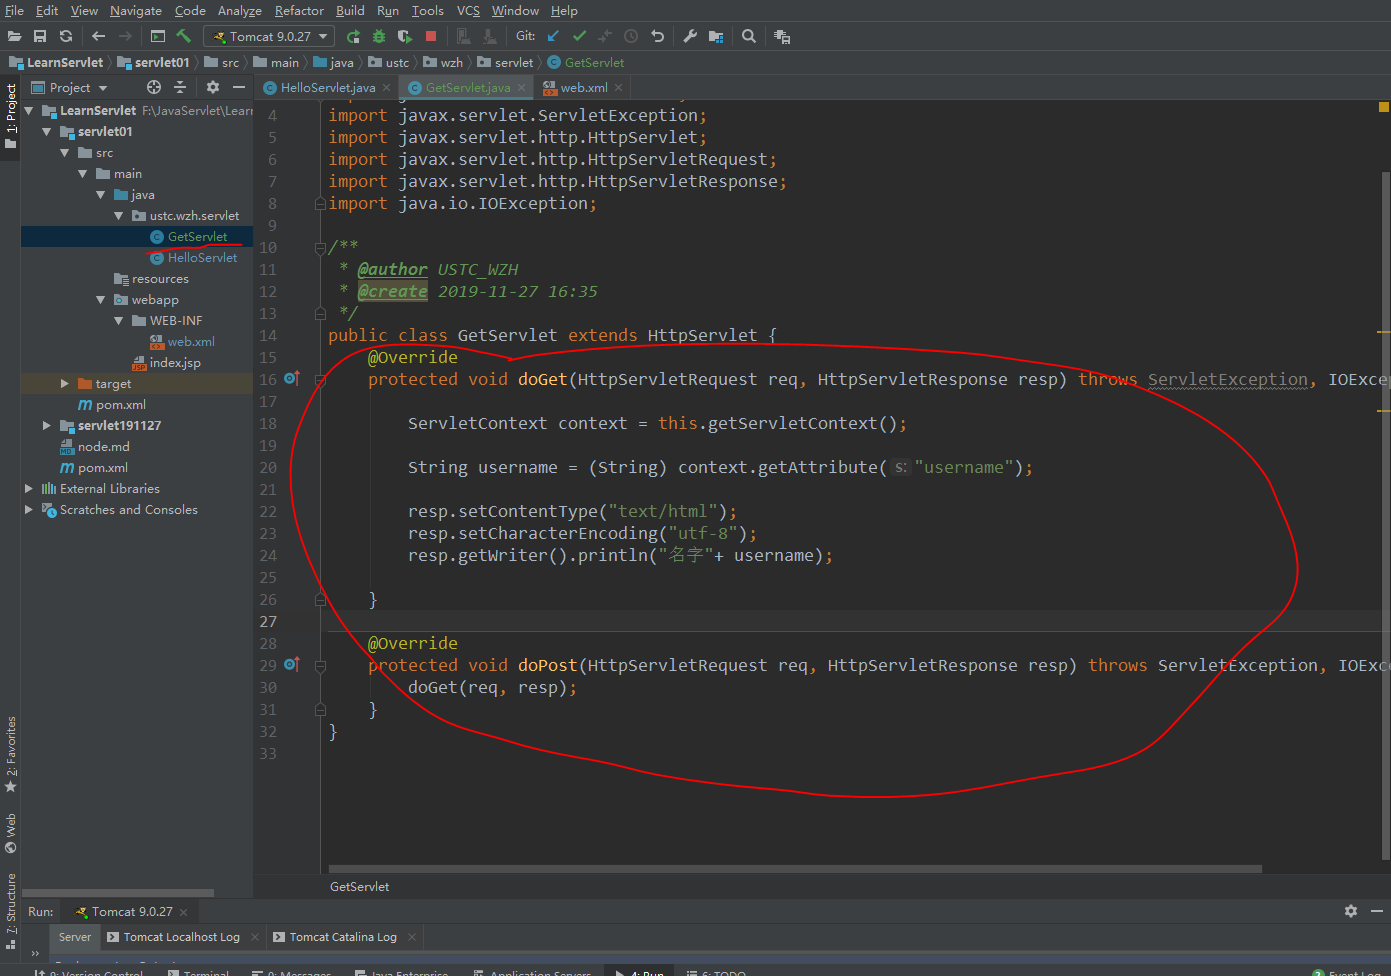
 1 public class GetServlet extends HttpServlet {
 2     @Override
 3     protected void doGet(HttpServletRequest req, HttpServletResponse resp) throws ServletException, IOException {
 4
 5         ServletContext context = this.getServletContext();
 6
 7         String username = (String) context.getAttribute("username");  //获取别的Servlet所保存的参数,实现数据共享
 8
 9         resp.setContentType("text/html");
10         resp.setCharacterEncoding("utf-8");
11         resp.getWriter().println("名字"+ username);
12
13     }
14
15     @Override
16     protected void doPost(HttpServletRequest req, HttpServletResponse resp) throws ServletException, IOException {
17         doGet(req, resp);
18     }
19 }
配置web.xml
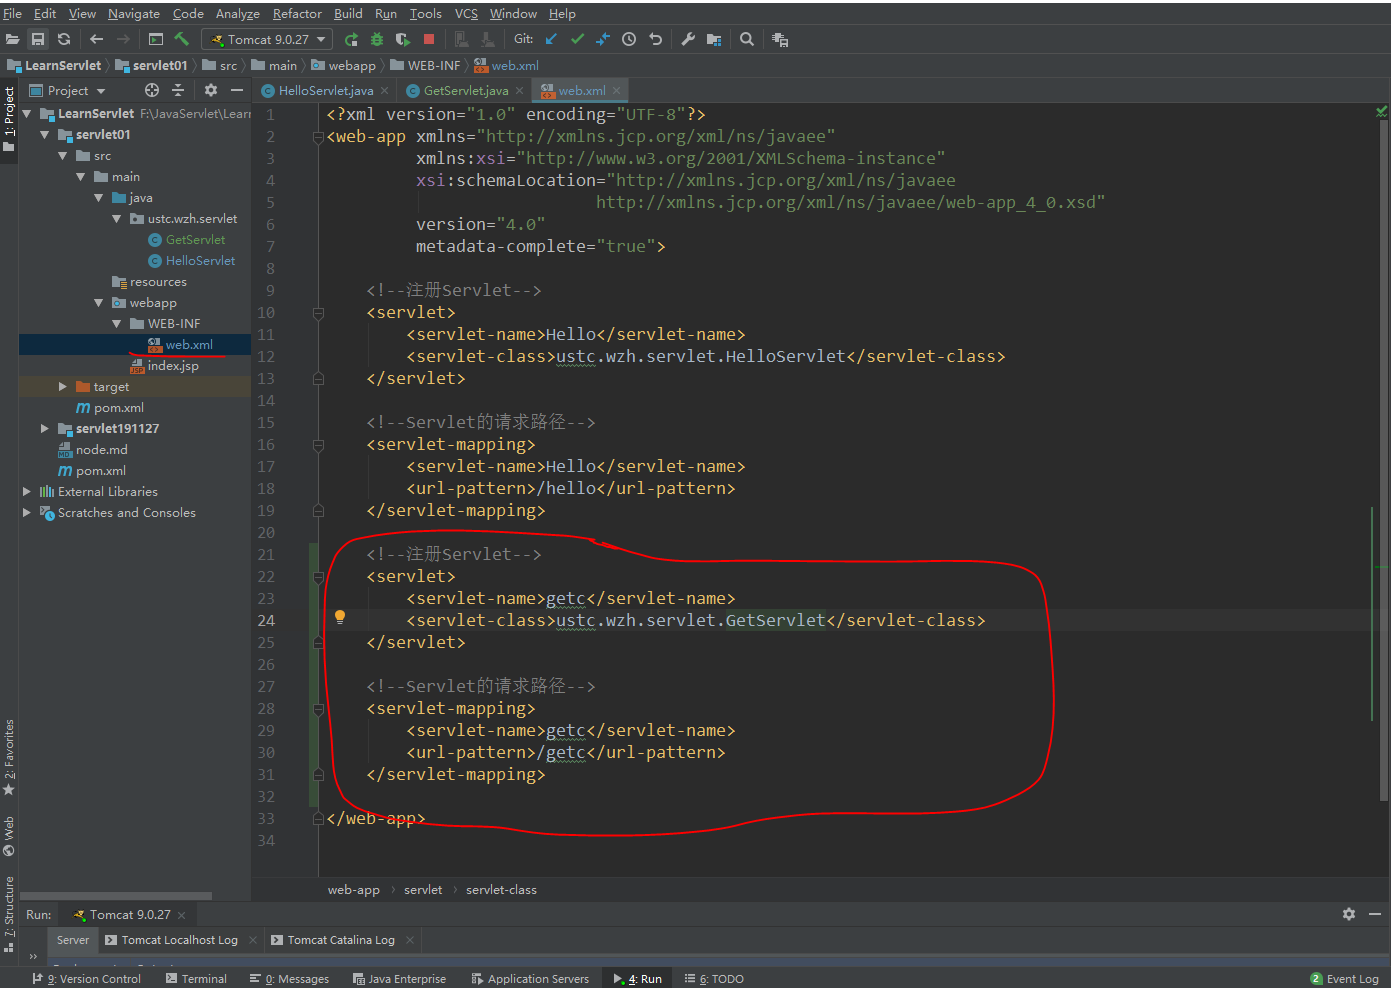
 1 <!--注册Servlet-->
 2     <servlet>
 3         <servlet-name>getc</servlet-name>
 4         <servlet-class>ustc.wzh.servlet.GetServlet</servlet-class>
 5     </servlet>
 6
 7     <!--Servlet的请求路径-->
 8     <servlet-mapping>
 9         <servlet-name>getc</servlet-name>
10         <url-pattern>/getc</url-pattern>
11     </servlet-mapping>
启动tomcat执行程序
先执行http://localhost:8080/servlet01/hello 此时已经存入数据了,在执行http://localhost:8080/servlet01/getc 显示数据
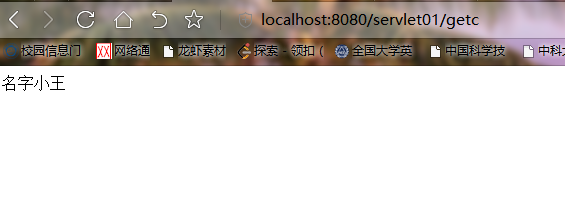
执行成功!
2.获取初始化参数配置
新建Java类为GetParam
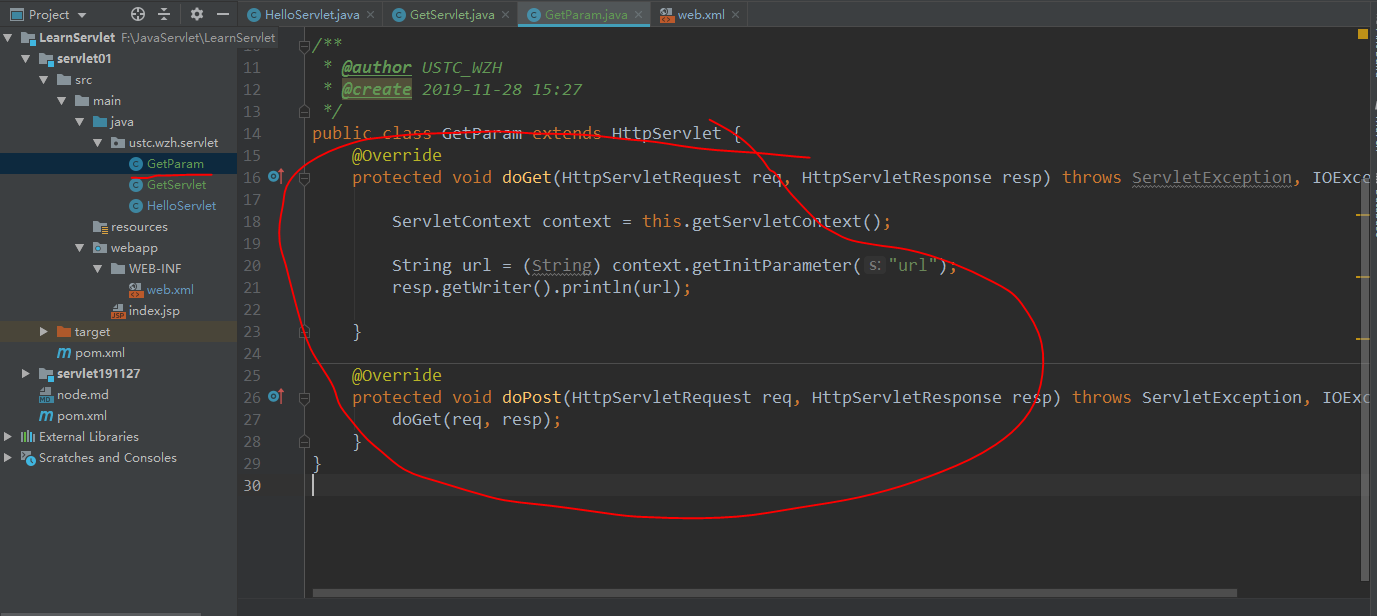
 1 public class GetParam extends HttpServlet {
 2     @Override
 3     protected void doGet(HttpServletRequest req, HttpServletResponse resp) throws ServletException, IOException {
 4
 5         ServletContext context = this.getServletContext();
 6
 7         String url = (String) context.getInitParameter("url");
 8         resp.getWriter().println(url);
 9
10     }
11
12     @Override
13     protected void doPost(HttpServletRequest req, HttpServletResponse resp) throws ServletException, IOException {
14         doGet(req, resp);
15     }
16 }
在web.xml中编写初始化配置项和映射路径

 1     <!--配置一些web应用初始化参数-->
 2     <context-param>
 3         <param-name>url</param-name>
 4         <param-value>jdbc:mysql://localhost:3306/mybatis</param-value>
 5     </context-param>
 6
 7     <!--注册Servlet-->
 8     <servlet>
 9         <servlet-name>getParam</servlet-name>
10         <servlet-class>ustc.wzh.servlet.GetParam</servlet-class>
11     </servlet>
12
13     <!--Servlet的请求路径-->
14     <servlet-mapping>
15         <servlet-name>getParam</servlet-name>
16         <url-pattern>/getParam</url-pattern>
17     </servlet-mapping>
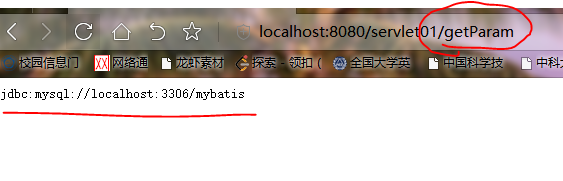
重新部署tomcat,获取参数成功!
3.请求转发
新建Java类为GetRequestForward
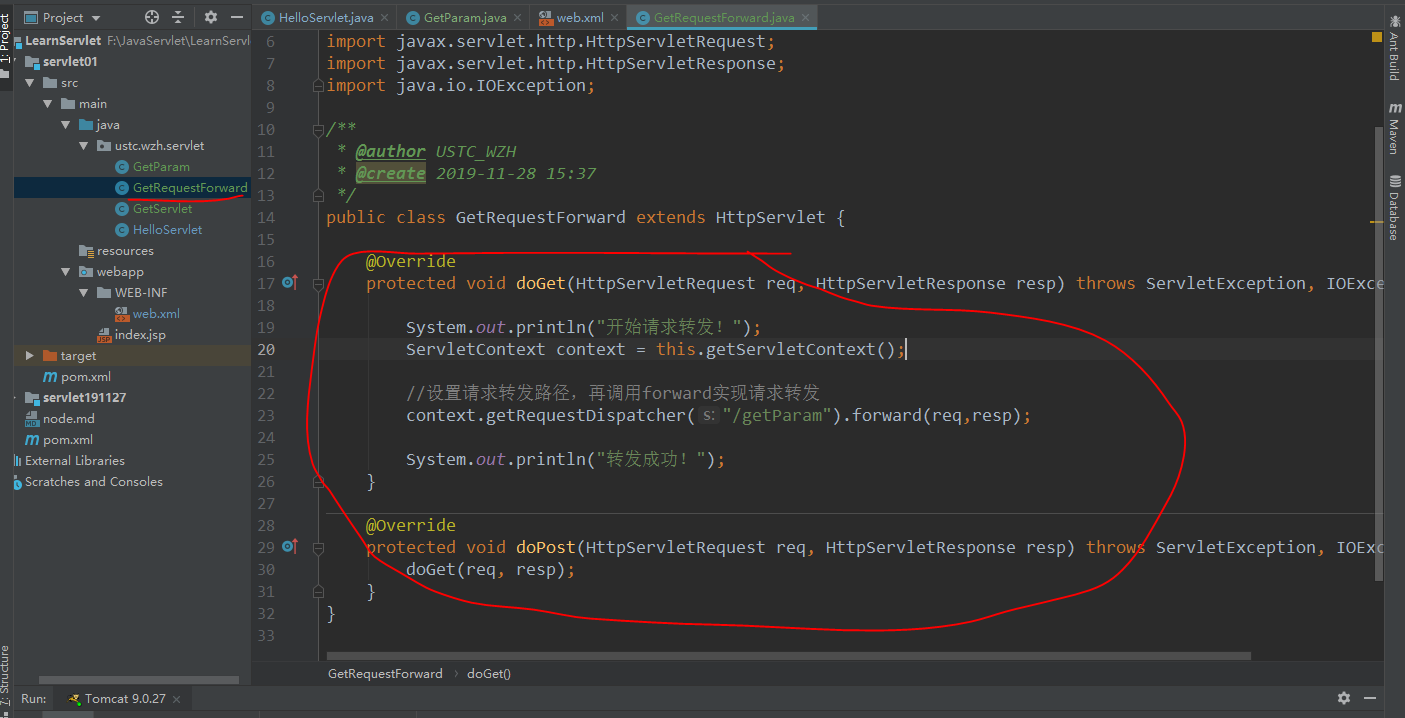
 1 public class GetRequestForward extends HttpServlet {
 2
 3     @Override
 4     protected void doGet(HttpServletRequest req, HttpServletResponse resp) throws ServletException, IOException {
 5
 6         System.out.println("开始请求转发!");
 7         ServletContext context = this.getServletContext();
 8
 9         //设置请求转发路径,再调用forward实现请求转发
10         context.getRequestDispatcher("/getParam").forward(req,resp);
11
12         System.out.println("转发成功!");
13     }
14
15     @Override
16     protected void doPost(HttpServletRequest req, HttpServletResponse resp) throws ServletException, IOException {
17         doGet(req, resp);
18     }
19 }
在web.xml中编写映射路径
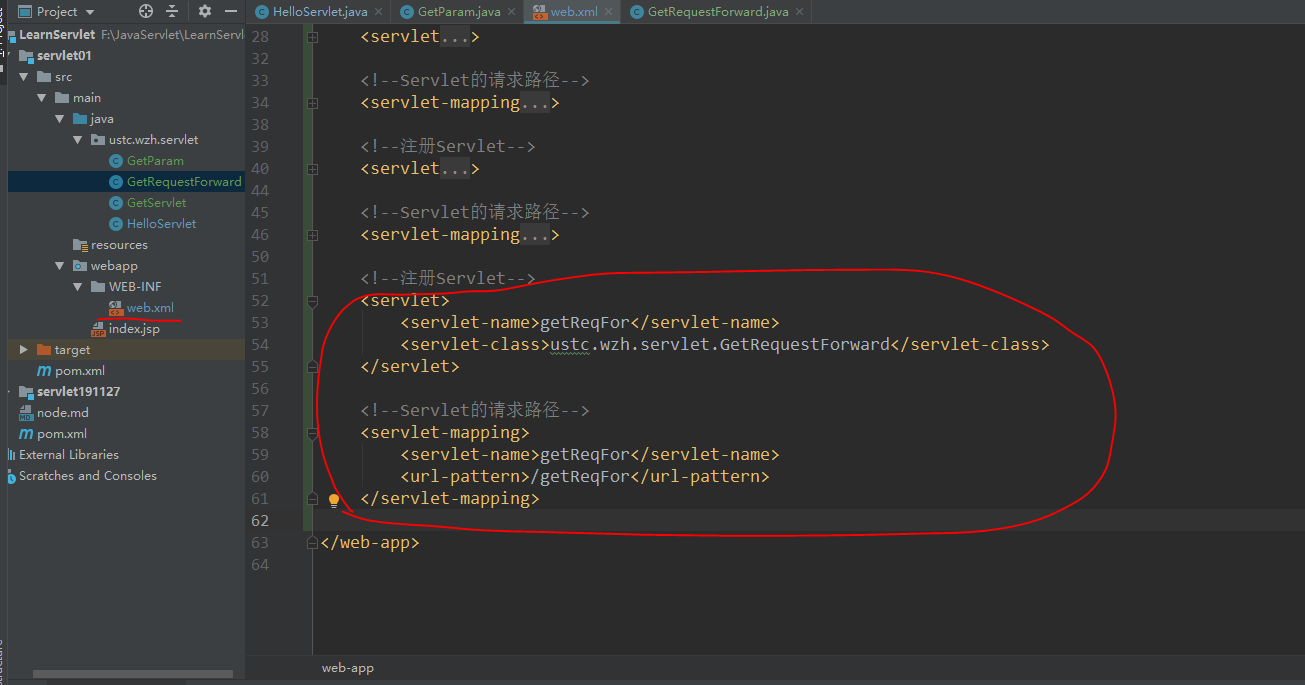
 1     <!--注册Servlet-->
 2     <servlet>
 3         <servlet-name>getReqFor</servlet-name>
 4         <servlet-class>ustc.wzh.servlet.GetRequestForward</servlet-class>
 5     </servlet>
 6
 7     <!--Servlet的请求路径-->
 8     <servlet-mapping>
 9         <servlet-name>getReqFor</servlet-name>
10         <url-pattern>/getReqFor</url-pattern>
11     </servlet-mapping>
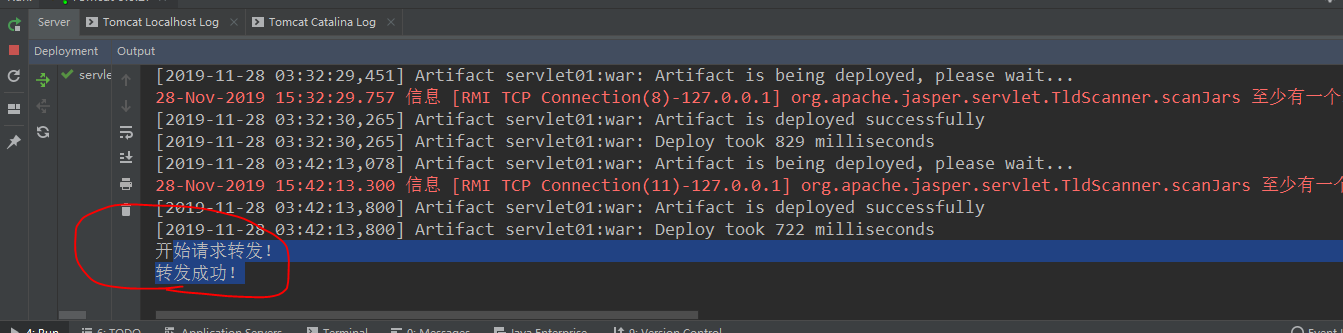

重新部署tomcat,转发成功!
4.读取资源文件
预处理:
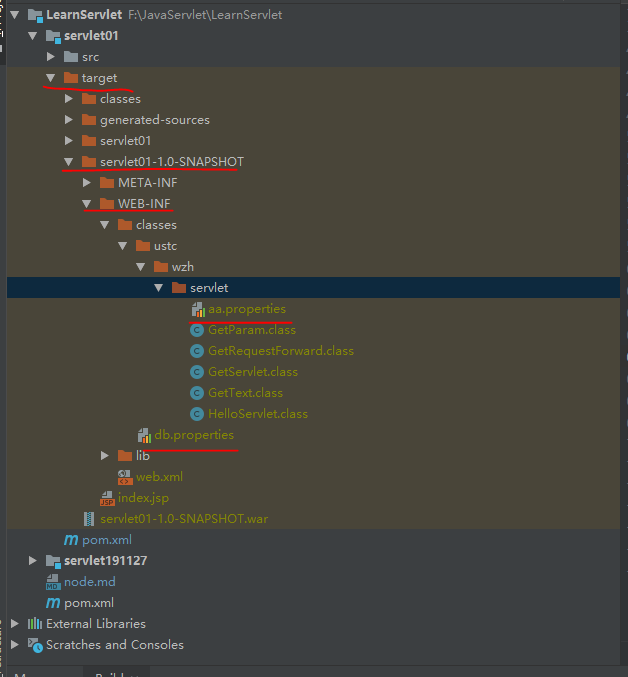
由于我们在java目录下建立的properties和resources目录下建立的properties都被打报道同一路径下:classes,我们俗称这个路径为classpath;
1.建立properties文件:在resources目录下建立db.properties,在java目录下建立aa.properties

username=wzh password=123456
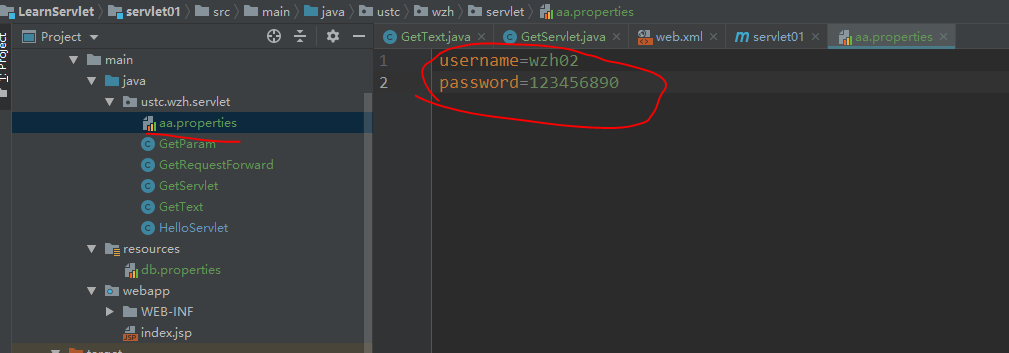
username=wzh02 password=123456890
2.修改当前项目下的pom.xml文件,添加配置
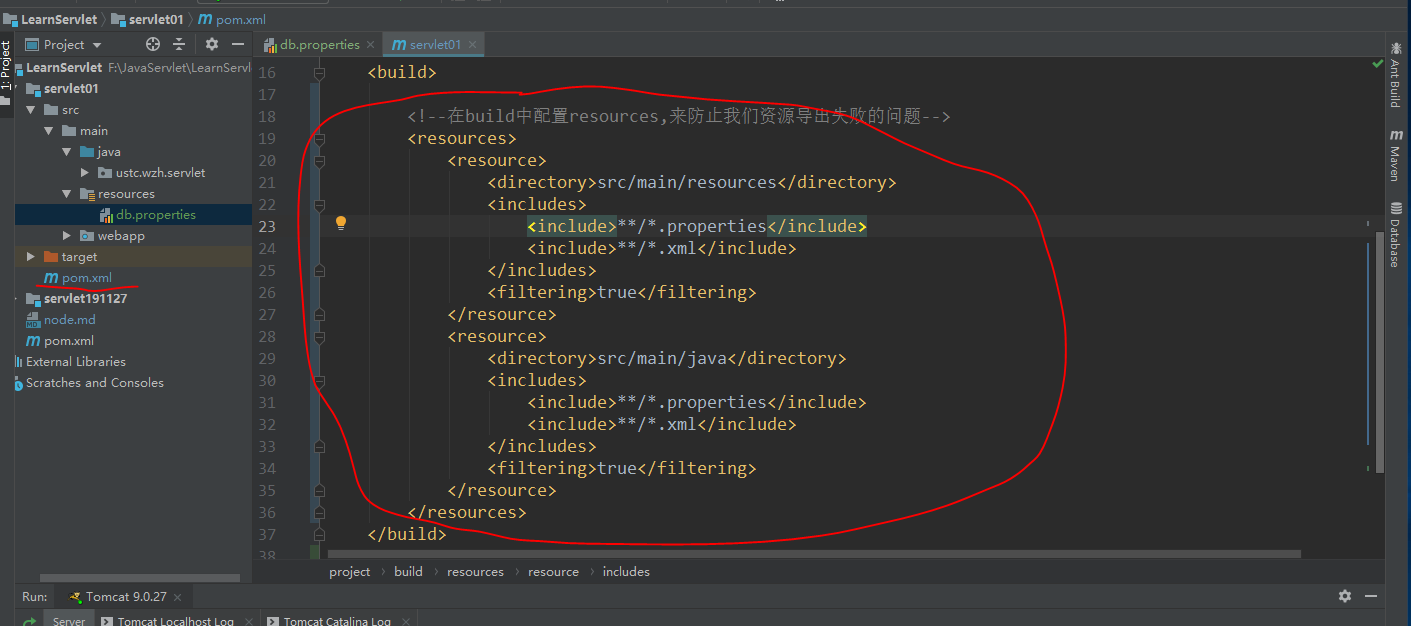
 1         <!--在build中配置resources,来防止我们资源导出失败的问题-->
 2         <resources>
 3             <resource>
 4                 <directory>src/main/resources</directory>
 5                 <includes>
 6                     <include>**/*.properties</include>
 7                     <include>**/*.xml</include>
 8                 </includes>
 9                 <filtering>true</filtering>
10             </resource>
11             <resource>
12                 <directory>src/main/java</directory>
13                 <includes>
14                     <include>**/*.properties</include>
15                     <include>**/*.xml</include>
16                 </includes>
17                 <filtering>true</filtering>
18             </resource>
19         </resources>
3.编写读取配置文件的类:GetText
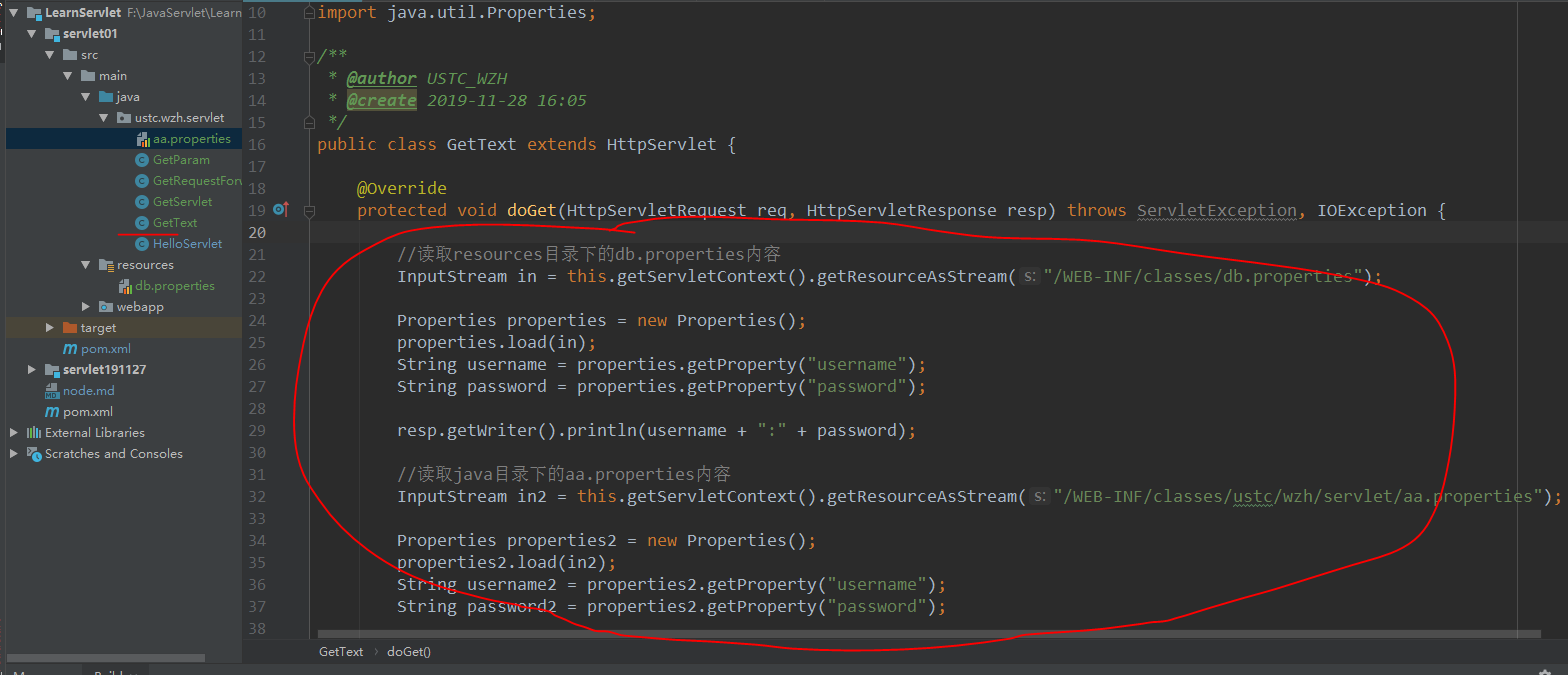
 1 public class GetText extends HttpServlet {
 2
 3     @Override
 4     protected void doGet(HttpServletRequest req, HttpServletResponse resp) throws ServletException, IOException {
 5
 6         //读取resources目录下的db.properties内容
 7         InputStream in = this.getServletContext().getResourceAsStream("/WEB-INF/classes/db.properties");
 8
 9         Properties properties = new Properties();
10         properties.load(in);
11         String username = properties.getProperty("username");
12         String password = properties.getProperty("password");
13
14         resp.getWriter().println(username + ":" + password);
15
16         //读取java目录下的aa.properties内容
17         InputStream in2 = this.getServletContext().getResourceAsStream("/WEB-INF/classes/ustc/wzh/servlet/aa.properties");
18
19         Properties properties2 = new Properties();
20         properties2.load(in2);
21         String username2 = properties2.getProperty("username");
22         String password2 = properties2.getProperty("password");
23
24         resp.getWriter().println(username2 + ":" + password2);
25
26     }
27
28     @Override
29     protected void doPost(HttpServletRequest req, HttpServletResponse resp) throws ServletException, IOException {
30         doGet(req, resp);
31     }
32 }
注意:两个文件名是Rebuild project之后产生的
修改web.xml中的映射关系
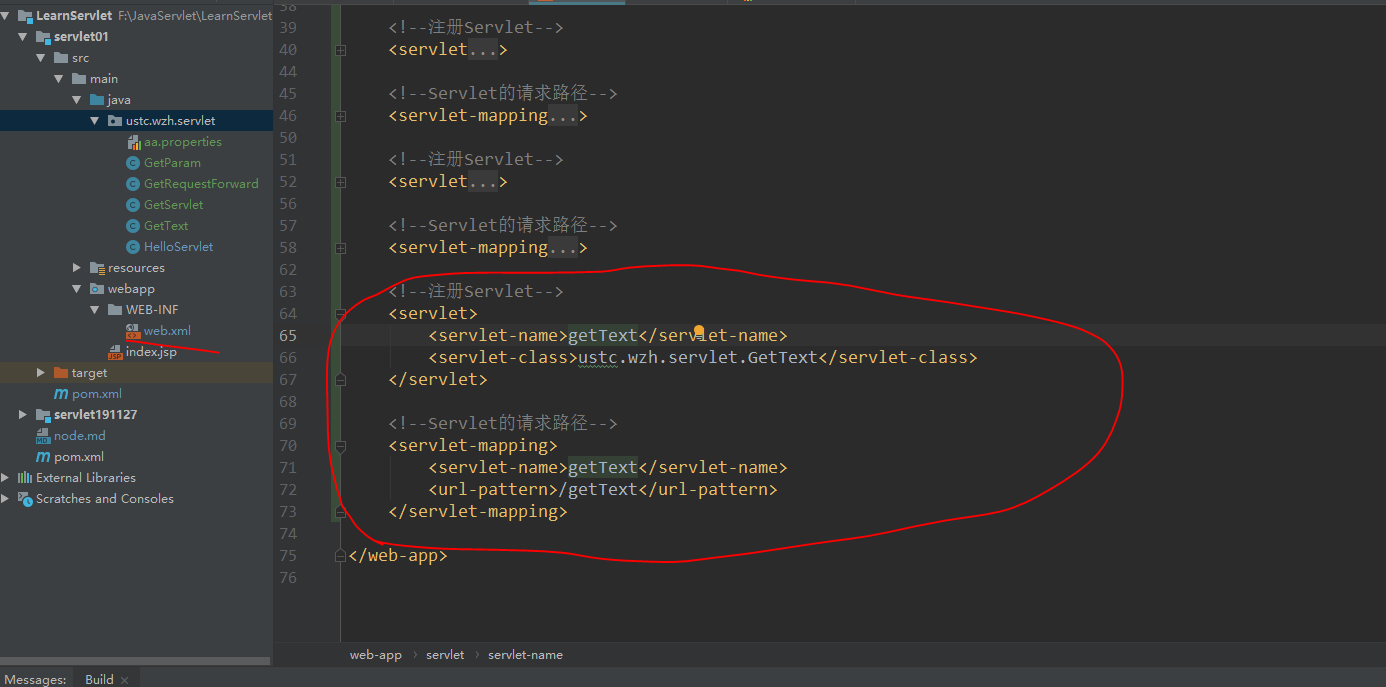
 1     <!--注册Servlet-->
 2     <servlet>
 3         <servlet-name>getText</servlet-name>
 4         <servlet-class>ustc.wzh.servlet.GetText</servlet-class>
 5     </servlet>
 6
 7     <!--Servlet的请求路径-->
 8     <servlet-mapping>
 9         <servlet-name>getText</servlet-name>
10         <url-pattern>/getText</url-pattern>
11     </servlet-mapping>
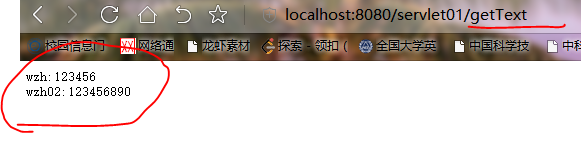
重新部署tomcat,读取资源文件成功!