一、下载地址:
tesseract github下载地址:https://github.com/tesseract-ocr/tesseract/wiki
二、安装步骤
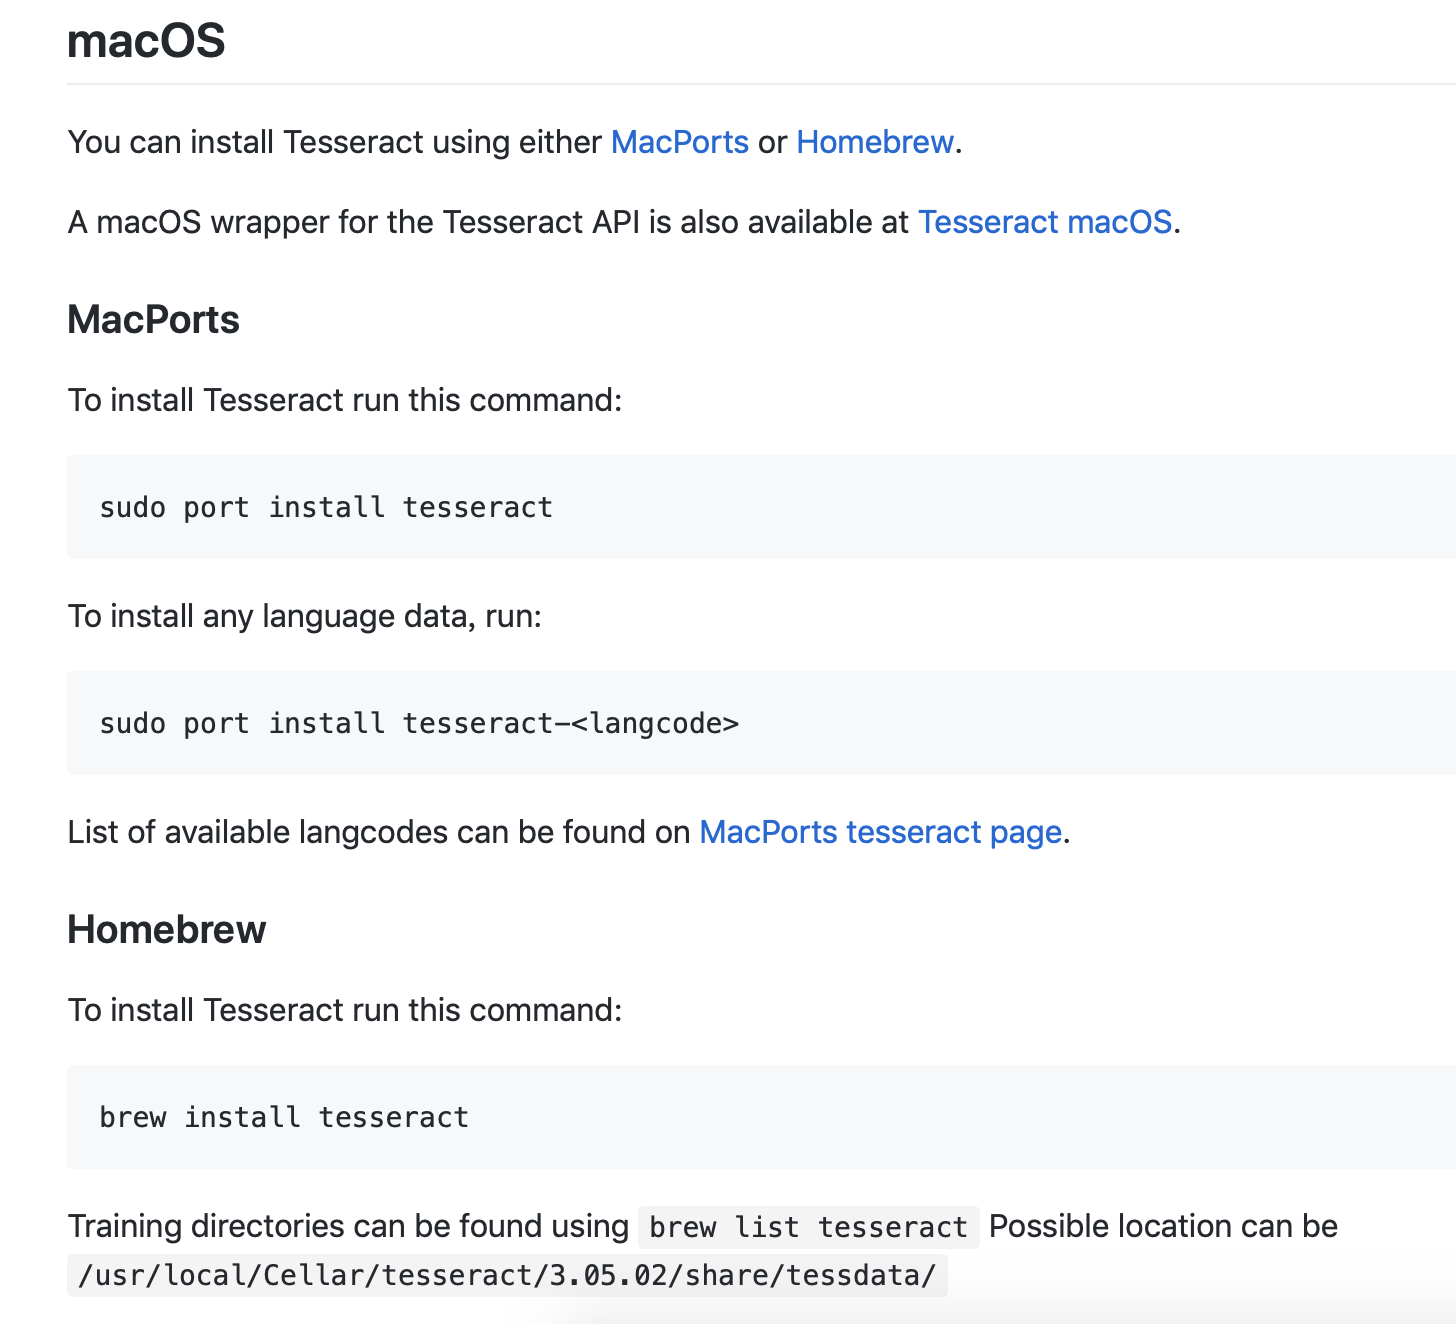
官方对于mac版本提供了两种安装方式:brew 和macports
macports 安装可以参考:https://blog.csdn.net/Cloudox_/article/details/72841935
此处选择brew安装,参照下图
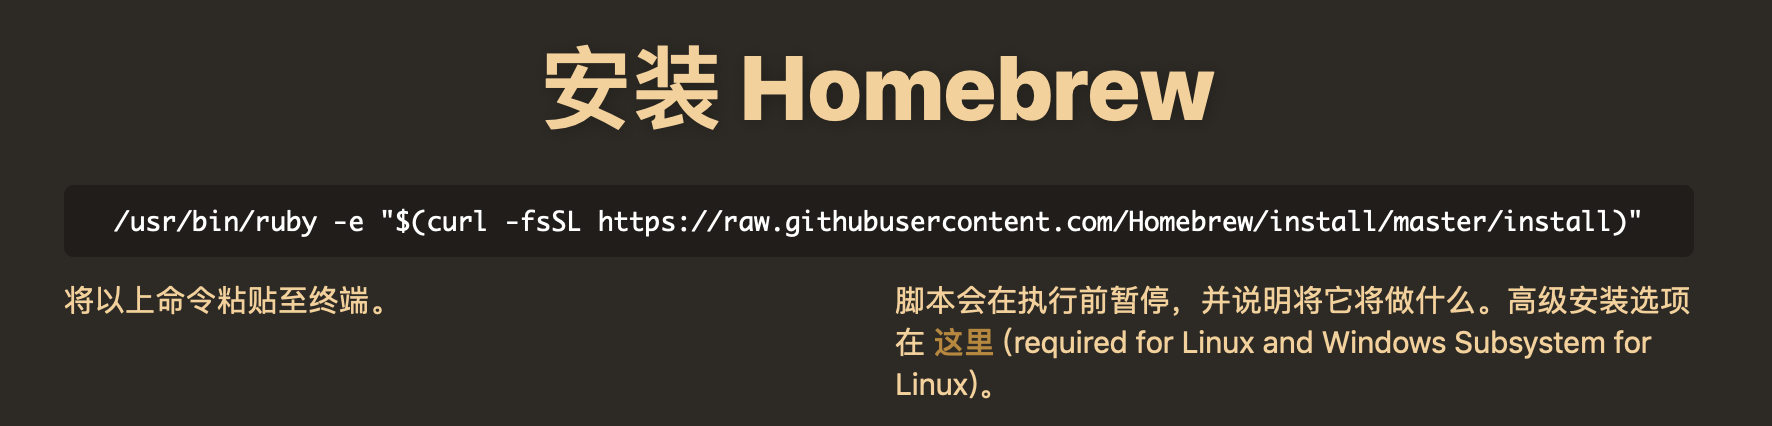
安装homebrew
参见官网:

过程会比较慢,等等就好。
如果不想等,可以参考:https://blog.csdn.net/qq_35624642/article/details/79682979
安装好后,查看版本:brew --version

mac 上一般可以在/usr/local 路径上找到homebrew 的相关文件
接下来执行:
brew install tesseract 此处只选择安装tesseract
brew install --with-training-tools tesseract //安装tesseract, 同时安装训练工具
brew install --all-languages tesseract //安装tesseract,同时它还会安装所有语言 不推荐,可以自己选择安装
brew install --all-languages --with-training-tools tesseract //安装附加组件
即可自动安装完毕,且独立生成文件夹,以后卸载也很方便,有点类似虚拟环境
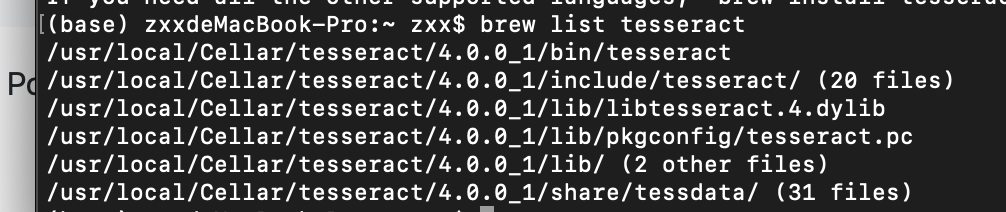
/usr/local/Cellar/tesseract/4.0.0_1/share/tessdata/ 这个路径下面放识别的语言包

如果上面没有自己想要的,可以上https://github.com/tesseract-ocr/tessdata 这里进行下载
注:数字和英文组合的验证码就用eng.traineddata/enm.traineddata,中文的话用chi_sim.traineddata。如果上面提供的语言包识别不是很准,可以训练自己的语言包,这里不在展开,后续在研究。
三、测试
方法一:
tesseract 的调用相对简单,如下图

只要在终端执行:
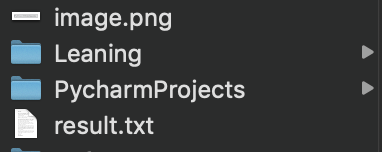
tesseract image.png result
就会在当前目录生成一个result.txt文件,里面即为识别的结果。
准确率还挺高的。
方法二:
通过pytesseract模块
pip install pytesseract
pytesseract模块一般与PIL模块一起使用,用于打开图片
安装好pytesseract 后,要进行一个tesseract_cmd 设置,要不然容易报错误:
pytesseract.pytesseract.TesseractNotFoundError: tesseract is not installed or it's not in your path
解决办法,打开本地安装pytesseract包中的pytesseract.py文件

在第35行中,把tesseract_cmd = 'tesseract' 后面的路径改为自己本地tesseract执行文件的路径。如我本机的文件路径为:
tesseract_cmd = '/usr/local/Cellar/tesseract/4.0.0_1/bin/tesseract'

生成test.py文件。
from PIL import Image
import pytesseract

if __name__=='__main__':
    text = pytesseract.image_to_string(Image.open('image.png'),lang='eng')
    print(text)
运行结果:

参考:https://blog.csdn.net/wodedipang_/article/details/84585914