第一次
之前一直用的rivercast这个模板,虽然比较符合我的风格,但是感觉屏幕空间利用太不充分,两边留出了很多空白(只看模板预览还看不出这个问题!),于是想找一个空间安排比较充分的模板,但是又感觉风格都不太喜欢,于是想自定义一下,无奈前端完全不懂,只能照着这篇博文改改(主要是针对自己的电脑屏幕修改一下侧边栏宽度),最后改成了这个样子,需要的可以拿去参考,点击下载。
看着别人高大上的风格,只想说:普通玩家推荐配置,高级玩家自定义配置!![]() 自己还差得远呢。
自己还差得远呢。
以下是一个较为高级的设置教程,希望一段时间后能吃透其中内容!
下午发现申请的JS权限通过了,于是又加了一些动态效果,主要是时钟、网站点击量统计和github挂件,本来想弄个闪电,结果没弄成,以后有时间再弄吧。一下两篇博客给了我很多帮助:
此外,发现了一个不错的鼠标跟随效果,但是没移植成功,先留个备份!js也是一无所知,得抓紧学习啦,心血来潮装修下博客又花了大半天!
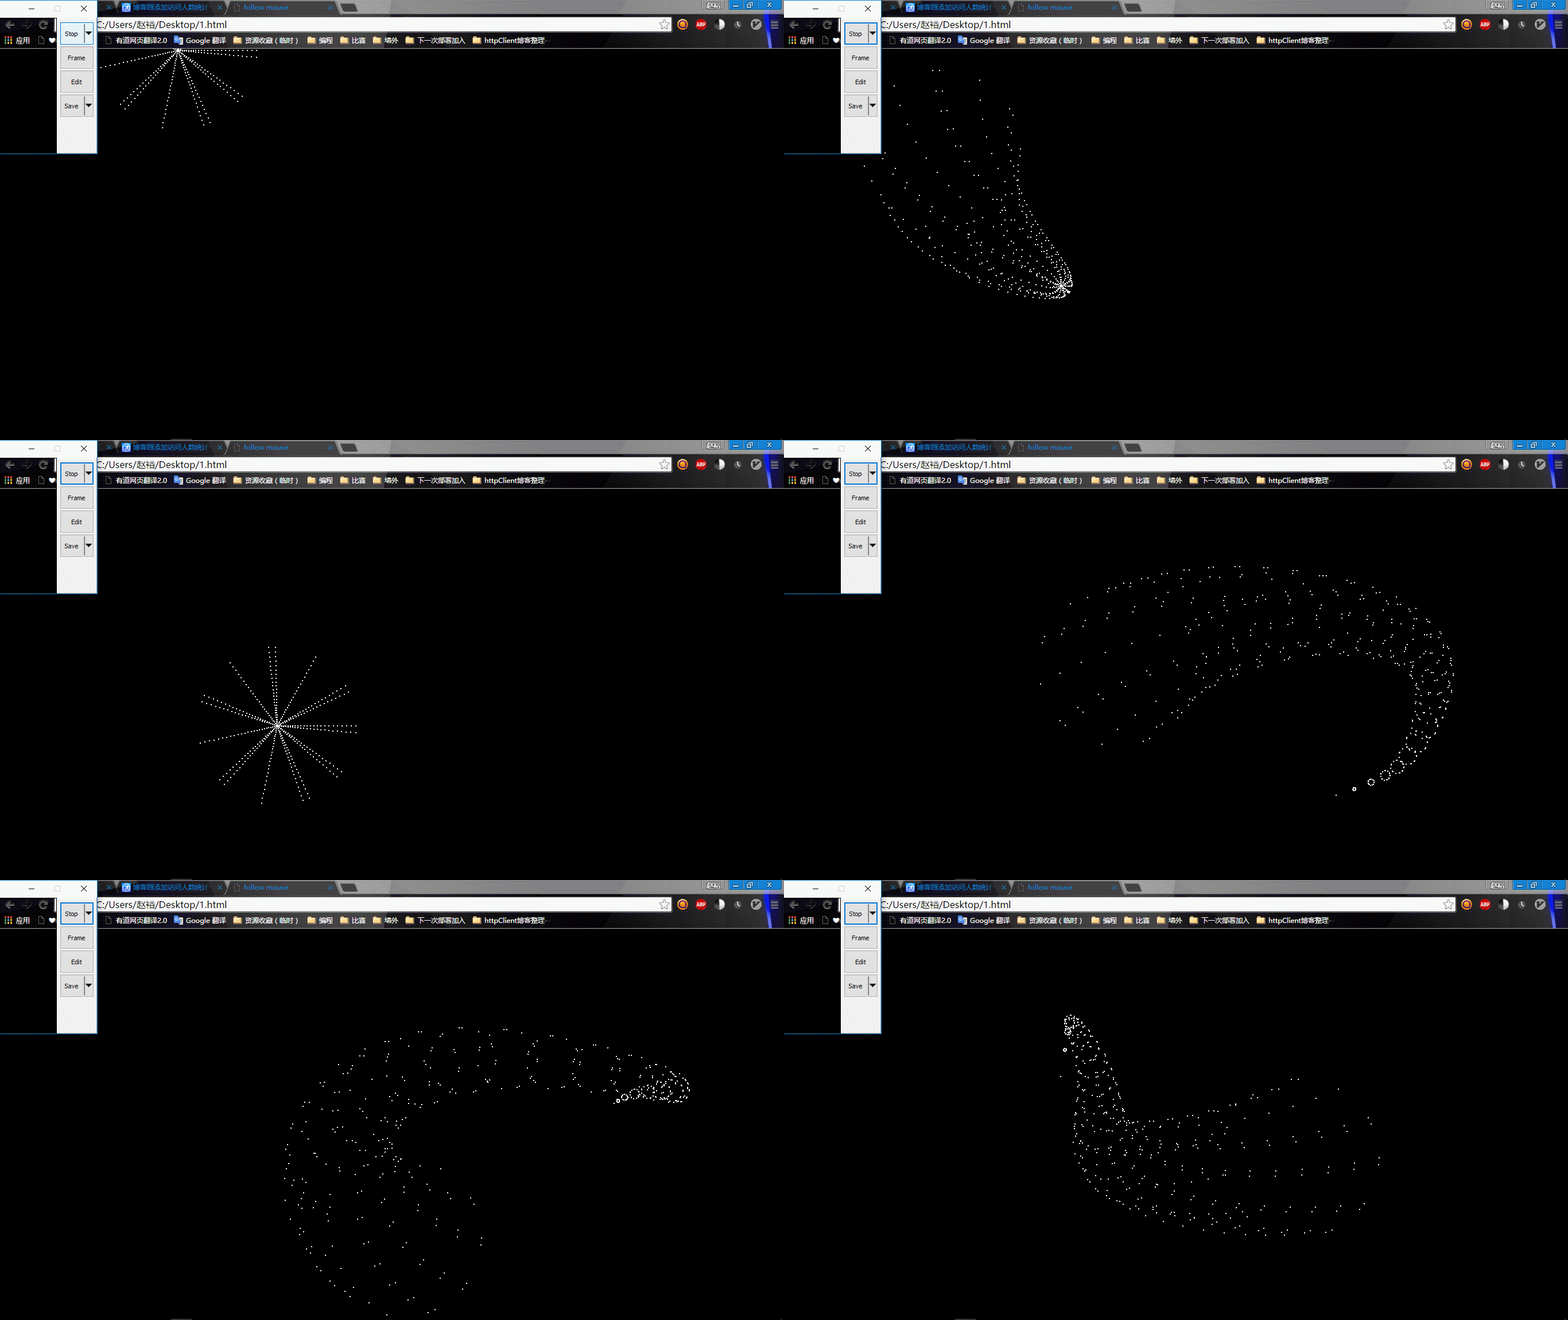
鼠标跟随效果:

代码:

<!DOCTYPE HTML>
<html>
<head>
<title>follow mouse</title>
<meta name="Author" content="hongru.chen" />
<style type="text/css">
html {
overflow: hidden;
}
body {
position: absolute;
height: 100%;
width: 100%;
margin:0;
padding:0;
}
#screen {
background:#000;
position: absolute;
width: 100%;
height: 100%;
}
#screen span {
background: #fff;
font-size: 0;
overflow: hidden;
width: 2px;
height: 2px;
}
</style>
  <script type="text/javascript">
var Follow = function () {
var $ = function (i) {return document.getElementById(i)},
addEvent = function (o, e, f) {o.addEventListener ? o.addEventListener(e, f, false) : o.attachEvent('on'+e, function(){f.call(o)})},
OBJ = [], sp, rs, N = 0, m;
var init = function (id, config) {
this.config = config || {};
this.obj = $(id);
sp = this.config.speed || 4;
rs = this.config.animR || 1;
m = {x: $(id).offsetWidth * .5, y: $(id).offsetHeight * .5};
this.setXY();
this.start();
}
init.prototype = {
setXY : function () {
var _this = this;
addEvent(this.obj, 'mousemove', function (e) {
e = e || window.event;
m.x = e.clientX;
m.y = e.clientY;
})
},
start : function () {
var k = 180 / Math.PI, OO, o, _this = this, fn = this.config.fn;
OBJ[N++] = OO = new CObj(null, 0, 0);
for(var i=0;i<360;i+=20){
var O = OO;
for(var j=10; j<35; j+=1){
var x = fn(i, j).x,
y = fn(i, j).y;
OBJ[N++] = o = new CObj(O , x, y);
O = o;
}
}
setInterval(function() {
for (var i = 0; i < N; i++) OBJ[i].run();
}, 16);
}
}
var CObj = function (p, cx, cy) {
var obj = document.createElement("span");
this.css = obj.style;
this.css.position = "absolute";
this.css.left = "-1000px";
this.css.zIndex = 1000 - N;
document.getElementById("screen").appendChild(obj);
this.ddx = 0;
this.ddy = 0;
this.PX = 0;
this.PY = 0;
this.x = 0;
this.y = 0;
this.x0 = 0;
this.y0 = 0;
this.cx = cx;
this.cy = cy;
this.parent = p;
}
CObj.prototype.run = function () {
if (!this.parent) {
this.x0 = m.x;
this.y0 = m.y;
} else {
this.x0 = this.parent.x;
this.y0 = this.parent.y;
}
this.x = this.PX += (this.ddx += ((this.x0 - this.PX - this.ddx) + this.cx) / rs) / sp;
this.y = this.PY += (this.ddy += ((this.y0 - this.PY - this.ddy) + this.cy) / rs) / sp;
this.css.left = Math.round(this.x) + 'px';
this.css.top = Math.round(this.y) + 'px';
}
return init;
}();
</script></head>
<body>
<div id="screen"></div>
<script type="text/javascript">
new Follow('screen', {speed: 4,
animR : 2,
fn : function (i, j) {
return {
x : j/4*Math.cos(i),
y : j/4*Math.sin(i)
}
}})
  </script></body>
</html>
第二次
完全参照 此篇博客,现在能看懂了!!
配置文件下载--GitHub
