一、前3000名人员列表页
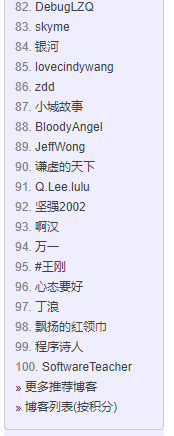
1)进入首页,找到博客园积分列表。如下图:然后我们就找到前3000名大神的博客地址了。通过,词云分析了下,好多大神的博客都迁移到个人博客上了。
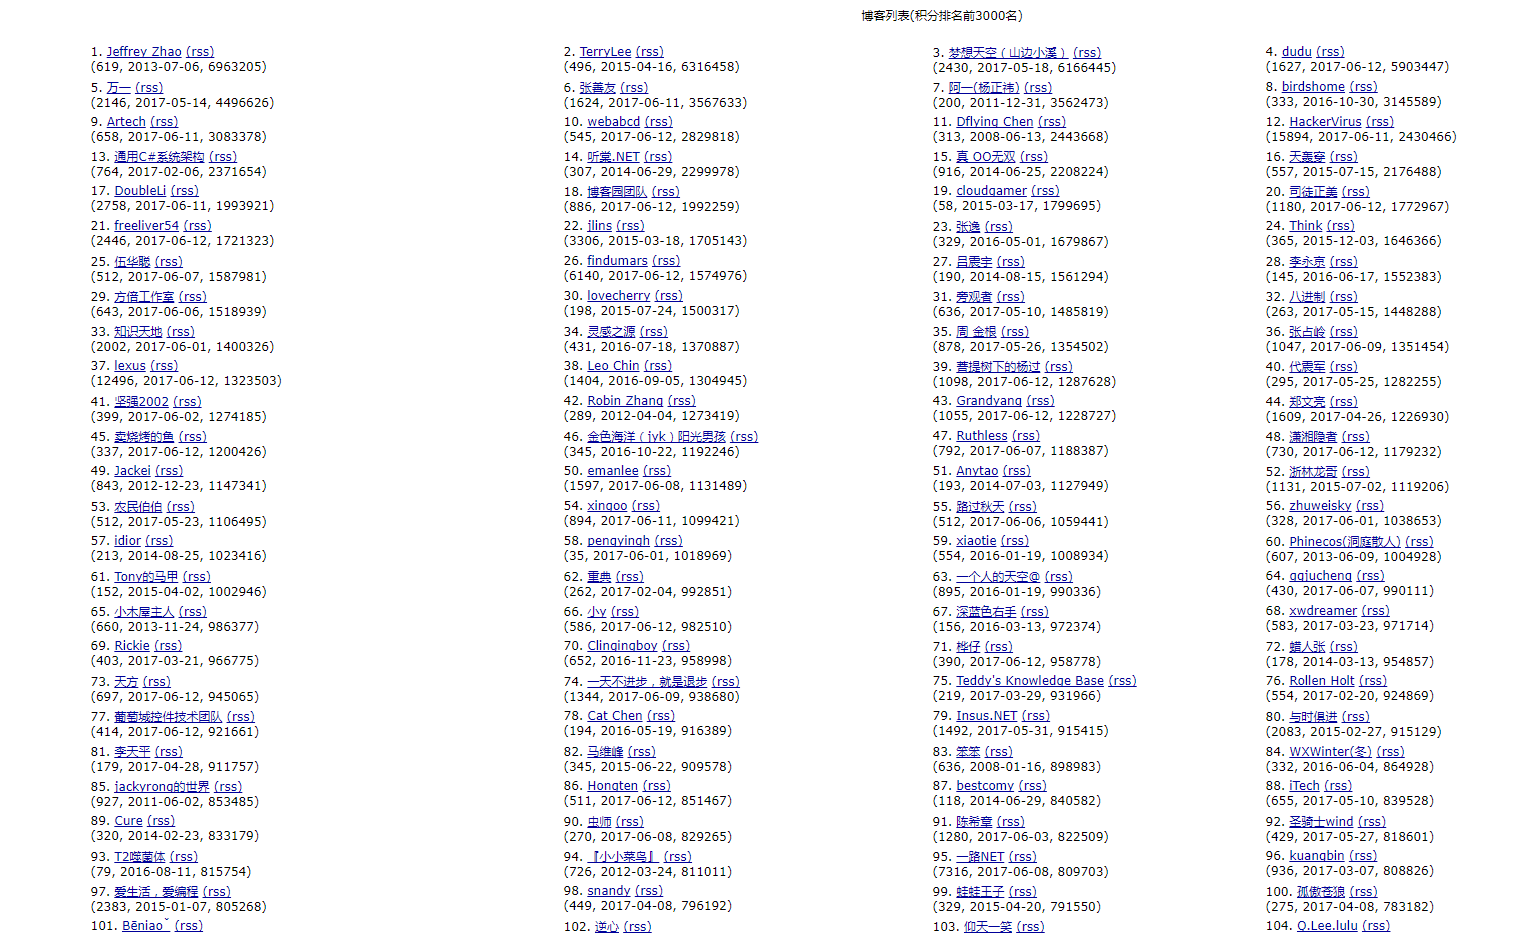
2)分析页面结构:每一个td都是,一个人员。
第一个small为排名
第二个a标签是昵称和用户名,以及首页的博客地址。用户名通过地址截取获取
第四个small标签是,博客数量以及积分,通过字符串分离后可以逐个获取到。

3)代码:使用xpath获取标签及相关的内容,获取到首页博客地址后,发送请求。
def parse(self, response):
for i in response.xpath("//table[@width='90%']//td"):
item = CnblogsItem()
item['top'] = i.xpath(
"./small[1]/text()").extract()[0].split('.')[-2].strip()
item['nickName'] = i.xpath("./a[1]//text()").extract()[0].strip()
item['userName'] = i.xpath(
"./a[1]/@href").extract()[0].split('/')[-2].strip()
totalAndScore = i.xpath(
"./small[2]//text()").extract()[0].lstrip('(').rstrip(')').split(',')
item['score'] = totalAndScore[2].strip()
# print(top)
# print(nickName)
# print(userName)
# print(total)
# print(score)
# return
yield scrapy.Request(i.xpath("./a[1]/@href").extract()[0], meta={'page': 1, 'item': item},
callback=self.parse_page)
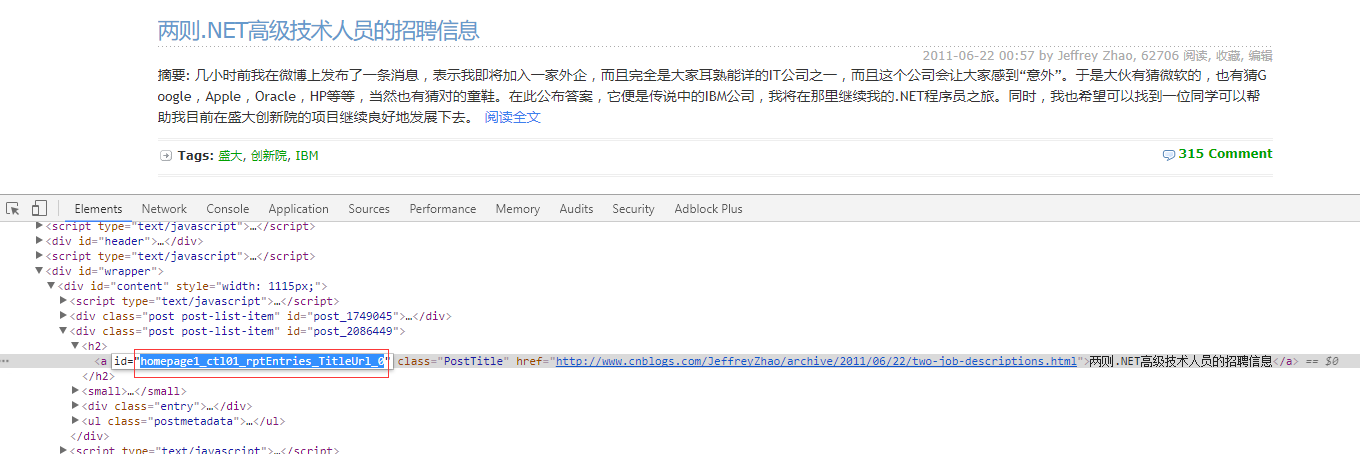
二、各人员博客列表页
1)页面结构:通过分析,每篇博客的a标签id中都包含“TitleUrl”,这样就可以获取到每篇博客的地址了。每页面地址,加上default.html?page=2,page跟着变动就可以了。
2)代码:置顶的文字会去除掉。
def parse_page(self, response):
# print(response.meta['nickName'])
#//a[contains(@id,'TitleUrl')]
urlArr = response.url.split('default.aspx?')
if len(urlArr) > 1:
baseUrl = urlArr[-2]
else:
baseUrl = response.url
list = response.xpath("//a[contains(@id,'TitleUrl')]")
for i in list:
item = CnblogsItem()
item['top'] = int(response.meta['item']['top'])
item['nickName'] = response.meta['item']['nickName']
item['userName'] = response.meta['item']['userName']
item['score'] = int(response.meta['item']['score'])
item['pageLink'] = response.url
item['title'] = i.xpath(
"./text()").extract()[0].replace(u'[置顶]', '').replace('[Top]', '').strip()
item['articleLink'] = i.xpath("./@href").extract()[0]
yield scrapy.Request(i.xpath("./@href").extract()[0], meta={'item': item}, callback=self.parse_content)
if len(list) > 0:
response.meta['page'] += 1
yield scrapy.Request(baseUrl + 'default.aspx?page=' + str(response.meta['page']), meta={'page': response.meta['page'], 'item': response.meta['item']}, callback=self.parse_page)
3)对于每篇博客的内容,这里没有抓取。也很简单,分析页面。继续发送请求,找到id为cnblogs_post_body的div就可以了。
def parse_content(self, response):
        content = response.xpath("//div[@id='cnblogs_post_body']").extract()
        item = response.meta['item']
        if len(content) == 0:
            item['content'] = u'该文章已加密'
        else:
            item['content'] = content[0]
        yield item

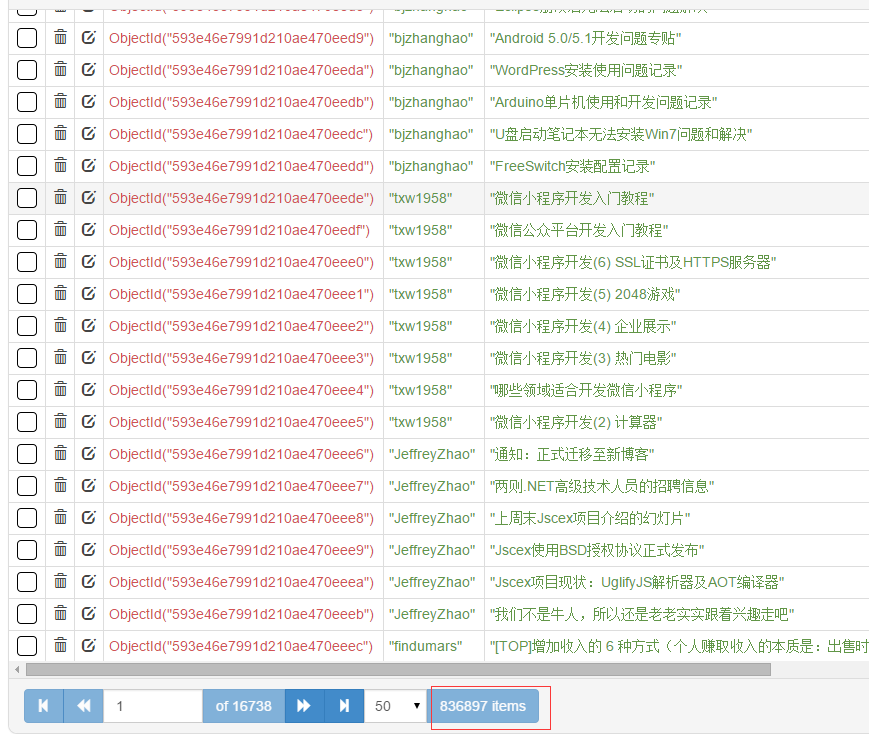
三、数据存储MongoDB
这一部分没什么难的。记着安装pymongo,pip install pymongo。总共有80+万篇文章。
from cnblogs.items import CnblogsItem
import pymongo


class CnblogsPipeline(object):

    def __init__(self):
        client = pymongo.MongoClient(host='127.0.0.1', port=27017)
        dbName = client['cnblogs']
        self.table = dbName['articles']
        self.table.create

    def process_item(self, item, spider):
        if isinstance(item, CnblogsItem):
            self.table.insert(dict(item))
            return item
四、代理及Model类
scrapy中的代理,很简单,自定义一个下载中间件,指定一下代理ip和端口就可以了。
def process_request(self, request, spider):
        request.meta['proxy'] = 'http://117.143.109.173:80'
Model类,存放的是对应的字段。
class CnblogsItem(scrapy.Item):
    # define the fields for your item here like:
    # name = scrapy.Field()
    # 排名
    top = scrapy.Field()
    nickName = scrapy.Field()
    userName = scrapy.Field()
    # 积分
    score = scrapy.Field()
    # 所在页码地址
    pageLink = scrapy.Field()
    # 文章标题
    title = scrapy.Field()
    # 文章链接
    articleLink = scrapy.Field()
# 文章内容
content = scrapy.Field()
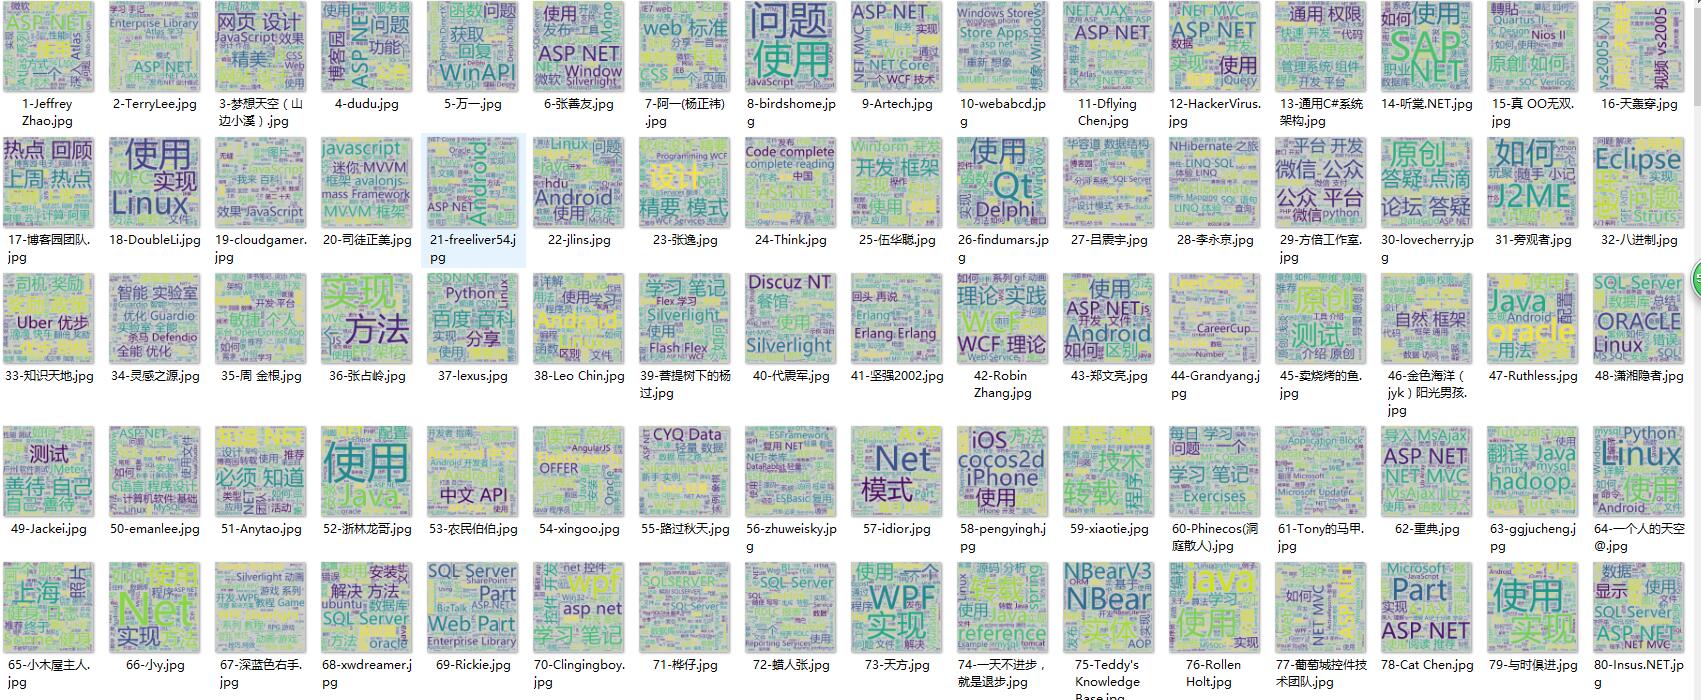
五、wordcloud词云分析
对每个人的文章进行词云分析,存储为图片。wordcloud的使用用,可参考园内文章。
这里用了多线程,一个线程用来生成分词好的txt文本,一个线程用来生成词云图片。生成词云大概,1秒一个。
# coding=utf-8
import sys
import jieba
from wordcloud import WordCloud
import pymongo
import threading
from Queue import Queue
import datetime
import os
reload(sys)
sys.setdefaultencoding('utf-8')


class MyThread(threading.Thread):

    def __init__(self, func, args):
        threading.Thread.__init__(self)
        self.func = func
        self.args = args

    def run(self):
        apply(self.func, self.args)
# 获取内容 线程


def getTitle(queue, table):
    for j in range(1, 3001):
        #         start = datetime.datetime.now()
        list = table.find({'top': j}, {'title': 1, 'top': 1, 'nickName': 1})
        if list.count() == 0:
            continue
        txt = ''
        for i in list:
            txt += str(i['title']) + '
'
            name = i['nickName']
            top = i['top']
        txt = ' '.join(jieba.cut(txt))
        queue.put((txt, name, top), 1)
#         print((datetime.datetime.now() - start).seconds)


def getImg(queue, word):
    for i in range(1, 3001):
        #         start = datetime.datetime.now()
        get = queue.get(1)
        word.generate(get[0])
        name = get[1].replace('<', '').replace('>', '').replace('/', '').replace('\', '').replace(
            '|', '').replace(':', '').replace('"', '').replace('*', '').replace('?', '')
        word.to_file(
            'wordcloudimgs/' + str(get[2]) + '-' + str(name).decode('utf-8') + '.jpg')
        print(str(get[1]).decode('utf-8') + '	生成成功')
#         print((datetime.datetime.now() - start).seconds)


def main():
    client = pymongo.MongoClient(host='127.0.0.1', port=27017)
    dbName = client['cnblogs']
    table = dbName['articles']
    wc = WordCloud(
        font_path='msyh.ttc', background_color='#ccc', width=600, height=600)
    if not os.path.exists('wordcloudimgs'):
        os.mkdir('wordcloudimgs')
    threads = []
    queue = Queue()
    titleThread = MyThread(getTitle, (queue, table))
    imgThread = MyThread(getImg, (queue, wc))
    threads.append(imgThread)
    threads.append(titleThread)

    for t in threads:
        t.start()
    for t in threads:
        t.join()

if __name__ == "__main__":
    main()
六、完整源码地址
https://github.com/hao15239129517/cnblogs
scrapy的GitHub地址:
https://github.com/scrapy/scrapy
wordcloud的github地址:
https://github.com/amueller/word_cloud
附:mongodb内存限制windows:https://www.captaincodeman.com/2011/02/27/limit-mongodb-memory-use-windows