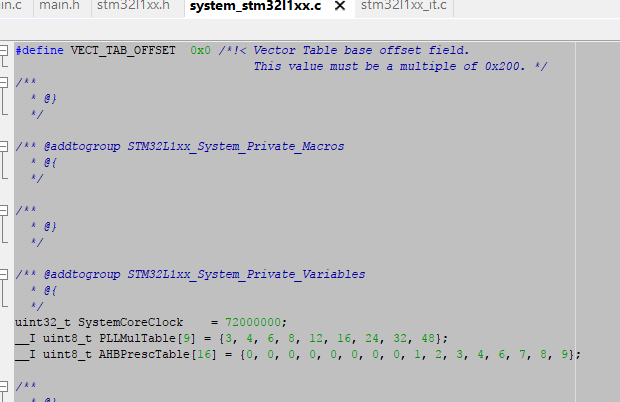
一、系统时钟默认是32M,最高支持32M,不过下图已经改成72M也可以运行,可能会有什么后遗症,位置在
二、定时器1ms两种方法
1、Main.c里
void delay_nms(uint32_t time)
{
uint32_t i=0;
while(time--)
{
i=12000; //自己定义
while(i--) ;
}
}
这种方式多少有点不准确。
2、在Stm32l1xx_it.c文件下,加入以下代码,注意SysTick_Handler已经存在
void Init_SysTick(void)
{
if(SysTick_Config(SystemCoreClock / 1000)) //注意:3.5库中 SystemFrequency 被 SystemCoreClock 取代。
while(1);
}
__IO uint32_t TimingDelay;
void delay_ms(__IO uint32_t nTime)
{
TimingDelay = nTime;
while(TimingDelay != 0);
}
extern __IO uint32_t TimingDelay;
void SysTick_Handler(void)
{
if (TimingDelay != 0x00)
{
TimingDelay--;
}
}
然后再main里
Init_SysTick();
Delayms(1000);即可延时1ms.
三、控制LED闪烁,LED外接在PB1上,和STM32F10系列多少有点不一样
int main(void)
{
/*!< At this stage the microcontroller clock setting is already configured,
this is done through SystemInit() function which is called from startup
file (startup_stm32l1xx_xx.s) before to branch to application main.
To reconfigure the default setting of SystemInit() function, refer to
system_stm32l1xx.c file
*/
/* GPIOD Periph clock enable */
RCC_AHBPeriphClockCmd(RCC_AHBPeriph_GPIOB, ENABLE);//使用AHB不是APB
GPIO_InitTypeDef GPIO_InitStructure;
/* Configure PD0 and PD1 or PD3 and PD7 in output pushpull mode */
GPIO_InitStructure.GPIO_Pin = GPIO_Pin_1;
GPIO_InitStructure.GPIO_Mode = GPIO_Mode_OUT;
GPIO_InitStructure.GPIO_OType = GPIO_OType_PP;
GPIO_InitStructure.GPIO_Speed = GPIO_Speed_40MHz;
GPIO_InitStructure.GPIO_PuPd = GPIO_PuPd_NOPULL;
GPIO_Init(GPIOB, &GPIO_InitStructure);
/* Add your application code here
*/
//Init_SysTick();
/* Infinite loop */
while (1)
{
GPIOB->BSRRL = 0x02;
delay_nms(1000);
GPIOB->BSRRH = 0x02;
delay_nms(1000);
}
}