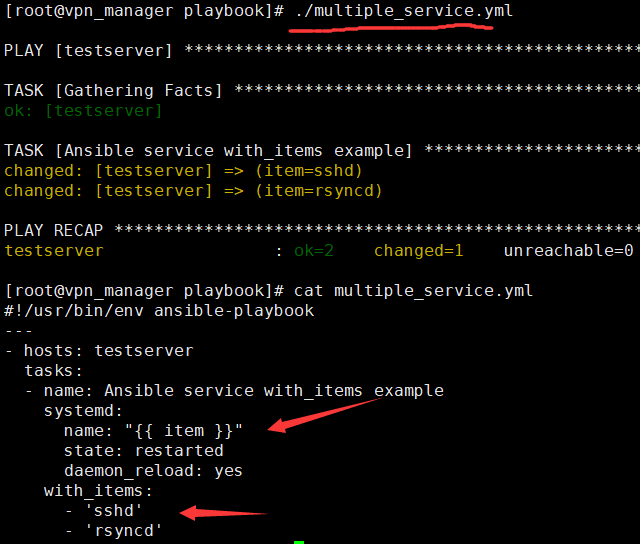
1) 剧本编写规范(Python yaml语法)
       第一: 注意语句缩进  两个空格表示一个缩进关系
       hosts: xxxxx
         tasks: xxxxx
           name:
       第二: 注意字典格式  冒号后面需要有空格 以冒号结尾不需要有空格
       hosts:
        xxx: 172.16.1.41
        xxx: xxx
       第三: 注意列表格式  利用短横线加空格
       - hosts: 172.16.1.31
       - hosts: 172.16.1.41
实现一键化部署rsync服务
第一步:定义主机
第二步:rsync服务部署流程
a. 安装rsync服务 yum模块 shell模块
b. 编写配置文件 copy模块
c. 创建虚拟用户 user模块 shell模块
d. 创建共享目录及密码文件并修改权限 file模块 copy模块
c. 启动服务 shell模块 service system模块
[root@m01 ansible_playbook]# cat auto_rsync.yaml
- hosts: rsync
  vars:
    rsync_conf_dir: "/etc/ansible/ansible_playbook/"
    rsync_backup_dir: "/backup"
  tasks:
    - name: 01.安装服务
      yum: name=rsync state=installed
    - name: 02.编写配位文件
      copy: src={{ rsync_conf_dir }}/rsyncd.conf dest=/etc/
      when: ansible_eth1.ipv4.address == "172.16.1.41"
    - name: 03.创建虚拟用户
      user: name={{ item.username }} shell={{ item.shell }} create_home={{ item.create_home }}
      with_items:
        - {username: 'rsync', shell: '/sbin/nologin', create_home: 'no'}
      when: ansible_eth1.ipv4.address == "172.16.1.41"
    - name: 04.创建密码文件
      copy: content="rsync_backup:123456" dest=/etc/rsync.password mode=600
      when: ansible_eth1.ipv4.address == "172.16.1.41"
    - name: 05.创建备份目录
      file: path={{ rsync_backup_dir }} state=directory owner=rsync group=rsync
      when: ansible_eth1.ipv4.address == "172.16.1.41"
    - name: 06.启动服务
      service: name=rsyncd state=started enabled=yes
      when: ansible_eth1.ipv4.address == "172.16.1.41"
    - name: 07.客户端设置面交互登录
      copy: content="123456" dest=/etc/rsync.password mode=600
      when: ansible_eth1.ipv4.address != "172.16.1.41"
语法检查:
剧本执行操作过程:
检查剧本语法是否正确
ansible-playbook --syntax-check /etc/ansible/ansible_playbook/auto_rsync.yaml
执行剧本文件
ansible-playbook /etc/ansible/ansible_playbook/auto_rsync.yaml

NFS服务一键化部署剧本:
[root@m01 ansible_playbook]# cat auto_nfs.yaml
- hosts: nfs
  vars:
    conf_file_dir: "/etc/ansible/ansible_playbook"
  tasks:
    - name: 01:安装软件程序
      yum: name={{ item }}  state=installed
      loop:
       - rpcbind
       - nfs-utils
    - name: 02:配置编写文件
      copy:
        src: "{{ conf_file_dir }}/exports"
        dest: /etc/
      when: ansible_eth1.ipv4.address=="172.16.1.31"
      notify:
        - nfs_server
        - nfs_check
        - nfs_output
    - name: 03:创建存储目录
      file: path={{ item.path }} owner={{ item.owner }} group={{ item.group }} state={{ item.state }}
      with_items:
        - {path: '/data', owner: 'nfsnobody',group: 'nfsnobody',state: 'directory'}
      when: ansible_eth1.ipv4.address=="172.16.1.31"
    - name: 04:启动服务程序
      service: name={{ item }} state=started
      loop:
        - rpcbind
        - nfs
      when: ansible_eth1.ipv4.address == "172.16.1.31"
    - name: check server
      shell: showmount -e 172.16.1.31
      register: mount_info
    - name: output info
      debug: msg={{ mount_info.stdout_lines }}
    - name: 05:创建客户端挂载目录
      file:
        path: /data
        state: directory
      when: ansible_eth1.ipv4.address != "172.16.1.31"
    - name: 06:直接进行挂载
      mount: src=172.16.1.31:/data path=/data fstype=nfs state=mounted
      when: ansible_eth1.ipv4.address != "172.16.1.31"
  handlers:
    - name: nfs_server
      service: name=nfs state=reloaded
    - name: nfs_check
      shell: showmount -e 172.16.1.31
      register: mount_info
    - name: nfs_output
      debug: msg={{ mount_info.stdout_lines }}