exchange server 2016安装前配置之组件安装
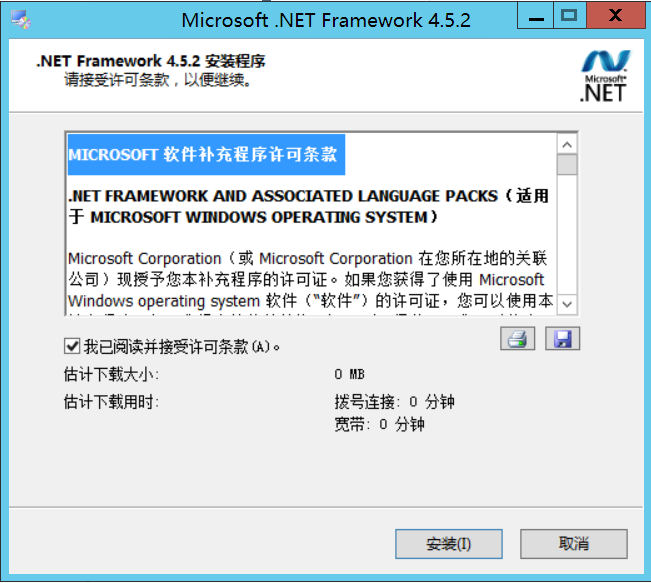
一、安装.NET Framework 4.5.2
1、软件下载地址:https://www.microsoft.com/en-us/download/details.aspx?id=42642
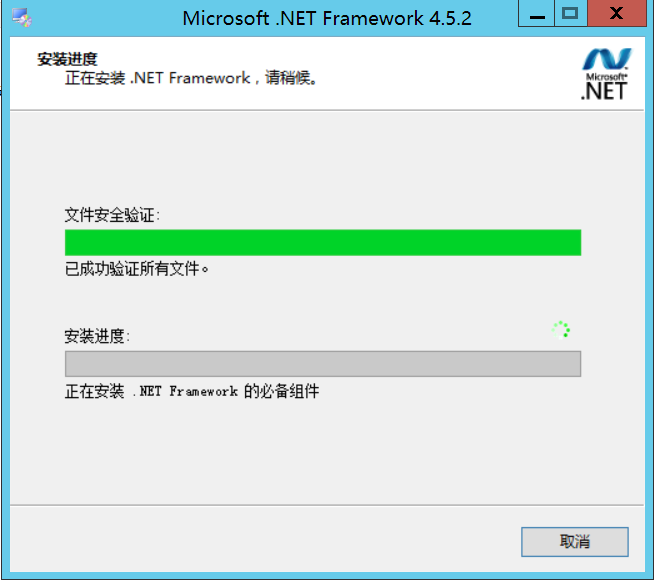
2、开始安装
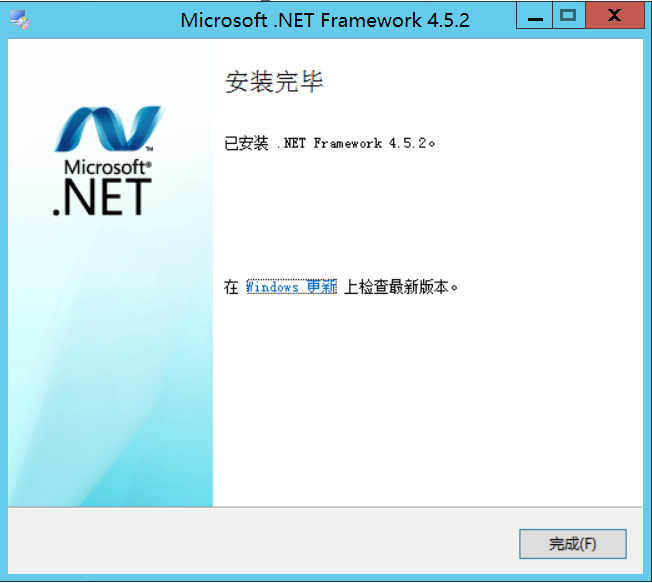

3、安装完成之后重启服务器
二、安装Exchang2016组件
1、打开powershell 输入以下命令,执行命令
Install-WindowsFeature AS-HTTP-Activation, Desktop-Experience, NET-Framework-45-Features, RPC-over-HTTP-proxy, RSAT-Clustering, RSAT-Clustering-CmdInterface, RSAT-Clustering-Mgmt, RSAT-Clustering-PowerShell, Web-Mgmt-Console, WAS-Process-Model, Web-Asp-Net45, Web-Basic-Auth, Web-Client-Auth, Web-Digest-Auth, Web-Dir-Browsing, Web-Dyn-Compression, Web-Http-Errors, Web-Http-Logging, Web-Http-Redirect, Web-Http-Tracing, Web-ISAPI-Ext, Web-ISAPI-Filter, Web-Lgcy-Mgmt-Console, Web-Metabase, Web-Mgmt-Console, Web-Mgmt-Service, Web-Net-Ext45, Web-Request-Monitor, Web-Server, Web-Stat-Compression, Web-Static-Content, Web-Windows-Auth, Web-WMI, Windows-Identity-Foundation,RSAT-ADDS
如图:
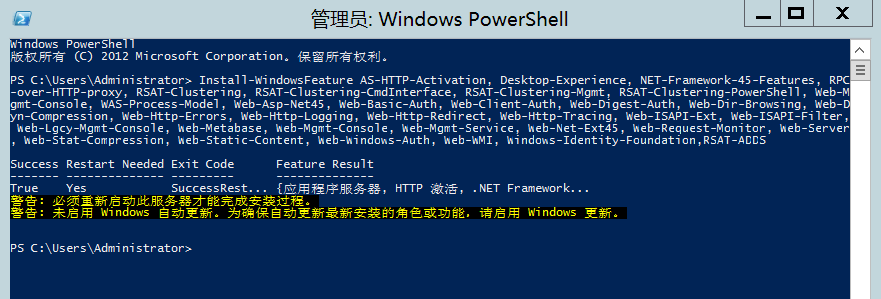
2、 需要重启服务器配置生效

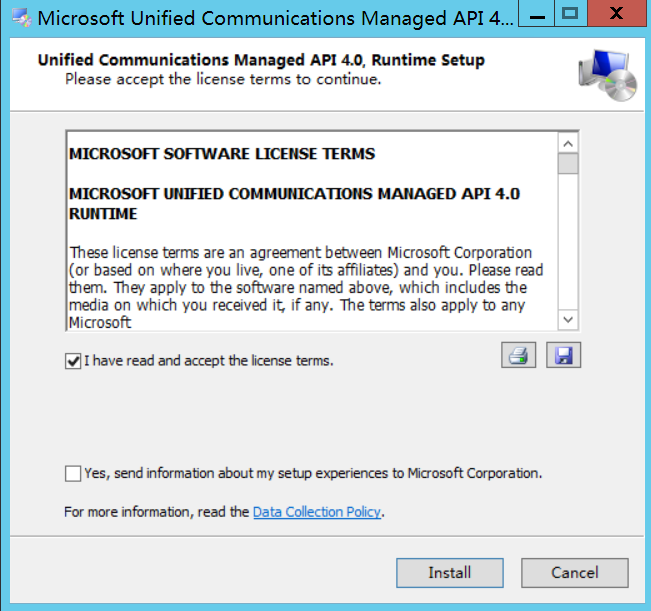
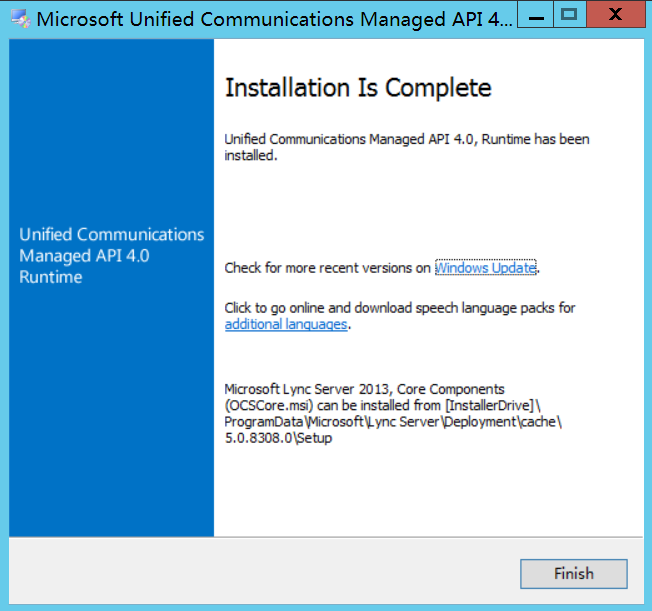
三、安装UcmaRuntimeSetup
1、软件下载地址:https://www.microsoft.com/en-us/download/details.aspx?id=34992
2、开始安装


四、配置时间同步
1、时间同步脚本
时间同步脚本
@echo off
net stop w32time
net start w32time
w32tm /config /manualpeerlist:时间服务器IP
/syncfromflags:manual  /update
2、执行脚本实现时间同步
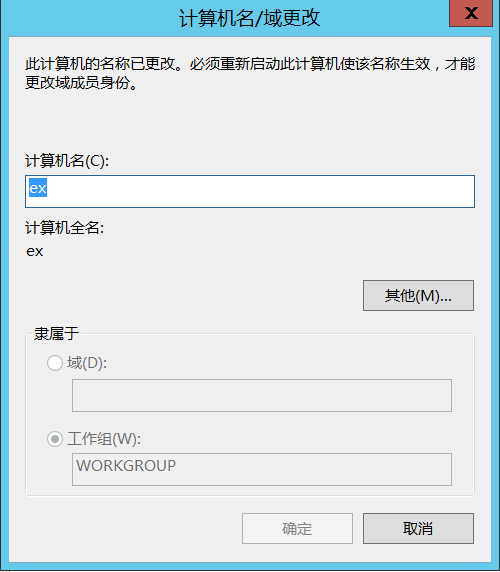
五、修改主机名
修改主机名