大家好,今天来给大家分享下Mybatis这个后端框架,希望对初学者者有一定的帮助,咱们废话不多说直接开始!!
一、什么是 MyBatis?
MyBatis 是支持普通 SQL 查询,存储过程和高级映射的优秀持久层框架。MyBatis 消除 了几乎所有的 JDBC 代码和参数的手工设置以及结果集的检索。MyBatis 使用简单的 XML 或注解用于配置和原始映射,将接口和 Java 的 POJOs(Plan Old Java Objects,普通的 Java 对象)映射成数据库中的记录。
那我们再来看下mybatis结构体系
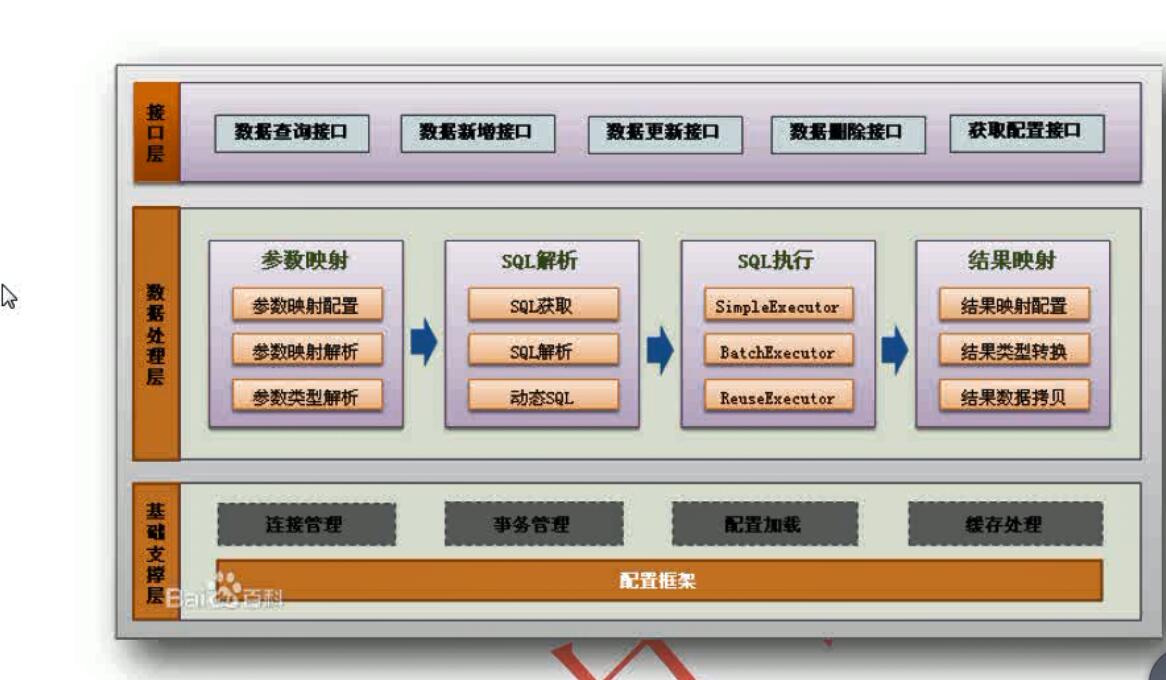
这个是mybatis的机构体系一共有4个部分完成,分别是参数映射、SQL解析、SQL执行、结果映射。因为今天是带大家快速上手mybatis底层不过与多说。
那我们现在开始搭建mybatis的开发环境,小编在这里呢用的是IDEA这个开发工具,也推荐大家使用挺方便的。
二、搭建mybatis开发环境
1.创建java控制台项目即可

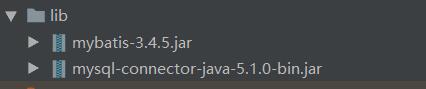
2.导入相应的jar包
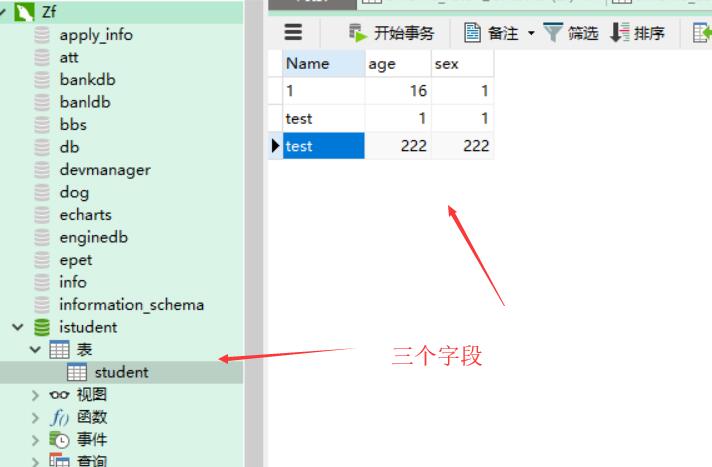
3.创建数据库和表
4.使用mybatis查询这个表里面的数据
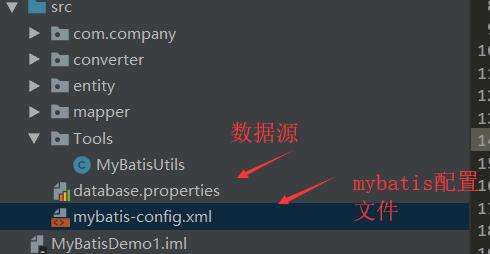
mybatis-config.xml内容如下
<?xml version="1.0" encoding="UTF-8" ?>
<!DOCTYPE configuration
        PUBLIC "-//mybatis.org//DTD Config 3.0//EN"
        "http://mybatis.org/dtd/mybatis-3-config.dtd">
<configuration>
    <!--引入外置配置文件-->
    <properties resource="database.properties"></properties>

    <environments default="development">
        <environment id="development">
            <!--数据库连接事务-->
            <transactionManager type="JDBC"/>
            <!--数据库连接池-->
            <dataSource type="POOLED">
                <property name="driver" value="${driver}"/>
                <property name="url" value="${url}"/>
                <property name="username" value="${username}"/>
                <property name="password" value="${password}"/>
            </dataSource>
        </environment>
    </environments>
<!--注册mapper文件-->
<mappers>
 <mapper resource="mapper/studentMapper.xml"/>
</mappers>
</configuration>
5.定义表所对应的实体类

Studententity具体如下:
package entity;

public class Studententity {

    private String name;
    private Integer age;

    public String getName() {
        return name;
    }

    public void setName(String name) {
        this.name = name;
    }


    public boolean isSex() {
        return sex;
    }

    public void setSex(boolean sex) {
        this.sex = sex;
    }


    public Integer getAge() {
        return age;
    }

    public void setAge(Integer age) {
        this.age = age;
    }


    public Integer getID() {
        return ID;
    }

    public void setID(Integer ID) {
        this.ID = ID;
    }

    @Override
    public String toString() {
        return "Studententity{" +
                "Name='" + name + '\'' +
                ", age=" + age +
                ", sex='" + sex + '\'' +
                ", ID=" + ID +
                '}';
    }
}
6.定义操作Student表的sql映射文件和接口
、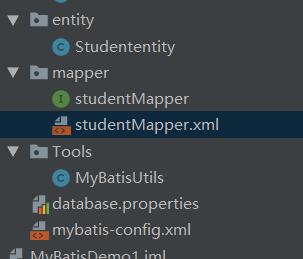
studentMapper和studentMapper.xml
分别如下:
public interface studentMapper {
    /**
     * 1.方法名和mapper.xml文件中标签的id值相同
     * 2.方法的输入参数和mapper.xml文件中的标签parameterType类型一致
     * 3.方法的返回值和mapper.xml文件中的标签resultType类型一致
     *
     * */
    Studententity SelByID(Integer ID);//根据ID查询
}
<?xml version="1.0" encoding="UTF-8" ?>
<!DOCTYPE mapper
        PUBLIC "-//mybatis.org//DTD Mapper 3.0//EN"
        "http://mybatis.org/dtd/mybatis-3-mapper.dtd">
<--namespcae指向接口的类路径-->
<mapper namespace="mapper.studentMapper">

    <select id="SelByID" parameterType="int" resultType="Studententity">
    select * from student where id = #{id}
  </select>

</mapper>
6.上面已经说到在mybatis-config.xml中注册mapper.xml配置文件。
7.写一个mybatis的工具类
public class MyBatisUtils {

    public static SqlSessionFactory getSqlSessionFactory() throws IOException {
        String resource = "mybatis-config.xml";
        InputStream inputStream = Resources.getResourceAsStream(resource);
        return new SqlSessionFactoryBuilder().build(inputStream);
    }

}
8.在main方法里写测试
 public void selbyid() throws IOException {
        SqlSessionFactory sqlSessionFactory = MyBatisUtils.getSqlSessionFactory();
        SqlSession sqlSession = sqlSessionFactory.openSession();
        Studententity studententity = sqlSession.getMapper(studentMapper.class).SelByID(1);
        System.out.println(studententity.getName());
    }
9.这样就可以输出了。
注:小编也是第一次写博客,更是为了帮助更多正在学习的朋友们,有什么错误请及时评论,随后可能还会推出SSM,SpringBoot,SpringCloud,redis,nginx,等等java后端知识,敬请关注,谢谢!