Spring Boot是由Pivotal团队提供的全新框架,其设计目的是用来简化新Spring应用的初始搭建以及开发过程。该框架使用了特定的方式来进行配置,从而使开发人员不再需要定义样板化的配置。通过这种方式,Spring Boot致力于在蓬勃发展的快速应用开发领域(rapid application development)成为领导者。
特点:
1. 创建独立的Spring应用程序
2. 嵌入的Tomcat,无需部署WAR文件
3. 简化Maven配置
4. 自动配置Spring
5. 提供生产就绪型功能,如指标,健康检查和外部配置
6. 绝对没有代码生成和对XML没有要求配置
Thyemleaf一个优秀的前端模版,用来替代JSP,因为它能做到前后端分离,支持静态化。
前面讲到SpringBoot本身不需要配置,但是集成Thyemleaf需要加入配置。下面介绍步骤。
1.导入maven依赖
<project xmlns="http://maven.apache.org/POM/4.0.0" xmlns:xsi="http://www.w3.org/2001/XMLSchema-instance"
  xsi:schemaLocation="http://maven.apache.org/POM/4.0.0 http://maven.apache.org/xsd/maven-4.0.0.xsd">
  <modelVersion>4.0.0</modelVersion>

  <groupId>com.imooc</groupId>
  <artifactId>miaosha_1</artifactId>
  <version>0.0.1-SNAPSHOT</version>
  <packaging>jar</packaging>

  <name>miaosha_1</name>
  <url>http://maven.apache.org</url>
  <parent>
    <groupId>org.springframework.boot</groupId>
    <artifactId>spring-boot-starter-parent</artifactId>
    <version>1.5.9.RELEASE</version>
</parent>

  <properties>
    <project.build.sourceEncoding>UTF-8</project.build.sourceEncoding>
  </properties>

  <dependencies>
    <!--springBoot-->
   <dependency>
        <groupId>org.springframework.boot</groupId>
        <artifactId>spring-boot-starter-web</artifactId>
    </dependency>
    <!--thymeleaf-->
    <dependency>
         <groupId>org.springframework.boot</groupId>
         <artifactId>spring-boot-starter-thymeleaf</artifactId>
   </dependency>

  </dependencies>
</project>
2.SpringBoot会默认在resources下查找application.properties的配置文件。
application.properties用来配置Thyemleaf的池
#缓存
spring.thymeleaf.cache=false
#文本
spring.thymeleaf.content-type=text/html
#启用
spring.thymeleaf.enabled=true
#编码
spring.thymeleaf.encoding=UTF-8
#页面
spring.thymeleaf.mode=HTML5
#前缀
sprin.thymeleaf.prefix=classpath:/templates/
#后缀
spring.thymeleaf.suffix=.html
3.在配置的前缀文件下 编写html页面
<!DOCTYPE HTML>
<html xmlns:th="http://www.thymeleaf.org">
<head>
    <title>hello</title>
    <meta http-equiv="Content-Type" content="text/html; charset=UTF-8" />
</head>
<body>
<p th:text="'hello:'+${name}" ></p>
</body>
</html>
4.control控制
@Controlle
@RequestMapping("/demo")
public class DemoController {

      @RequestMapping("/")
       @ResponseBody
       String home() {
           return "Hello World!";
       }
      //1.rest api json输出 2.页面
      @RequestMapping("/hello")
       @ResponseBody
       public Result<String> hello() {
         return Result.success("hello,imooc");
          // return new Result(0, "success", "hello,imooc");
       }

      @RequestMapping("/helloError")
       @ResponseBody
       public Result<String> helloError() {
         return Result.error(CodeMsg.SERVER_ERROR);
         //return new Result(500102, "XXX");
       }

   /**
    * thymeleaf测试的主要方法
    * @param model
    * @return
    */
   @RequestMapping("/thymeleaf")
       public String  thymeleaf(Model model) {
         model.addAttribute("name", "Joshua");
         return "hello";
       }

}
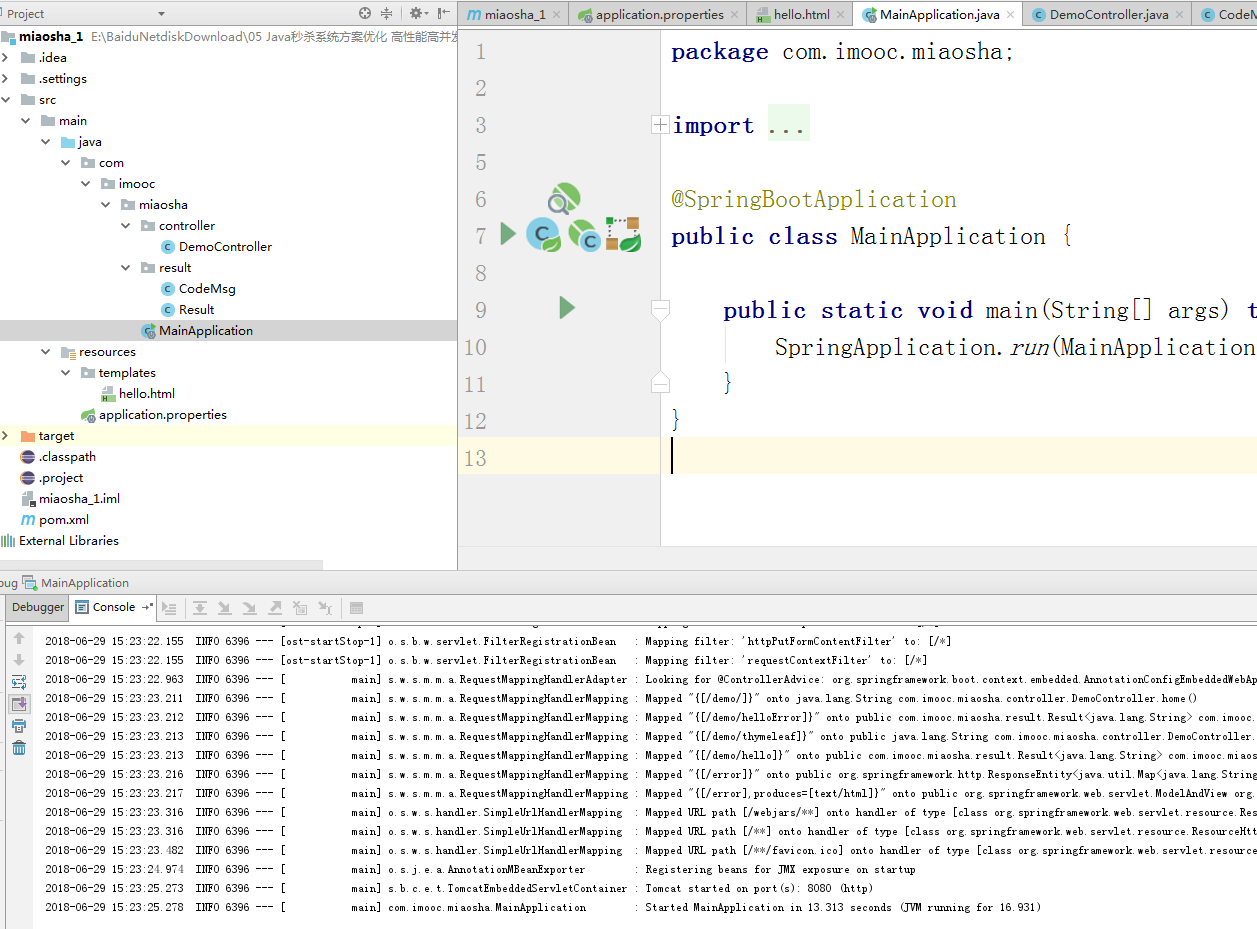
5.程序的入口mian方法。

SpringBoot有两个常用的注解,一个是@controller
另一个是@EnableAutoConfiguration,但是一般不使用这个而是用

@SpringBootApplication

如下整个项目就能正常启动了