一、实验目的
熟悉 Postman 的使用;熟悉如何使用 OpenDaylight 通过 Postman 下发流表。
二、实验任务
流表有软超时和硬超时的概念,分别对应流表中的 idle_timeout 和 hard_timeout。
idle timeout:如果值为非 0,那么在对应的时间内如果没有数据包匹配流表,时间到该流表将被删除;值为 0 不设软超时机制。
hard timeout:如果值为非 0,那么在对应的时间内不论是否有数据包匹配流表,时间到流表都会被删除;值为 0 不设硬超时机制。
推荐阅读:SDNLAB 文章:OpenFlow 协议超时机制简介https://www.sdnlab.com/22563.html
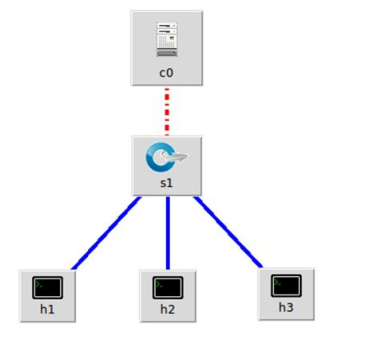
本实验通过 OpenDaylight 及 Postman 下发关于硬超时的流表,实现拓扑内主机h1 和 h3 在一定时间内的网络断开。Postman 是一个 http 请求工具,可用于 REST API 的接口调试。实验拓扑如下:
三 、 实验步骤
1. 实验环境
安装了 Ubuntu 18.04.5 Desktop amd64 的虚拟机
2. 实验过程
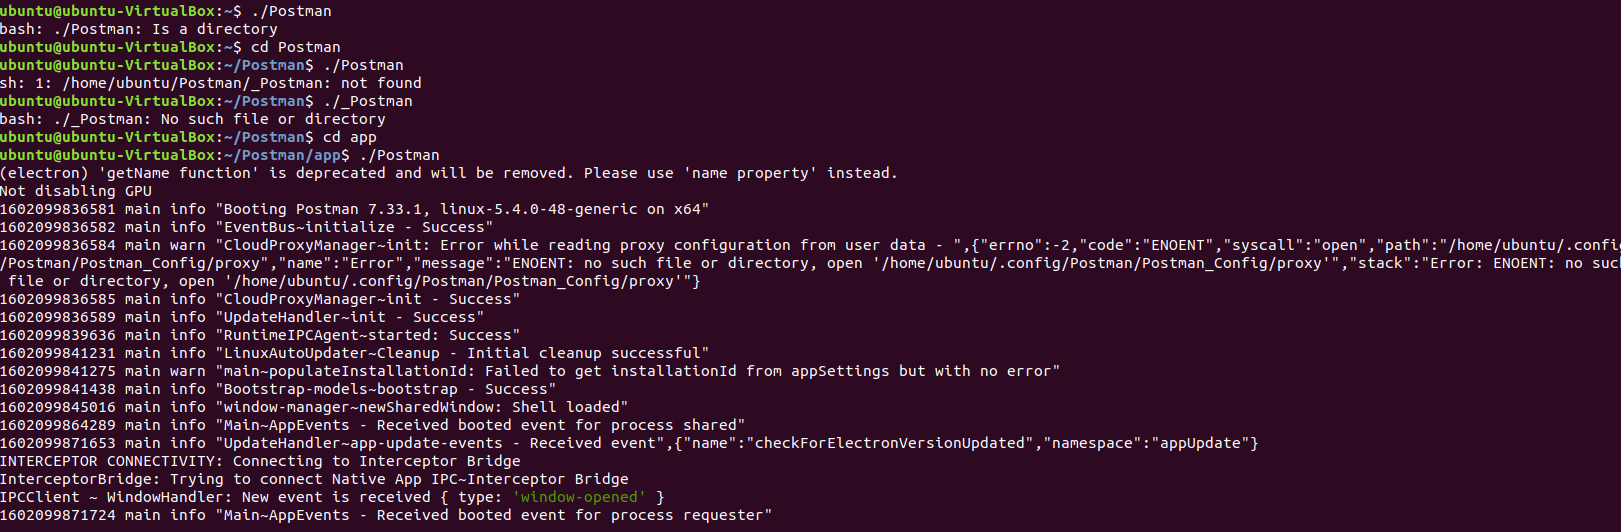
(1) Postman 安装
站点会监测系统版本,请下载 Linux 版本,解压到/home/ubuntu/你的用户名/目录下即可。指导书示例目录:/home/ubuntu/sdn/Postman,进入上述目录,运行Postman 文件即可
(2) 清理旧数据
启动 OpenDaylight,通过 Postman 的 Delete 动作清空残留流表(如有)

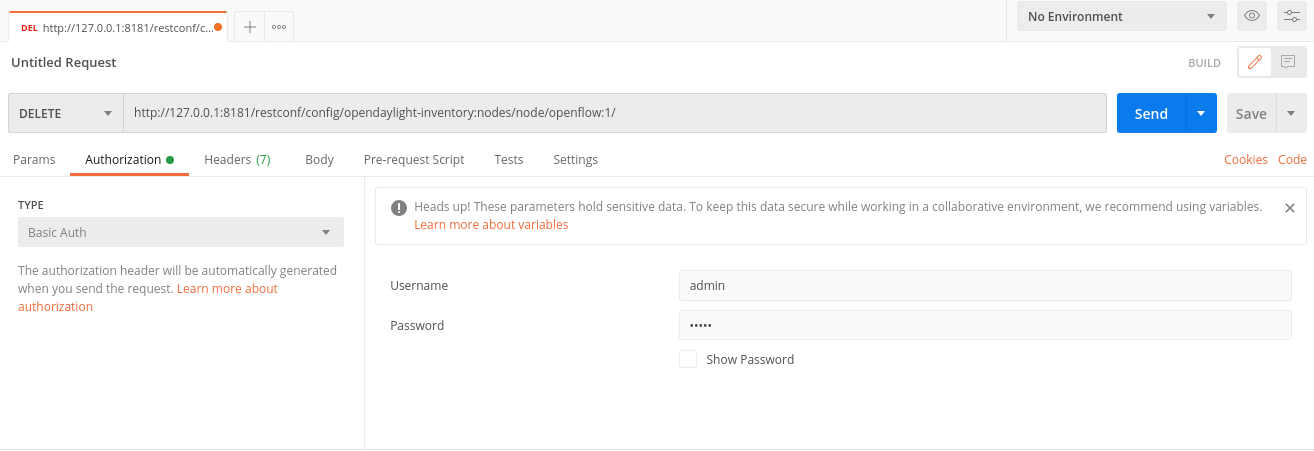
DELETE http://127.0.0.1:8181/restconf/config/opendaylight-inventory:nodes/node/openflow:1/
清空 Mininet 数据
$ sudo mn -c
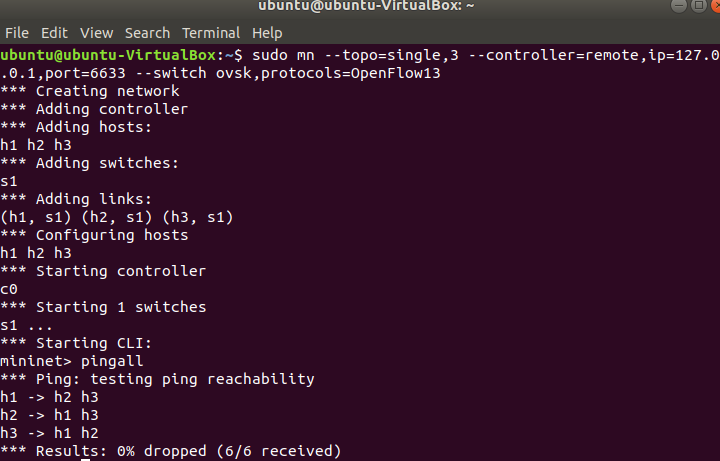
(3) 生成拓扑并连接 OpenDaylight
$ sudo mn --topo=single,3 --controller=remote,ip=127.0.0.1,port=6633 --switch ovsk,protocols=OpenFlow13
正常情况下,三台主机是互通的。
如果不通,可能控制器有旧的流表残留。
(4)使用 Postman 填入 JSON 格式的 http 请求
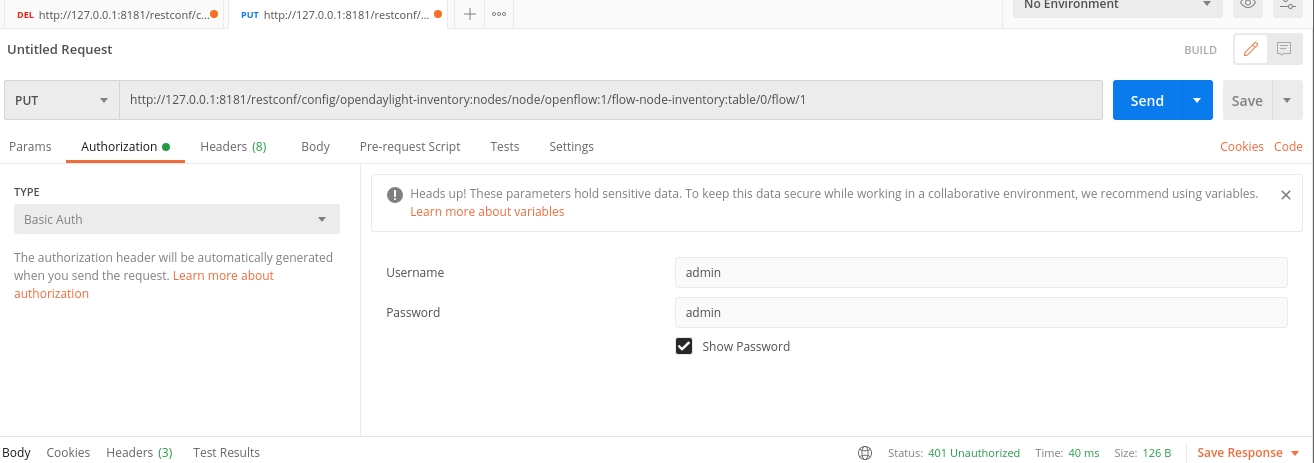
先在 Mininet CLI 中运行 h1 ping h3,再在 Postman 处选择动作 PUT,填入硬超时流表内容(见附录),可以先阅读一下流表的内容,关注 match 匹配字段以及对应的 instructions 指令中的动作 action,这里是直接 drop 数据包。为了让流表能够匹配,将优先级 priority 调到最大。点击右上角 send,发送请求。
(5) 验证结果
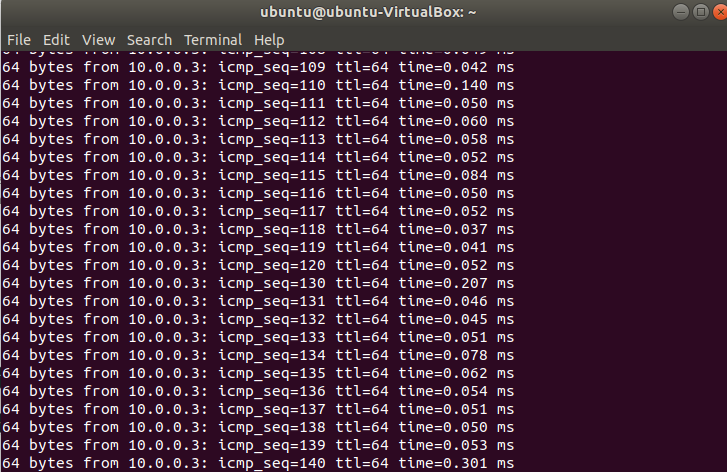
h1 ping h3 有 10 秒时间是中断的,结果符合预期。
(6)附录
JSON 格式的请求代码如下:
{
"flow": [
{
"id": "1",
"match": {
"in-port": "1",
"ethernet-match": {
"ethernet-type": {
"type": "0x0800"
}
},
"ipv4-destination": "10.0.0.3/32"
},
"instructions": {
"instruction": [
{
"order": "0",
"apply-actions": {
"action": [
{
"order": "0",
"drop-action": {}
}
]
}
}
]
},
"flow-name": "flow1",
"priority": "65535",
"hard-timeout": "10",
"cookie": "2",
"table_id": "0"
}
]
}
四、实验心得
本次实验需要安装postman,需要注意安装的是linux版本。将postman压缩包放入虚拟机前记得先解压,才能够正常运行。解压后的文件路径也要注意,否则很容易在终端里找不到文件。
此外,还要注意控制器中可能有流表残留,记得要清理。