主要是看了两篇文章,结合自己的实际经验,做记录。
需要下载的文件百度云链接:https://pan.baidu.com/s/1s02Bicjh9hINmzsLGhITtw
密码:vse7
具体步骤:
- 卸载
安装前一定要卸载干净!参考官网卸载帮助
- 安装
1、
将上面的 office deployment tool 安装在 D:/Tool 下。(文件夹自己建)
2、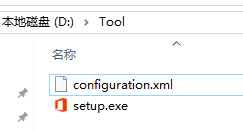
重命名并打开配置文件configuration.xml
(这里原来貌似叫做configuration-office356-64x.xml,可以把其它两个配置文件删除,留下这64位操作系统的配置文件并改名字)
3、 由于我只需要装 word/excel/ppt/visio,所以对配置文件做了修改:
这里我改了三处:
-
-
- 首先是语言,由英文改成中文("zh-cn" ),具体如下:
-
1 <Product ID="VisioProRetail">
2      <Language ID="zh-cn" />
3 </Product>
4 <Product ID="proplusretail">
5      <Language ID="zh-cn" />
6 </Product>
-
-
- 其次是在下面的代码插入所示的地方排除掉你不要的软件,比如 Access,OneNote 和 Outlook 等。
-
1  <Product ID="proplusretail">
2      <Language ID="zh-cn" />
3
4     //在此处插入
5
6  </Product>
具体操作如下:
 1 <Product ID="proplusretail">
 2     <Language ID="zh-cn" />
 3
 4     //在此处插入
 5     <ExcludeApp ID="Access" />
 6     <ExcludeApp ID="Publisher" />
 7     <ExcludeApp ID="Groove" />
 8     <ExcludeApp ID="OneNote" />
 9     <ExcludeApp ID="InfoPath" />
10     <ExcludeApp ID="Lync" />
11     <ExcludeApp ID="Outlook" />
12     <ExcludeApp ID="SharePointDesigner" />
13
14 </Product>
最终文件成形如下:
 1 <!-- Office 365 client configuration file sample. To be used for Office 365 ProPlus apps,
 2      Office 365 Business apps, Project Pro for Office 365 and Visio Pro for Office 365.
 3
 4      For detailed information regarding configuration options visit: http://aka.ms/ODT.
 5      To use the configuration file be sure to remove the comments
 6
 7      The following sample allows you to download and install the 64 bit version of the Office 365 ProPlus apps
 8      and Visio Pro for Office 365 directly from the Office CDN using the Monthly Channel
 9      settings  -->
10
11 <Configuration>
12
13   <Add OfficeClientEdition="64" Channel="Monthly">
14     <Product ID="VisioProRetail">
15       <Language ID="zh-cn" />
16     </Product>
17     <Product ID="proplusretail">
18       <Language ID="zh-cn" />
19       <ExcludeApp ID="Access" />
20       <ExcludeApp ID="Publisher" />
21       <ExcludeApp ID="Groove" />
22       <ExcludeApp ID="OneNote" />
23       <ExcludeApp ID="InfoPath" />
24       <ExcludeApp ID="Lync" />
25       <ExcludeApp ID="Outlook" />
26       <ExcludeApp ID="SharePointDesigner" />
27     </Product>
28   </Add>
29
30   <!--  <Updates Enabled="TRUE" Channel="Monthly" /> -->
31
32   <!--  <Display Level="None" AcceptEULA="TRUE" />  -->
33
34   <!--  <Property Name="AUTOACTIVATE" Value="1" />  -->
35
36 </Configuration>
-
-
-
- Win+R,输入cmd,进入D:\Tool
-
-
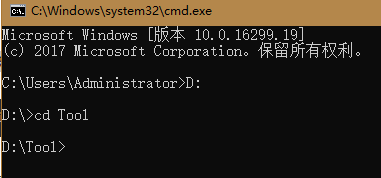
运行命令 setup.exe/configure configuration.xml,会出现安装界面:
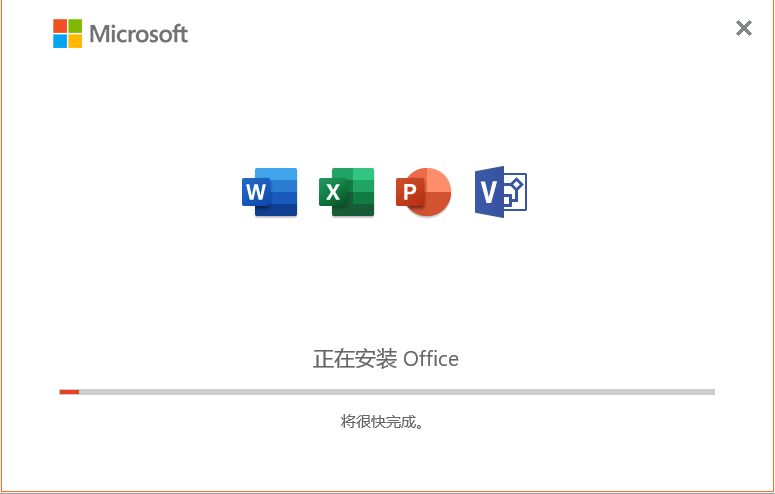
等待安装成功即可
- 激活
激活前请先关闭各类管家软件,负责会被阻止

解压这个文件,得到KMSAuto Net.exe
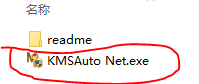
双击KMSAuto Net.exe文件
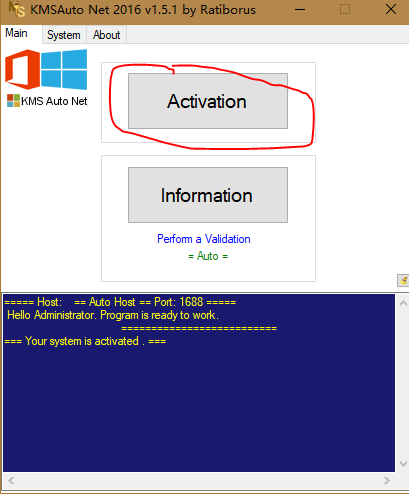
点击Activation按钮
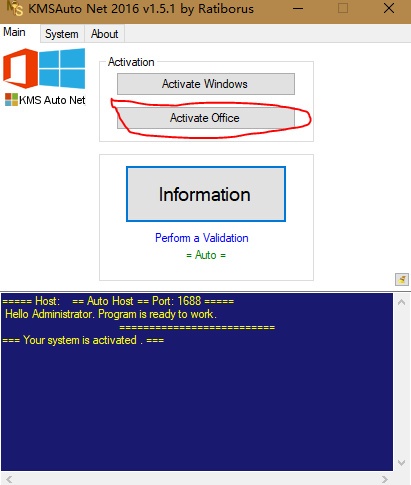
点击Activate Office,等待成功即可。
就可以使用啦,如果觉得有帮助,可以点个赞。