动态加载,就是使用代码进行加载,不指定name属性。
使用帧布局元素,进行覆盖显示。
添加一个fragement需要4个步骤。
1.获取Fragment管理器
2.获取Fragment事务(/开启事务)
3.动态添加Fragment
//参数1:容器id
//参数2:Fragment对象
4.提交事务


package com.example.fragment_static;

import androidx.appcompat.app.AppCompatActivity;
import androidx.fragment.app.Fragment;
import androidx.fragment.app.FragmentManager;
import androidx.fragment.app.FragmentTransaction;

import android.os.Bundle;

public class MainActivity extends AppCompatActivity {

    @Override
    protected void onCreate(Bundle savedInstanceState) {
        super.onCreate(savedInstanceState);
        setContentView(R.layout.activity_main);
        //FragmentManager   FragmentTransaction

        //1.获取Fragment管理器
        FragmentManager manager = getSupportFragmentManager();

        //2.获取Fragment事务(/开启事务)
        FragmentTransaction transaction = manager.beginTransaction();

        //3.动态添加Fragment
        //参数1:容器id
        //参数2:Fragment对象
        final Fragment f2 = new Fragment2();
        transaction.add(R.id.container,f2);

        //4.提交事务
        transaction.commit();

    }
}
创建一个空的fragment,并指定背景色为绿
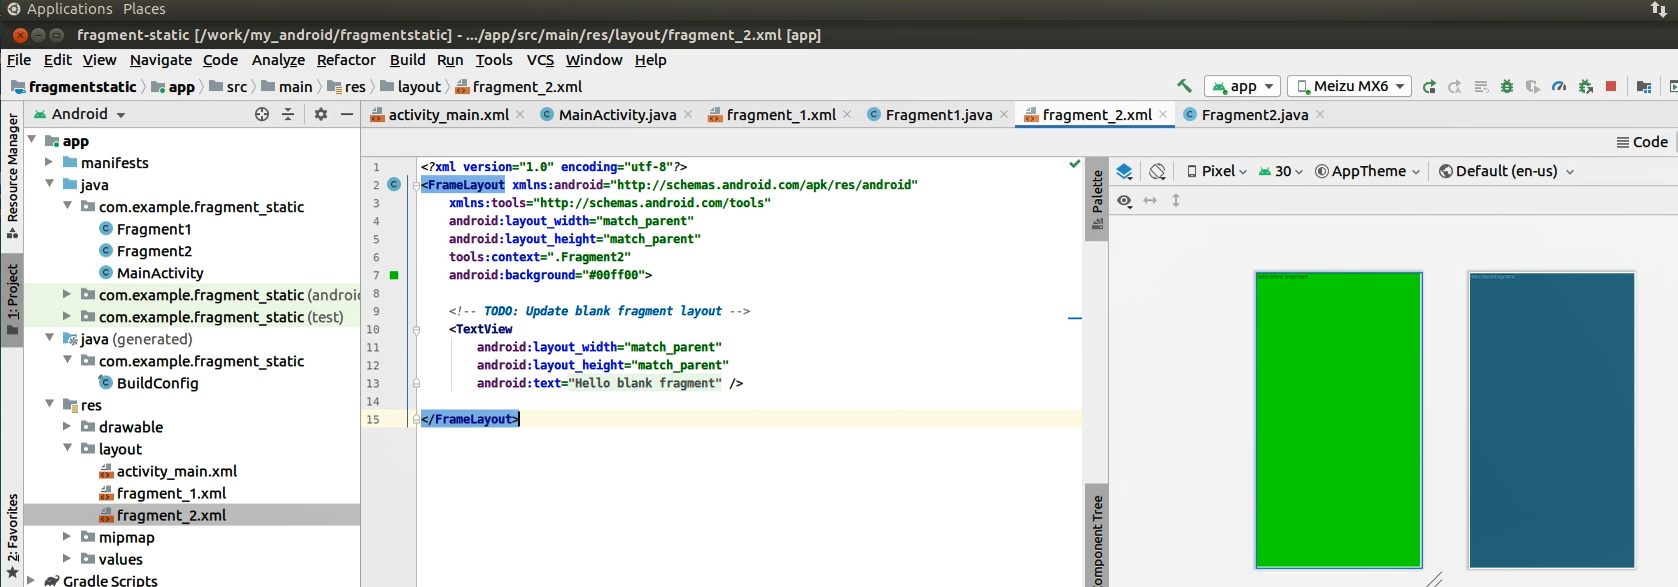
<?xml version="1.0" encoding="utf-8"?>
<FrameLayout xmlns:android="http://schemas.android.com/apk/res/android"
    xmlns:tools="http://schemas.android.com/tools"
    android:layout_width="match_parent"
    android:layout_height="match_parent"
    tools:context=".Fragment2"
    android:background="#00ff00">

    <!-- TODO: Update blank fragment layout -->
    <TextView
        android:layout_width="match_parent"
        android:layout_height="match_parent"
        android:text="@string/hello_blank_fragment" />

</FrameLayout>
在activity布局中给一个帧布局,放置动态fragment
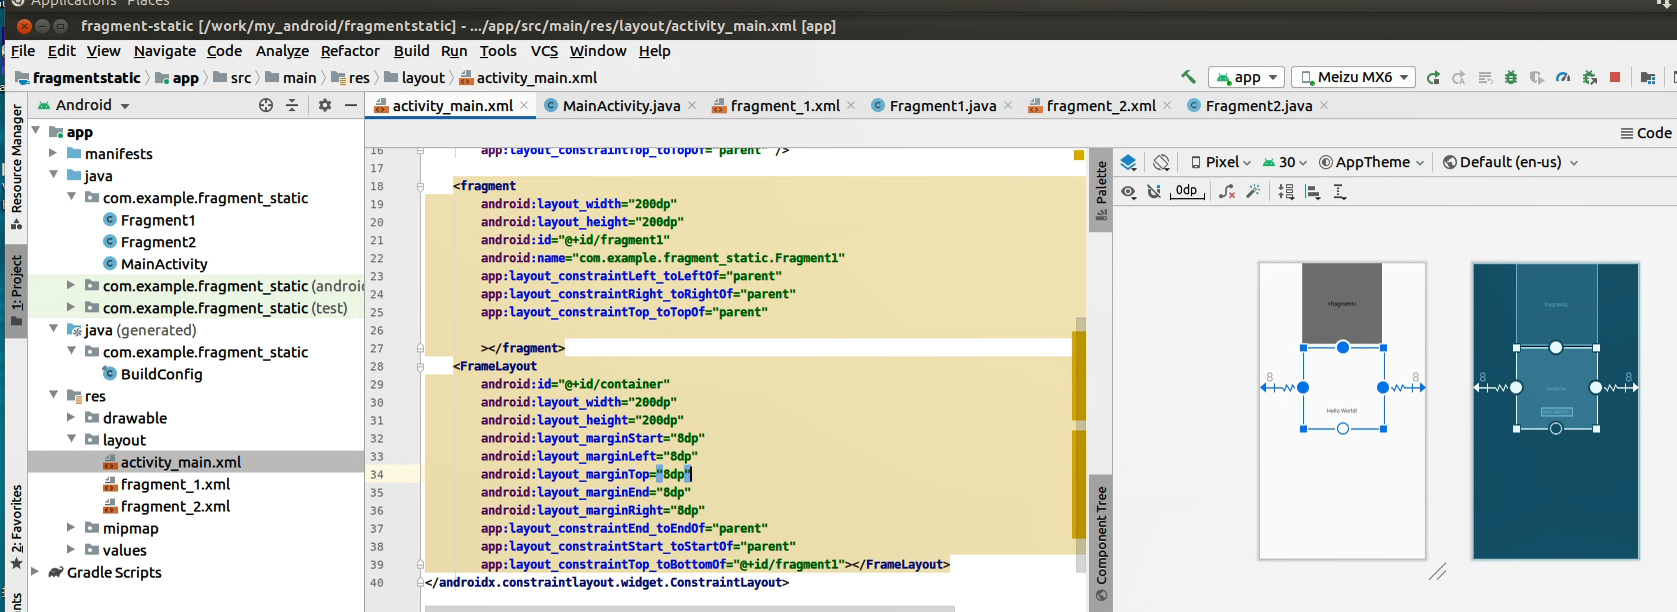
<?xml version="1.0" encoding="utf-8"?>
<androidx.constraintlayout.widget.ConstraintLayout xmlns:android="http://schemas.android.com/apk/res/android"
    xmlns:app="http://schemas.android.com/apk/res-auto"
    xmlns:tools="http://schemas.android.com/tools"
    android:layout_width="match_parent"
    android:layout_height="match_parent"
    tools:context=".MainActivity">

    <TextView
        android:layout_width="wrap_content"
        android:layout_height="wrap_content"
        android:text="Hello World!"
        app:layout_constraintBottom_toBottomOf="parent"
        app:layout_constraintLeft_toLeftOf="parent"
        app:layout_constraintRight_toRightOf="parent"
        app:layout_constraintTop_toTopOf="parent" />

    <fragment
        android:layout_width="200dp"
        android:layout_height="200dp"
        android:id="@+id/fragment1"
        android:name="com.example.fragment_static.Fragment1"
        app:layout_constraintLeft_toLeftOf="parent"
        app:layout_constraintRight_toRightOf="parent"
        app:layout_constraintTop_toTopOf="parent"

        ></fragment>
    <FrameLayout
        android:id="@+id/container"
        android:layout_width="200dp"
        android:layout_height="200dp"
        android:layout_marginStart="8dp"
        android:layout_marginLeft="8dp"
        android:layout_marginTop="8dp"
        android:layout_marginEnd="8dp"
        android:layout_marginRight="8dp"
        app:layout_constraintEnd_toEndOf="parent"
        app:layout_constraintStart_toStartOf="parent"
        app:layout_constraintTop_toBottomOf="@+id/fragment1"></FrameLayout>
</androidx.constraintlayout.widget.ConstraintLayout>
运行结果:

在activity里面,可以操作fragment里面的控件。
 findViewById(R.id.button).setOnClickListener(new View.OnClickListener() {
            @Override
            public void onClick(View view) {
                //1.获取Fragment管理器
                FragmentManager manager = getSupportFragmentManager();
                //2.获取Fragment对象
                Fragment f1 = manager.findFragmentById(R.id.fragment1);
                //3.获取Fragment对象的视图
                View v1 = f1.getView();

                //4.再视图里找到指定的控件
                TextView txt1 = v1.findViewById(R.id.txt1);

                //5.修改控件内容
                txt1.setText("这是动态生成的内容");


                View v2 = f2.getView();
                TextView txt2 = v2.findViewById(R.id.txt2);
                txt2.setText("这个Fragment2的动态内容");
            }
        });
在fragment2中,加入点击事件,并替换成另外一个fragment3。
package com.example.fragmentdemo;

import android.content.Context;
import android.net.Uri;
import android.os.Bundle;

import androidx.fragment.app.Fragment;
import androidx.fragment.app.FragmentTransaction;

import android.view.LayoutInflater;
import android.view.View;
import android.view.ViewGroup;


public class Fragment2 extends Fragment {

    @Override
    public View onCreateView(LayoutInflater inflater, ViewGroup container,
                             Bundle savedInstanceState) {
        // Inflate the layout for this fragment
        View v = inflater.inflate(R.layout.fragment_fragment2, container, false);
        v.findViewById(R.id.txt2).setOnClickListener(new View.OnClickListener() {
            @Override
            public void onClick(View view) {
                FragmentTransaction transaction = getFragmentManager().beginTransaction();
                transaction.add(R.id.container , new Fragment3());
//                transaction.remove(Fragment2.this);
                transaction.commit();
            }
        });
        return v;
    }

}