1、三台tomcat选择其中一台安装memcached
[root@asus bin]# yum install memcached -y
2、检查memcached是否启动,未启动则启动
[root@asus bin]# chkconfig
auditd             0:off    1:off    2:on    3:on    4:on    5:on    6:off
blk-availability    0:off    1:on    2:on    3:on    4:on    5:on    6:off
ip6tables          0:off    1:off    2:on    3:on    4:on    5:on    6:off
iptables           0:off    1:off    2:on    3:on    4:on    5:on    6:off
iscsi              0:off    1:off    2:off    3:on    4:on    5:on    6:off
iscsid             0:off    1:off    2:off    3:on    4:on    5:on    6:off
lvm2-monitor       0:off    1:on    2:on    3:on    4:on    5:on    6:off
mdmonitor          0:off    1:off    2:on    3:on    4:on    5:on    6:off
memcached          0:off    1:off    2:off    3:off    4:off    5:off    6:off
multipathd         0:off    1:off    2:off    3:off    4:off    5:off    6:off
mysqld             0:off    1:off    2:off    3:off    4:off    5:off    6:off
netconsole         0:off    1:off    2:off    3:off    4:off    5:off    6:off
netfs              0:off    1:off    2:off    3:on    4:on    5:on    6:off
network            0:off    1:off    2:on    3:on    4:on    5:on    6:off
rdisc              0:off    1:off    2:off    3:off    4:off    5:off    6:off
restorecond        0:off    1:off    2:off    3:off    4:off    5:off    6:off
rsyslog            0:off    1:off    2:on    3:on    4:on    5:on    6:off
saslauthd          0:off    1:off    2:off    3:off    4:off    5:off    6:off
sshd               0:off    1:off    2:on    3:on    4:on    5:on    6:off
udev-post          0:off    1:on    2:on    3:on    4:on    5:on    6:off
vsftpd             0:off    1:off    2:off    3:off    4:off    5:off    6:off
[root@asus bin]# service memcached start
Starting memcached:                                        [  OK  ]
3、web服务器连接memcached的jar包拷贝到tomcat的lib,下图用的是xftp4工具。
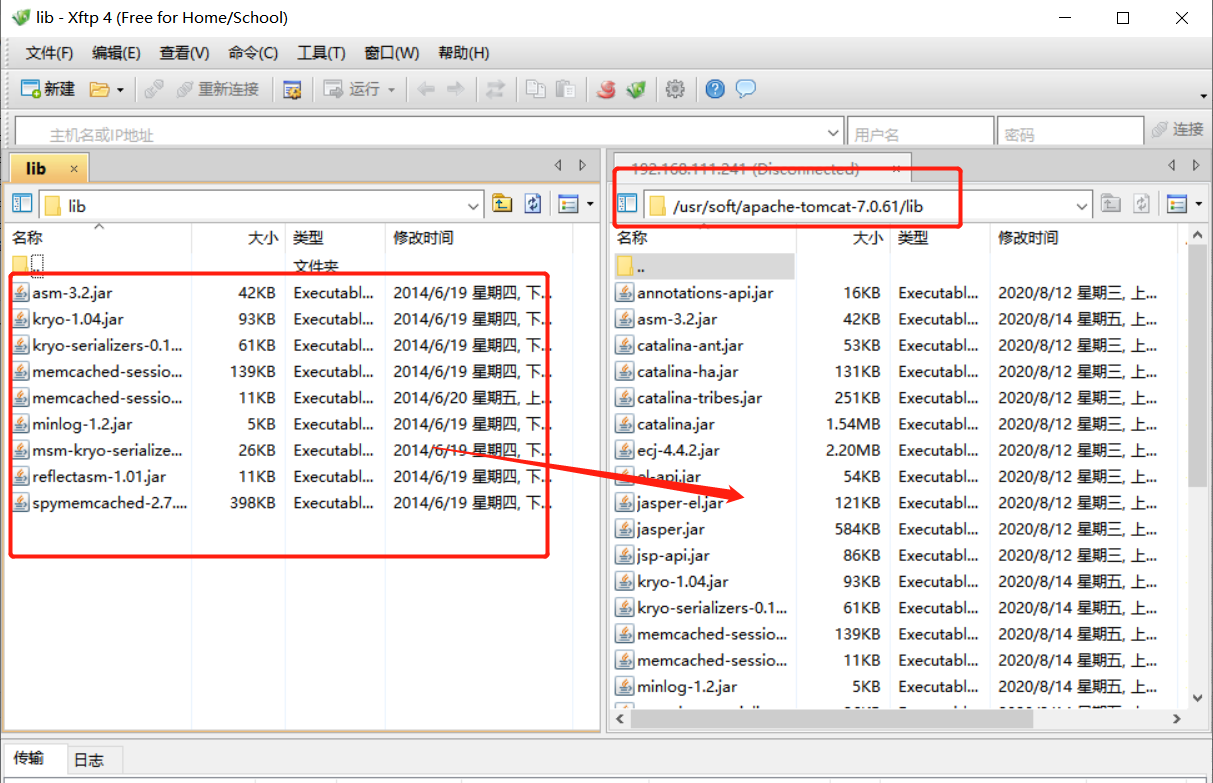
其他两台tomcat采用scp远程复制,命令如下:
[root@asus lib]# pwd
/usr/soft/apache-tomcat-7.0.61/lib
[root@asus lib]# scp * 192.168.111.240:`pwd`
4、配置tomcat的conf目录下的context.xml
[root@asus conf]# cat context.xml
<?xml version='1.0' encoding='utf-8'?>
<Context>
    <!-- Default set of monitored resources -->
    <WatchedResource>WEB-INF/web.xml</WatchedResource>
    <Manager className="de.javakaffee.web.msm.MemcachedBackupSessionManager"
       memcachedNodes="n1:192.168.111.241:11211"
       sticky="true"
       lockingMode="auto"
       sessionBackupAsync="false"
       requestUriIgnorePattern=".*.(ico|png|gif|jpg|css|js)$"
       sessionBackupTimeout="1000" transcoderFactoryClass="de.javakaffee.web.msm.serializer.kryo.KryoTranscoderFactory" />
</Context>
5、修改Tomcat的ROOT目录下的index.jsp,先备份,再新建。
[root@asus ROOT]# pwd
/usr/soft/apache-tomcat-7.0.61/webapps/ROOT
[root@asus ROOT]# ls
asf-logo.png       bg-middle.png    bg-upper.png  index.jsp          tomcat.css  tomcat-power.gif
asf-logo-wide.gif  bg-nav-item.png  build.xml     index.jsp.bak      tomcat.gif  tomcat.svg
bg-button.png      bg-nav.png       favicon.ico   RELEASE-NOTES.txt  tomcat.png  WEB-INF
[root@asus ROOT]# mv index.jsp index.jsp.bak
[root@asus ROOT]# vim index.jsp
<%@ page language="java" contentType="text/html; charset=UTF-8"  pageEncoding="UTF-8"%>
<html lang="en">
SessionID:<%=session.getId()%>
</br>
SessionIP:<%=request.getServerName()%>
</br>
<h1>tomcat2</h1>
</html>
其他两台tomcat的index.jsp也需要替换,注意将<h1>标签下的tomcat改成对应的标记。
[root@asus ROOT]# scp index.jsp 192.168.111.240:`pwd`
6、启动tomcat,三台都启动
[root@asus bin]# ./startup.sh
7、启动nginx
[root@asus sbin]# pwd
/usr/soft/nginx/sbin
[root@asus sbin]# ./nginx
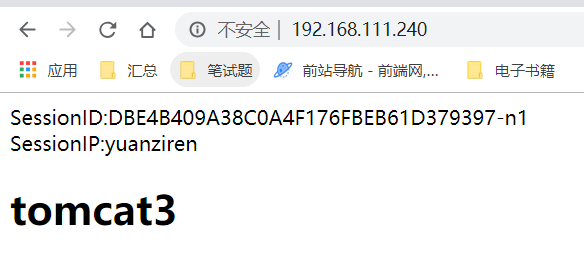
8、浏览器访问三台tomcat
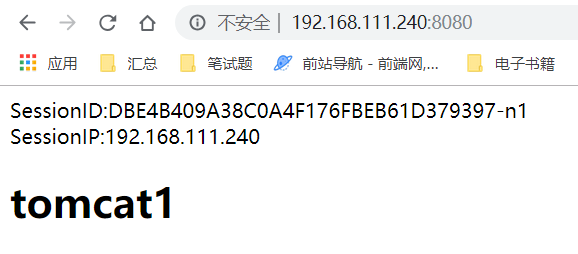

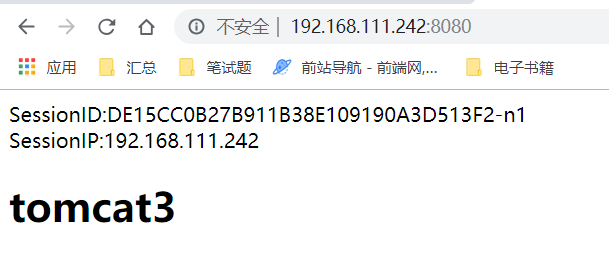
查看到三台tomcat的sessionid都是一样的。
9、访问Nginx,刷新,sessionid都一样
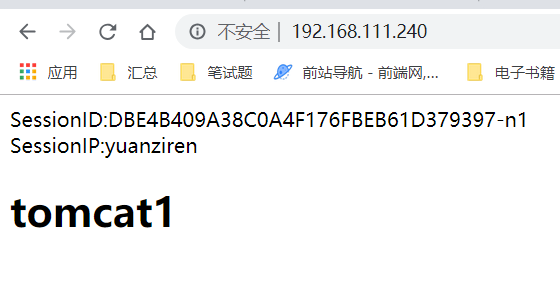

以上是实现session一致性解决方案中的其中一种实现方式。