vue-cli3出来很久了,之前一直使用vue-cli2的配置,并且区分了生产和开发环境,自己的理解,环境分两大类,开发环境 和生产环境,最近升级到了vue-cli4当然改动并不大。
升级的主要原因嘛,第一个就是赶赶时髦,二个就是vue-cli2里面使用异步组件的时候,打包出来的都是1.js,2.js这样子的名字就非常不友好了,根本不知道这是哪个组件。vue-cli3借助更新版的webpack呢,就可以显示组件名称了,这样比较好,
还有一个就是vue-cli3配置起来相对是比较简单的,在一个文件里面全部搞定了,不用像vue-cli2一样,好几个文件要改,那么多文件谁知道谁是谁啊,是吧。
对于命令来说,就是dev和build的区别,
一般都会有预发布和正式生产两个环境区别
预发布 就使用预发布的接口
正式的就使用正式的接口
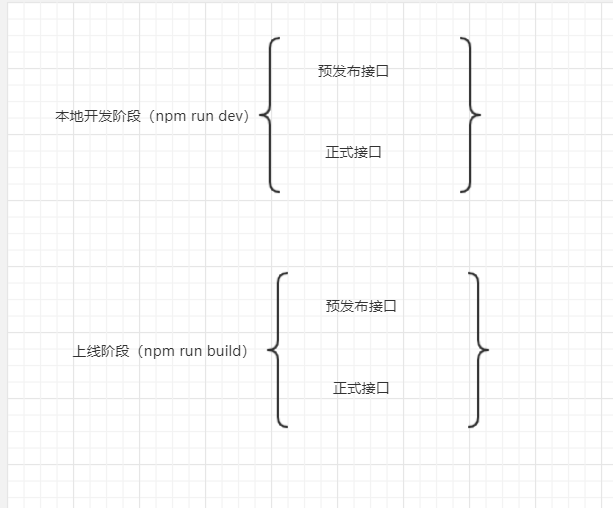
对于程序员来说,本地测试也需要测试预发布的接口和生产的接口,上线也需要区分上到预发布或者上到生产
所以根据这些的不同,分成了两大部分,每一部分都分了预发和正式
具体可以参照下图
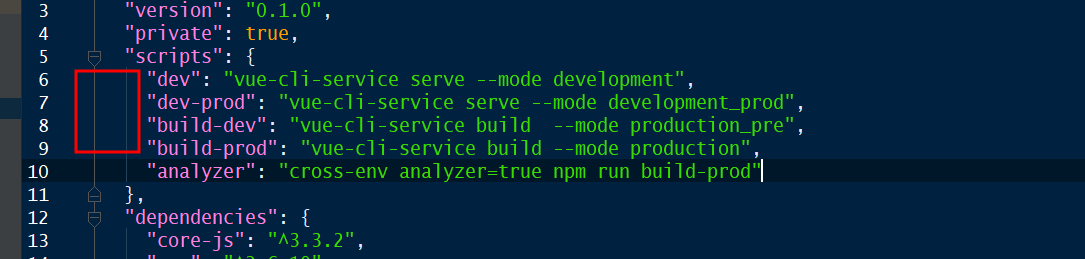
根据这些不同呢,就在package.json中区分了四种情况
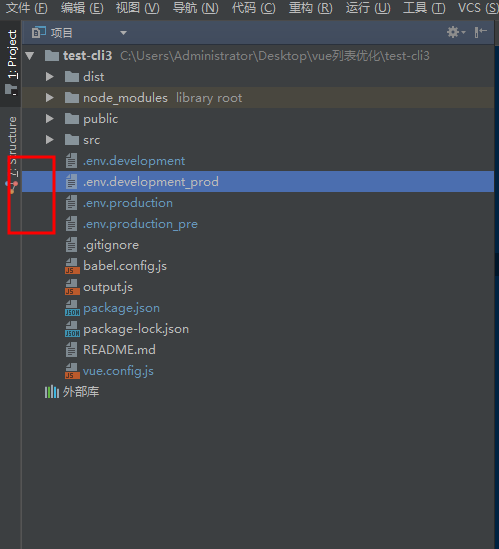
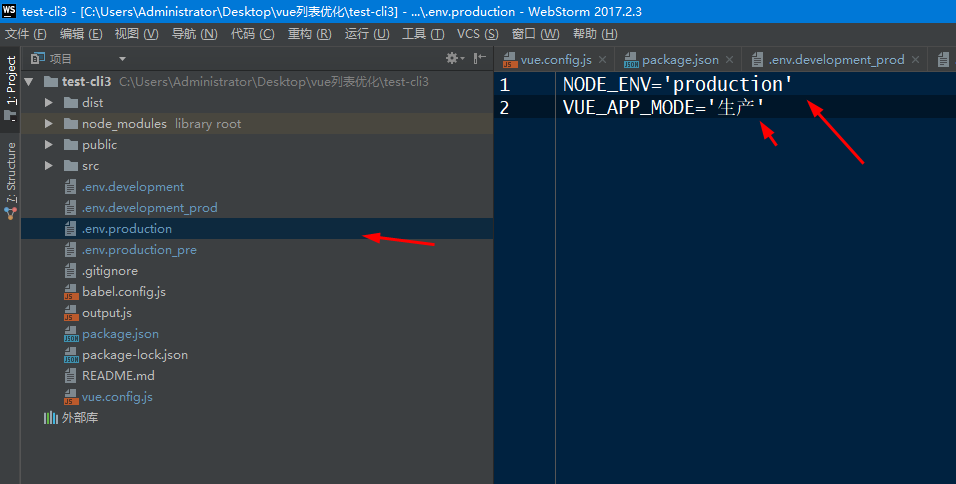
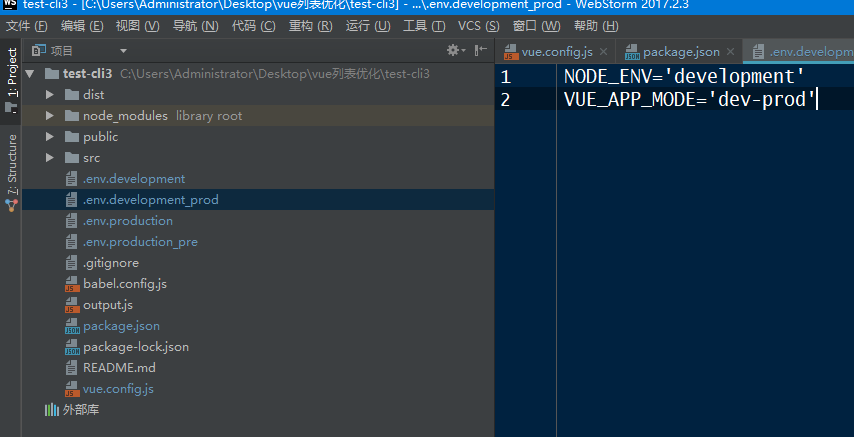
然后在项目根目录下新建4个对应的文件就好
环境变量下最好手动指定一下NOED_ENV,因为开发环境不会压缩js,而打包之后需要压缩js
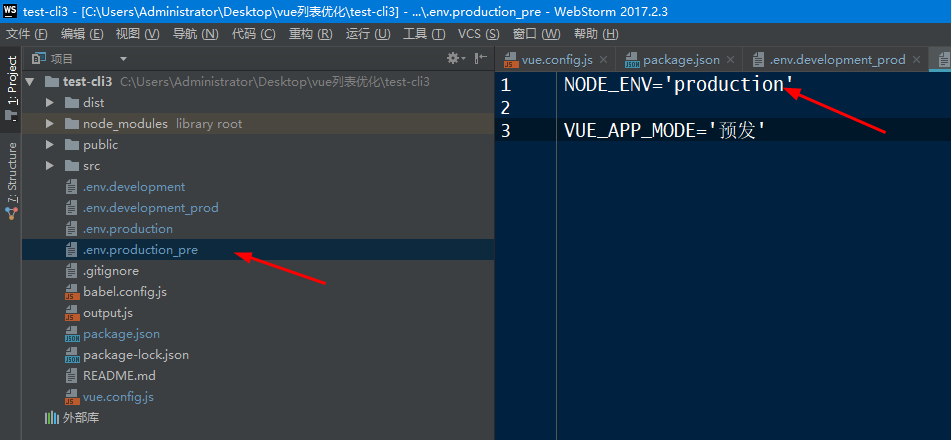
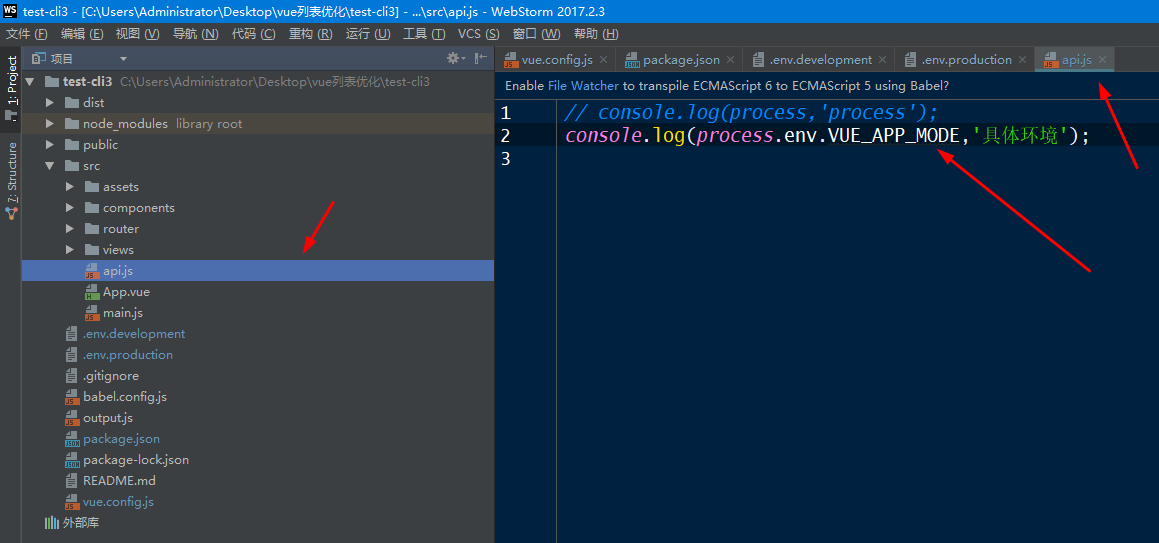
,然后在api中就可以读取到具体的mode了
vue.config.js中
之前写的太简单了,现在需要加上静态资源cdn引入,这样可以显著减小包的体积,下面贴下具体的设置vue.config.js的代码吧
 1 const path = require('path')
 2
 3
 4 // 项目部署路径的BASE_URL
 5 const publicPath = process.env.VUE_APP_PUBLISH_PATH
 6
 7 // 项目的打包输出目录
 8 const outputDir = process.env.VUE_APP_OUTPUT_DIR
 9
10 const isProduction = process.env.NODE_ENV === 'production';
11 const cdn = {
12     // 开发环境
13     dev: {
14         css: [],
15         js: [],
16     },
17     // 生产环境
18     build: {
19         css: [],
20         js: [
21             "https://cdn.jsdelivr.net/npm/vue@2.6.11/dist/vue.min.js",
22             "https://cdn.jsdelivr.net/npm/vue-router@3.1.3/dist/vue-router.min.js",
23             "https://cdn.jsdelivr.net/npm/axios@0.19.0/dist/axios.min.js",
24             "https://cdn.jsdelivr.net/npm/vue-lazyload@1.3.3/vue-lazyload.min.js"
25         ],
26     },
27 };
28
29
30 // 添加样式自动化导入
31 const addStyleResourceLoader = webpackConfig => {
32     const fileTypes = ['less', 'sass', 'scss']
33     const cssModules = ['vue-modules', 'vue', 'normal-modules', 'normal']
34     const targetRules = fileTypes.reduce((rulesArr, fileType) => rulesArr.concat(
35         cssModules.map(cssModule => webpackConfig.module.rule(fileType).oneOf(cssModule))
36     ), [])
37     targetRules.forEach(rule => {
38         rule.use('style-resource').loader('style-resources-loader').options({
39             patterns: [
40                 path.resolve(__dirname, `./src/style/*.${rule.names[0]}`)
41             ]
42         })
43     })
44 }
45
46 // 添加包分析工具
47 const addBundleAnalyzer = webpackConfig => {
48     if (process.argv[2] === 'build' && process.env.npm_config_report) {
49         const BundleAnalyzerPlugin = require('webpack-bundle-analyzer').BundleAnalyzerPlugin
50         webpackConfig.plugin('webpack-bundle-analyzer').use(BundleAnalyzerPlugin)
51     }
52 }
53
54 // 优化打包行为 —— 移除打包后的 js.map 文件和 console 输出
55 // 注意,只能移除默认形式的 console; 无法移除形如 let log = console.log; log(111) 这种形式的输出
56 const upgradeMinimizer = webpackConfig => {
57     webpackConfig.optimization.minimizer('terser').tap(args => {
58         args[0].terserOptions.compress.drop_console = true;
59         args[0].terserOptions.compress.drop_debugger = true;
60         args[0].terserOptions.compress.pure_funcs = ['console.log']
61         return args
62     })
63 }
64
65 module.exports = {
66     lintOnSave: false, // 关闭eslint
67     productionSourceMap: false, // 关闭生产环境的sourcemap
68     publicPath: './',
69     outputDir: process.env.outputDir, // 生成文件的目录名称
70     chainWebpack: config => {
71         config.plugin('html').tap((args) => {
72             if (isProduction) {
73                 args[0].cdn = cdn.build;
74             }
75             return args;
76         });
77         addStyleResourceLoader(config)
78         addBundleAnalyzer(config)
79         upgradeMinimizer(config)
80     },
81     configureWebpack: config => {
82         if (isProduction) {
83             config.externals = {
84                 'vue': 'Vue',
85                 'vue-router': 'VueRouter',
86                 'axios': 'axios'
87             }
88         }
89     }
90 }
下面是index.html的写法
 1 <!DOCTYPE html>
 2 <html lang="en">
 3
 4 <head>
 5     <meta charset="utf-8">
 6     <meta http-equiv="X-UA-Compatible" content="IE=edge">
 7     <meta name="viewport" content="width=device-width,initial-scale=1.0">
 8     <link rel="icon" href="<%= BASE_URL %>favicon.ico">
 9     <title><%= htmlWebpackPlugin.options.title %></title>
10 </head>
11
12 <body>
13     <noscript>
14         <strong>We're sorry but <%= htmlWebpackPlugin.options.title %> doesn't work properly without JavaScript enabled.
15             Please enable it to continue.</strong>
16     </noscript>
17     <div id="app"></div>
18     <!-- built files will be auto injected -->
19     <% for (var i in
20         htmlWebpackPlugin.options.cdn && htmlWebpackPlugin.options.cdn.js) { %>
21     <script src="<%= htmlWebpackPlugin.options.cdn.js[i] %>"></script>
22     <% } %>
23 </body>
24 </html>
然后在package.js编写脚本
 1 {
 2   "name": "test-cli4",
 3   "version": "0.1.0",
 4   "private": true,
 5   "scripts": {
 6     "dev": "vue-cli-service serve --mode development",
 7     "dev-prod": "vue-cli-service serve --mode development_prod",
 8     "build-dev": "vue-cli-service build  --mode production_pre",
 9     "build-prod": "vue-cli-service build --mode production"
10   },
11   "dependencies": {
12     "core-js": "^3.6.4",
13     "vue": "^2.6.11",
14     "vue-router": "^3.1.6"
15   },
16   "devDependencies": {
17     "@vue/cli-plugin-babel": "~4.3.0",
18     "@vue/cli-plugin-eslint": "~4.3.0",
19     "@vue/cli-plugin-router": "~4.3.0",
20     "@vue/cli-service": "~4.3.0",
21     "@vue/eslint-config-prettier": "^6.0.0",
22     "babel-eslint": "^10.1.0",
23     "eslint": "^6.7.2",
24     "eslint-plugin-prettier": "^3.1.1",
25     "eslint-plugin-vue": "^6.2.2",
26     "node-sass": "^4.12.0",
27     "prettier": "^1.19.1",
28     "sass-loader": "^8.0.2",
29     "style-resources-loader": "^1.3.3",
30     "vue-template-compiler": "^2.6.11"
31   }
32 }
更vue-cli2一样,如果需要显示打包之后的分析,直接后面接上 --report即可
好了,大功告成!!!
说个题外话,项目开发经常是cli2和cli3并存的,官方呢,非常贴心的提供了方法让这两者共存,官方说法如下,自己实践了下,还是挺好用的,靠谱
npm install -g @vue/cli-init
# `vue init` 的运行效果将会跟 `vue-cli@2.x` 相同
vue init webpack my-project
此时,就可以愉快的开发啦