前言
学UI自动化首先就是定位页面元素,玩过android版的appium小伙伴应该都知道,appium的windows版自带的Inspector可以定位app上的元素
Mac版的appium1.6的版本在UI上有了很大的改变,本篇详细解决如何使用appium1.6定位iOS的app页面元素。
一、Start New Session
1.启动appium后点Start New Session
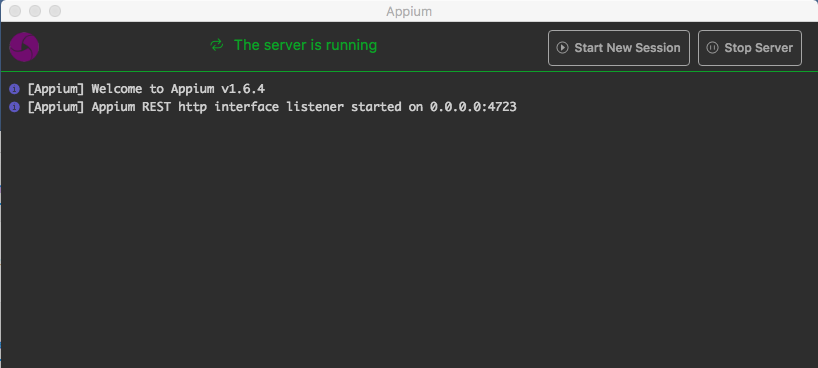
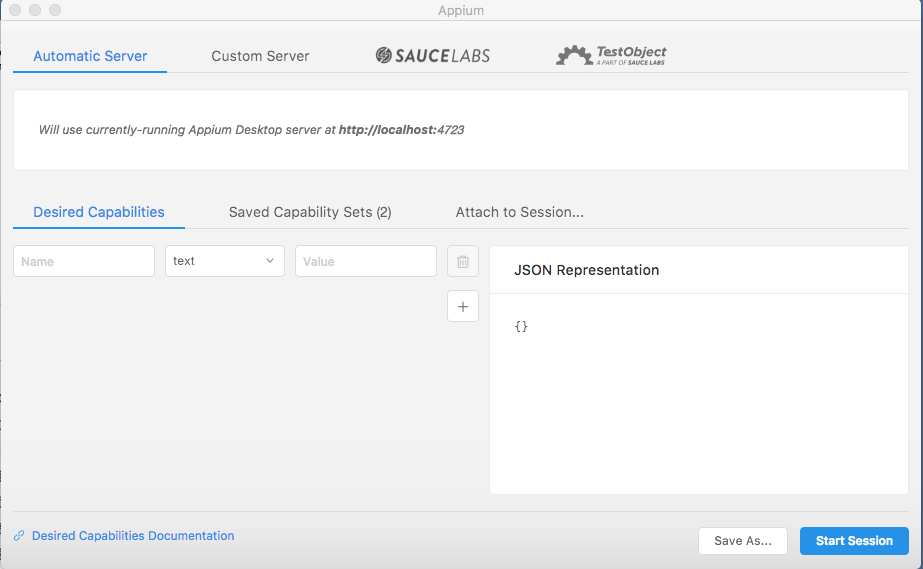
2.打开后看到如下界面,刚开始看到这个界面,我也比较懵。
二、Desired Capabilities
1.Desired Capabilities这里的配置,参考之前Appium+python自动化17-启动iOS模拟器APP源码案例这篇里面启动app的代码
```python
class SimpleIOSTests(unittest.TestCase):
def setUp(self):
    # set up appium
    app = os.path.abspath('../../apps/TestApp/build/release-iphonesimulator/TestApp.app')
    self.driver = webdriver.Remote(
        command_executor='http://127.0.0.1:4723/wd/hub',
        desired_capabilities={
            'app': app,
            'platformName': 'iOS',
            'platformVersion': '10.1',
            'deviceName': 'iPhone 6'
        })

def tearDown(self):
    self.driver.quit()
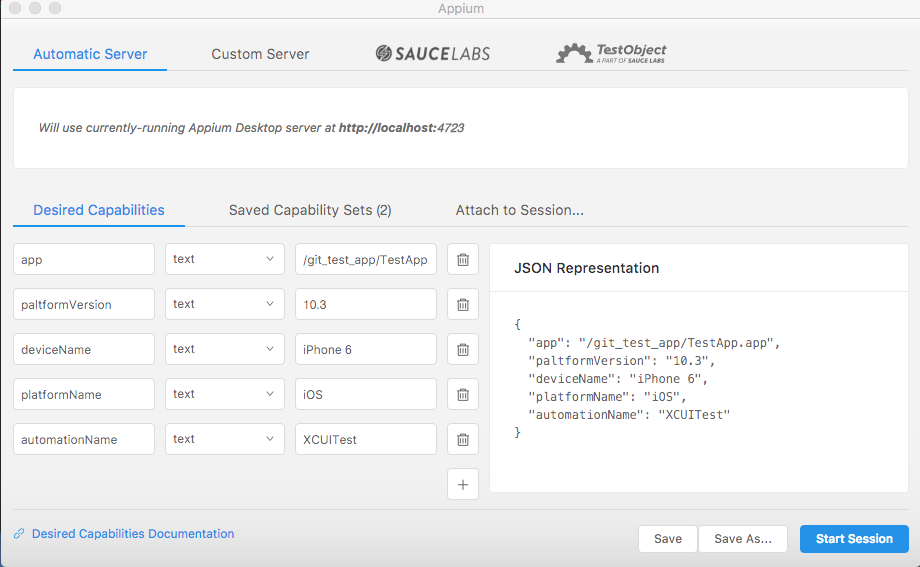
这里主要有四个参数:app、platforrmName、platforrmVersion、deviceName,在appium上需多加一个参数automationName
> **appium1.6以前的版本是基于uiautomation框架的,1.6以后的版本是基于facebook的XCUITest,所以这个参数必须添加**
- app: 这里的地址是本地.app包的绝对路径
- platforrmName: iOS系统版本号
- platforrmVersion: iPhone设备名称
- platforrmVersion: iOS系统
- automationName: XCUITest
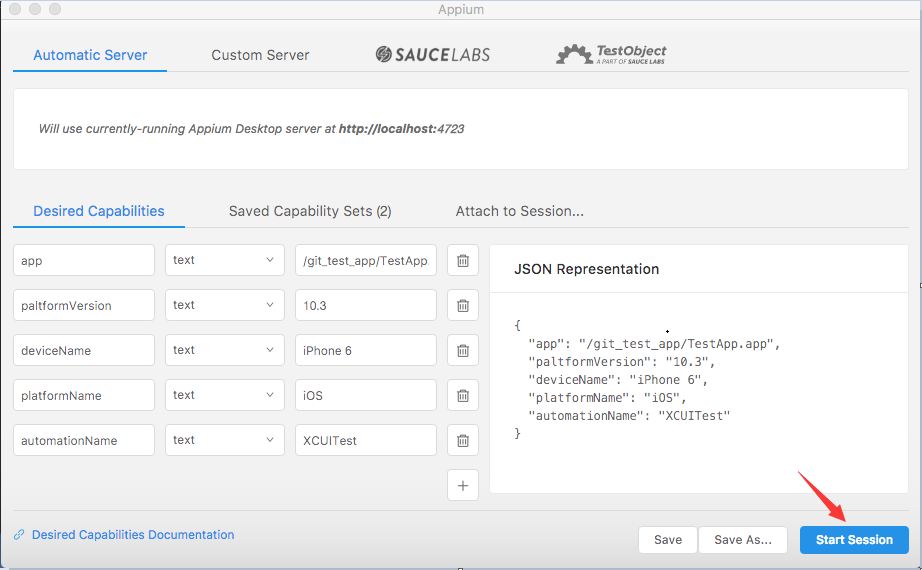
2.在Desired Capabilities先填入对应的参数后,右侧会自动生成JSON Representation
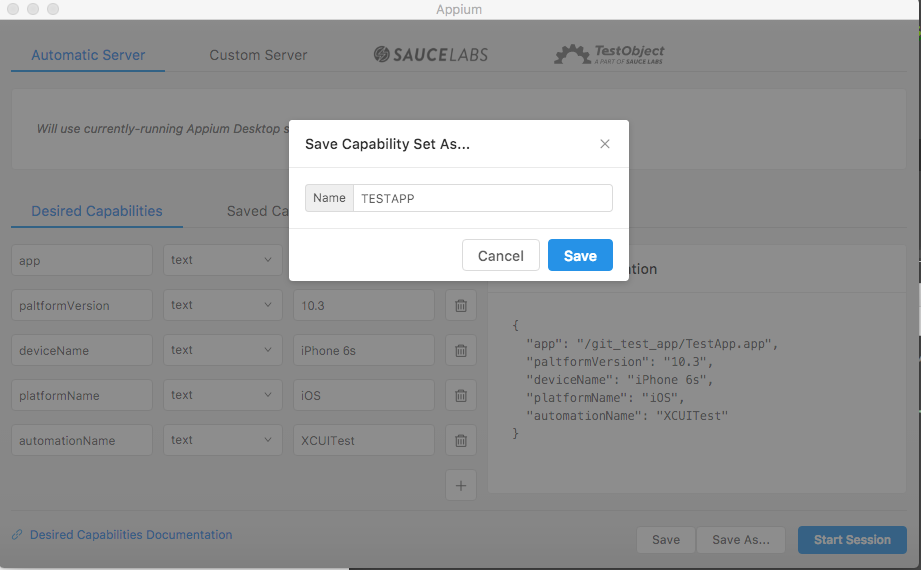
3.填好配置后,为了下次方便使用,可以点Sav As ..按钮保存设置
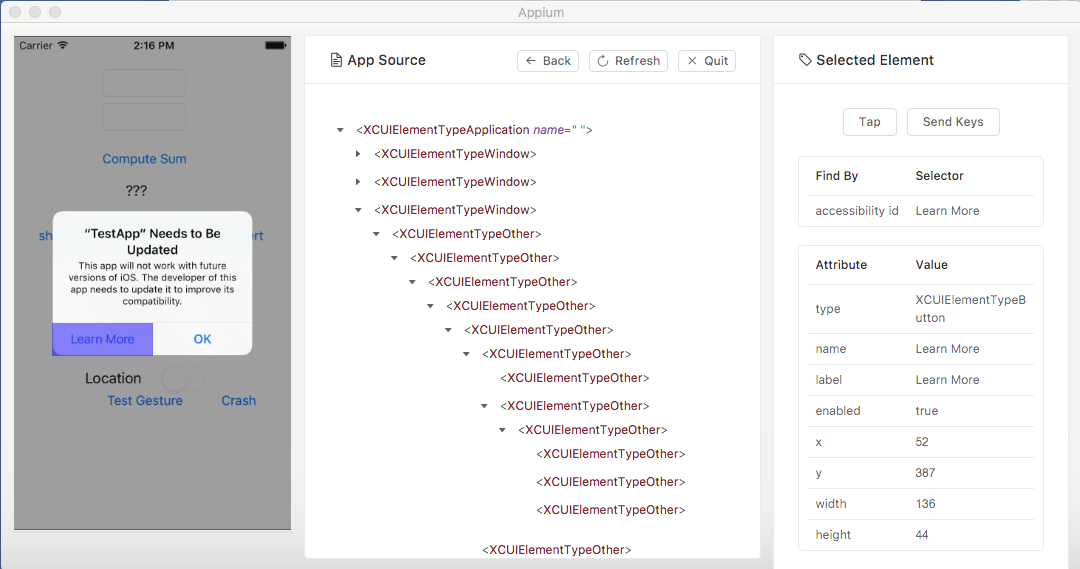
#### 三、Inspector
1.Start Session就能启动Inspector界面了
2.接下来就可以定位app上的元素了
> ** 在学习过程中有遇到疑问的,可以appium+python QQ群交流:330467341**