由于时不时会安装MySQL数据库,在大数据hive的学习中,也需要更换元数据Metastore存储数据库Derby为MySQL,下面记录下在Centos7中安装MySQL,并开启MySQL数据库的远程连接,本文参考文末博文和老王,主要方便自己查看用。
启动Centos7,切换root用户
在Centos7中默认安装MariaDB,这个是MySQL的分支,但为了方便使用,需要在root用户下,在系统中安装MySQL,而且安装完成之后可以直接覆盖掉原始的MariaDB。切换Derby为MySQL的主要原因是Derby是单线程的,MySQL却可以支持多个会话,在元数据的使用方面,显然存储在后者更有实际意义。
下载安装MySQL官方的yum源
使用root用户在Centos7服务器的/kkb/soft路径下执行以下命令。
# 切换安装目录
cd /kkb/soft/
# 安装
yum -y install wget
# 以下三条命令一起执行
# -i代表可以下载多个文件,-c代表可以断点续传
wget -i -c http://dev.mysql.com/get/mysql57-community-release-el7-10.noarch.rpm
# 直接安装,-y代表无需手动点YES确认
yum -y install mysql57-community-release-el7-10.noarch.rpm
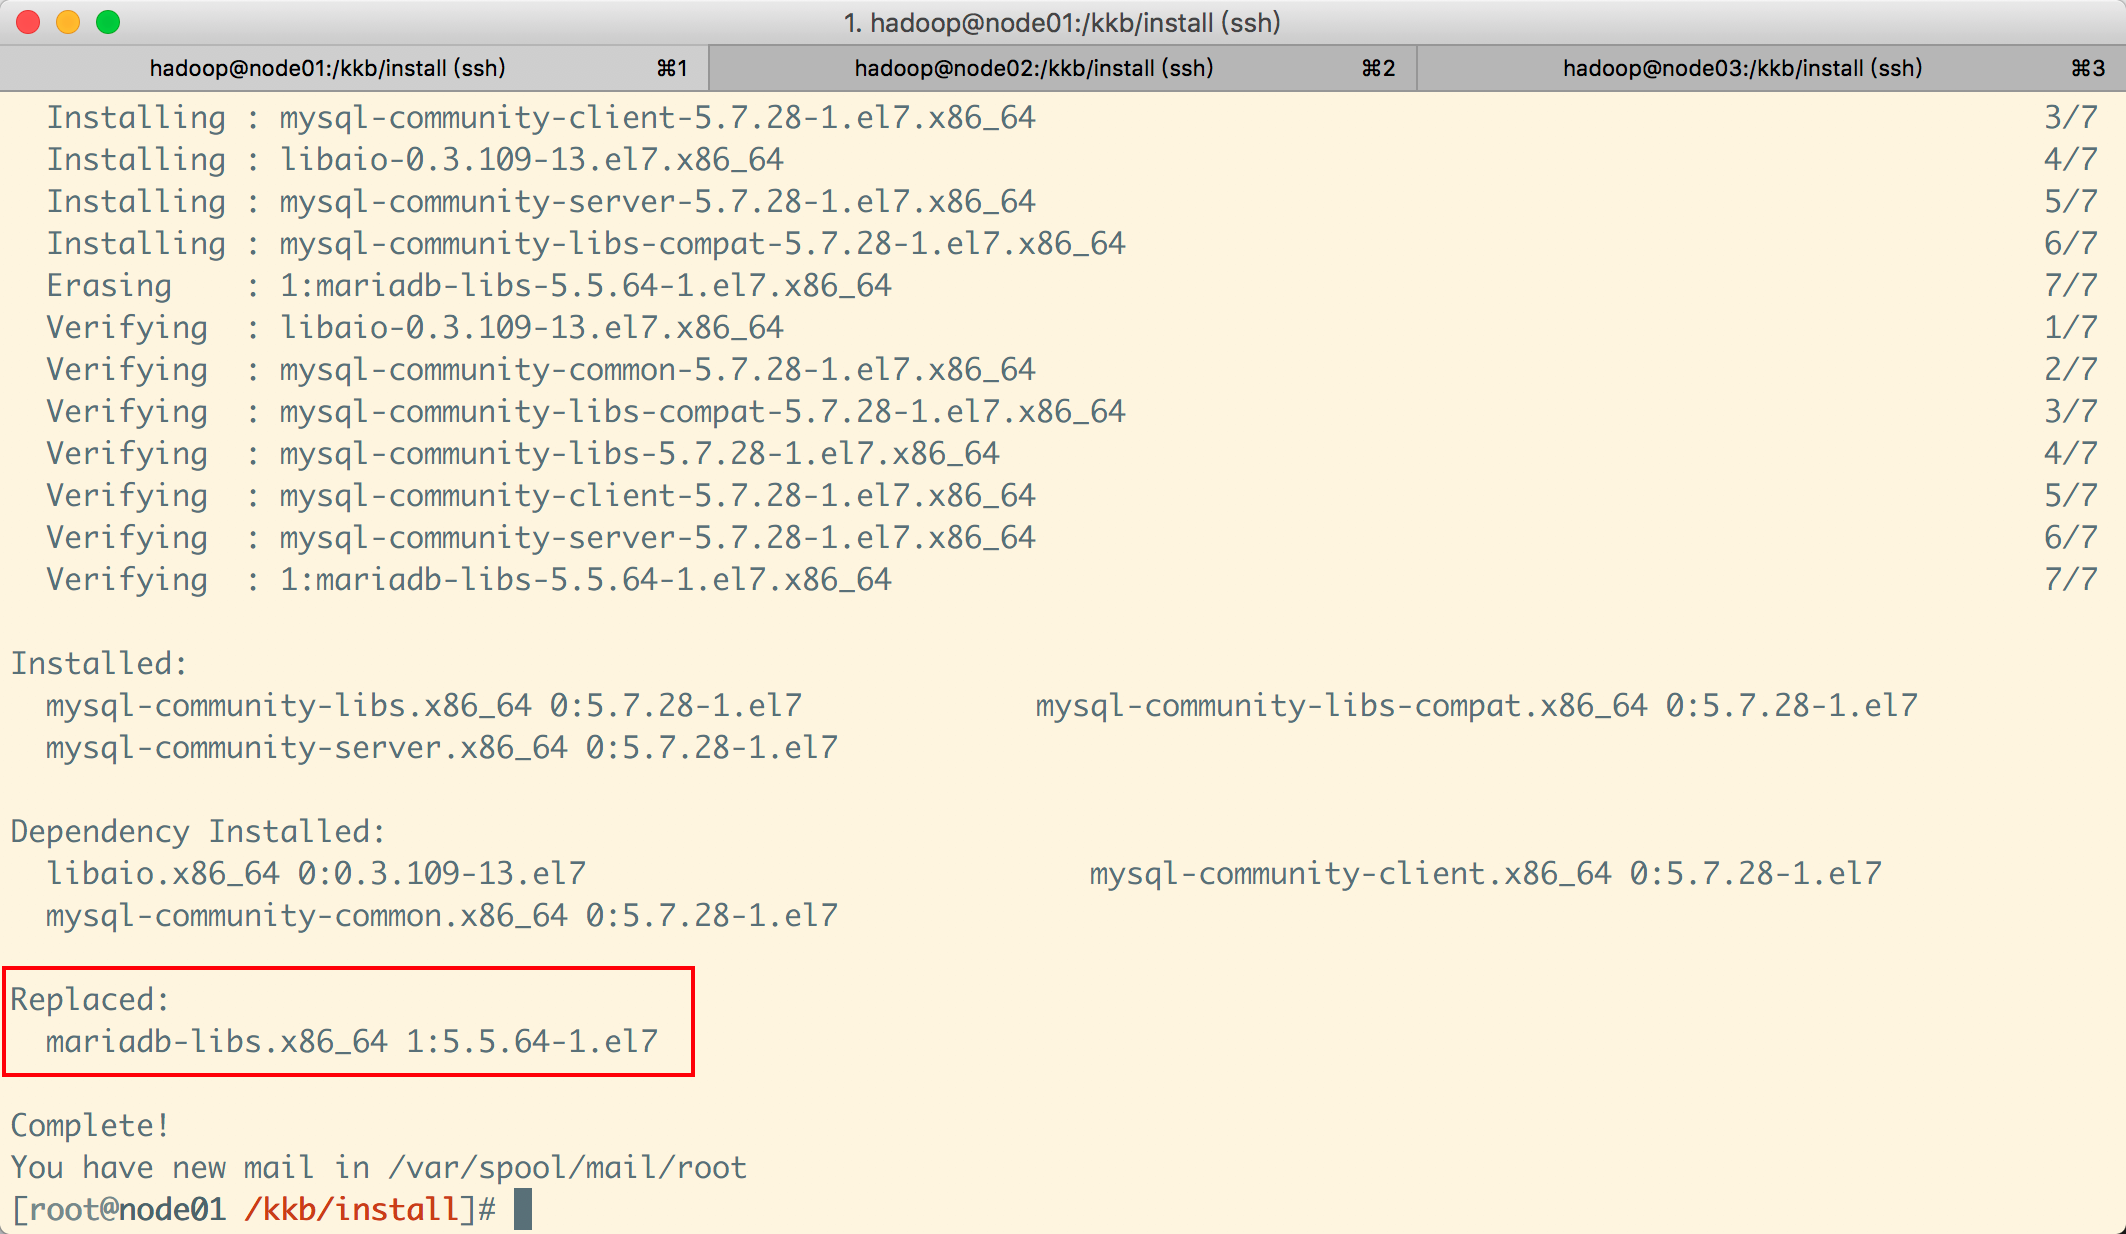
yum -y install mysql-community-server
安装完成后就会覆盖掉之前的mariadb。
mysql数据库的设置
首先启动MySQL。
# 查看mysql启动状态
systemctl status mysqld.service
# 执行以下命令启动mysql服务
systemctl start mysqld.service
当MySQL显示active状态,说明已经开始正常运行,要想进入MySQL还得先找出此时root用户下自动生成的密码,通过如下命令可以在日志文件中找出,使用临时密码,进入mysql客户端,然后更改密码。
# 在日志文件中查找password关键字
grep "password" /var/log/mysqld.log
以下是操作记录。
# 执行以下命令启动mysql服务
[root@node01 /kkb/install]# systemctl start mysqld.service
You have new mail in /var/spool/mail/root
# 查看mysql启动状态
[root@node01 /kkb/install]# systemctl status mysqld.service
● mysqld.service - MySQL Server
   Loaded: loaded (/usr/lib/systemd/system/mysqld.service; enabled; vendor preset: disabled)
   Active: active (running) since Mon 2019-10-14 20:45:30 CST; 13s ago
     Docs: man:mysqld(8)
           http://dev.mysql.com/doc/refman/en/using-systemd.html
  Process: 5024 ExecStart=/usr/sbin/mysqld --daemonize --pid-file=/var/run/mysqld/mysqld.pid $MYSQLD_OPTS (code=exited, status=0/SUCCESS)
  Process: 4974 ExecStartPre=/usr/bin/mysqld_pre_systemd (code=exited, status=0/SUCCESS)
 Main PID: 5028 (mysqld)
   CGroup: /system.slice/mysqld.service
           └─5028 /usr/sbin/mysqld --daemonize --pid-file=/var/run/mysqld/mysqld.pid

Oct 14 20:45:25 node01 systemd[1]: Starting MySQL Server...
Oct 14 20:45:30 node01 systemd[1]: Started MySQL Server.
# 查看自动生成的密码
[root@node01 /kkb/install]# grep "password" /var/log/mysqld.log
# 复制临时密码
2019-10-14T12:45:27.671407Z 1 [Note] A temporary password is generated for root@localhost: dkeDtqF)O1*E
You have new mail in /var/spool/mail/root
# 使用临时密码登录
[root@node01 /kkb/install]# mysql -uroot -p
Enter password:
Welcome to the MySQL monitor.  Commands end with ; or g.
Your MySQL connection id is 2
Server version: 5.7.28

Copyright (c) 2000, 2019, Oracle and/or its affiliates. All rights reserved.

Oracle is a registered trademark of Oracle Corporation and/or its
affiliates. Other names may be trademarks of their respective
owners.

Type 'help;' or 'h' for help. Type 'c' to clear the current input statement.
# 密码校验策略只校验密码长度,只要长度跟validate_password_length一样即可
mysql> set global validate_password_policy=LOW;
Query OK, 0 rows affected (0.00 sec)
# 设置密码长度
mysql> set global validate_password_length=6;
Query OK, 0 rows affected (0.00 sec)
# 设置密码,长度需要和上面设置的一致
mysql> ALTER USER 'root'@'localhost' IDENTIFIED BY '2688';
ERROR 1819 (HY000): Your password does not satisfy the current policy requirements
mysql> ALTER USER 'root'@'localhost' IDENTIFIED BY '123456';
Query OK, 0 rows affected (0.00 sec)
# 开启mysql的远程连接权限
mysql> grant all privileges  on  *.* to 'root'@'%' identified by '123456' with grant option;
Query OK, 0 rows affected, 1 warning (0.00 sec)
# 刷新权限
mysql> flush privileges;
Query OK, 0 rows affected (0.01 sec)

mysql> exit
Bye
You have new mail in /var/spool/mail/root
# 使用新密码登录
[root@node01 /kkb/install]# mysql -uroot -p
Enter password:
Welcome to the MySQL monitor.  Commands end with ; or g.
Your MySQL connection id is 3
Server version: 5.7.28 MySQL Community Server (GPL)

Copyright (c) 2000, 2019, Oracle and/or its affiliates. All rights reserved.

Oracle is a registered trademark of Oracle Corporation and/or its
affiliates. Other names may be trademarks of their respective
owners.

Type 'help;' or 'h' for help. Type 'c' to clear the current input statement.

mysql> show databases;
+--------------------+
| Database           |
+--------------------+
| information_schema |
| mysql              |
| performance_schema |
| sys                |
+--------------------+
4 rows in set (0.00 sec)
mysql的卸载
上面我在MySQL当中已经安装好了5.7版本的MySQL服务,如果以后不需要MySQL了,或者MySQL安装失败了需要重新安装,那么我们就可以把MySQL给卸载掉。
step1:停止mysql服务并卸载rpm的包。
# 停止MySQL服务
systemctl stop mysqld.service
# 查询所有安装的mysql
rpm -qa | grep -i mysql
yum list install mysql*
# yum卸载
yum remove mysql mysql-server mysql-libs compat-mysql51
yum remove mysql-community-release
# rpm卸载,--nodeps就是不验证文件的依赖关系,直接删除
rpm -e --nodeps mysql57-community-release-el7-10.noarch mysql-community-common-5.7.27-1.el7.x86_64
step2:删除mysql残留文件夹。
whereis mysql
rm -rf /usr/share/mysql/
find / -name mysql
rm -rf /var/lib/mysql/
rm -rf /root/.mysql_history
参考博文
(1)https://www.cnblogs.com/youngchaolin/p/11713079.html rpm和yum
(2)https://blog.csdn.net/wltsysterm/article/details/79649484 mysql密码校验策略