前言
git服务器有很多,最常用的,也最好用的有两个,github和gitlab。
github就不多说了,最大同性交(P)友(Y)平台,大家都喜欢在上面搞PY交易,应该比较熟悉了。
那我就讲讲另一个,gitlab好了。
正文
gitlab和github非常像,都是可以提供代码托管、版本控制的软件。不同的是,gitlab更偏向于企业应用,在权限控制、仓库管理等方面做得比github更加细致。
所以我们先来搭一个试试(基于centos 7)。
-
安装依赖包
yum install -y openssh-server openssh-clients postfix policycoreutils -
启动postfix
systemctl start postfix systemctl enable postfix如果postfix报错,postfix: fatal: parameter inet_interfaces: no local interface found for ::1
那么可通过修改postfix的配置文件来避免此错误。
sed -i 's/inet_interfaces = localhost/inet_interfaces = all/g' /etc/postfix/main.cf systemctl start postfix systemctl enable postfix -
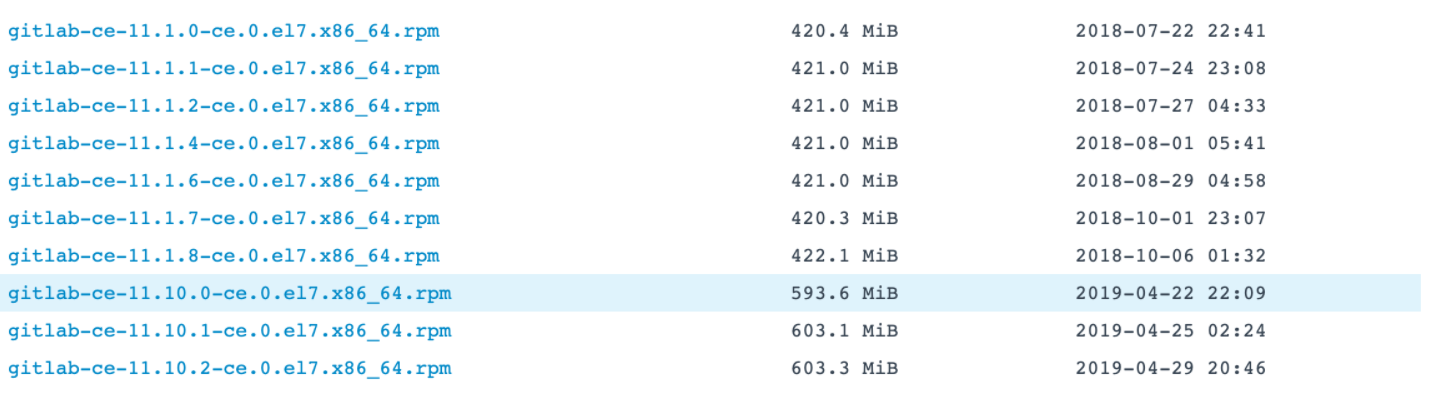
下载gitlab相应版本的rpm包(通过https://mirrors.tuna.tsinghua.edu.cn/gitlab-ce/yum/el7这条link来下载),我选择了V12.0.3的版本。
-
安装gitlab,顺便查看版本。
rpm -i gitlab-ce-12.0.3-ce.0.el7.x86_64.rpm cat /opt/gitlab/embedded/service/gitlab-rails/VERSION -
备份并修改/etc/gitlab/gitlab.rb文件,进行基础配置。
cp -f /etc/gitlab/gitlab.rb /etc/gitlab/gitlab.rb.bak
vim /etc/gitlab/gitlab.rb
external_url 'http://localhost:port' #修改一个没人用的端口 unicorn['port'] = 8081 #修改一个没人用的端口,与external_url不重复 gitlab_workhorse['auth_backend'] = "http://localhost:8081" #端口号与unicorn一致 -
配置生效,启动gitlab
gitlab-ctl reconfigure gitlab-ctl start -
如果还有访问502的话,修改/var/log/gitlab权限到755。
chmod -R 755 /var/log/gitlab -
设置nginx代理,通过一个域名访问它,然后通过域名来访问此服务器。
-
登录后,重置管理员密码。它原来的账号密码是:
admin@example.com   #管理员账户
5iveL!fe            #默认密码
将其重置为新的密码后,重新登录,搭建过程就完成了。
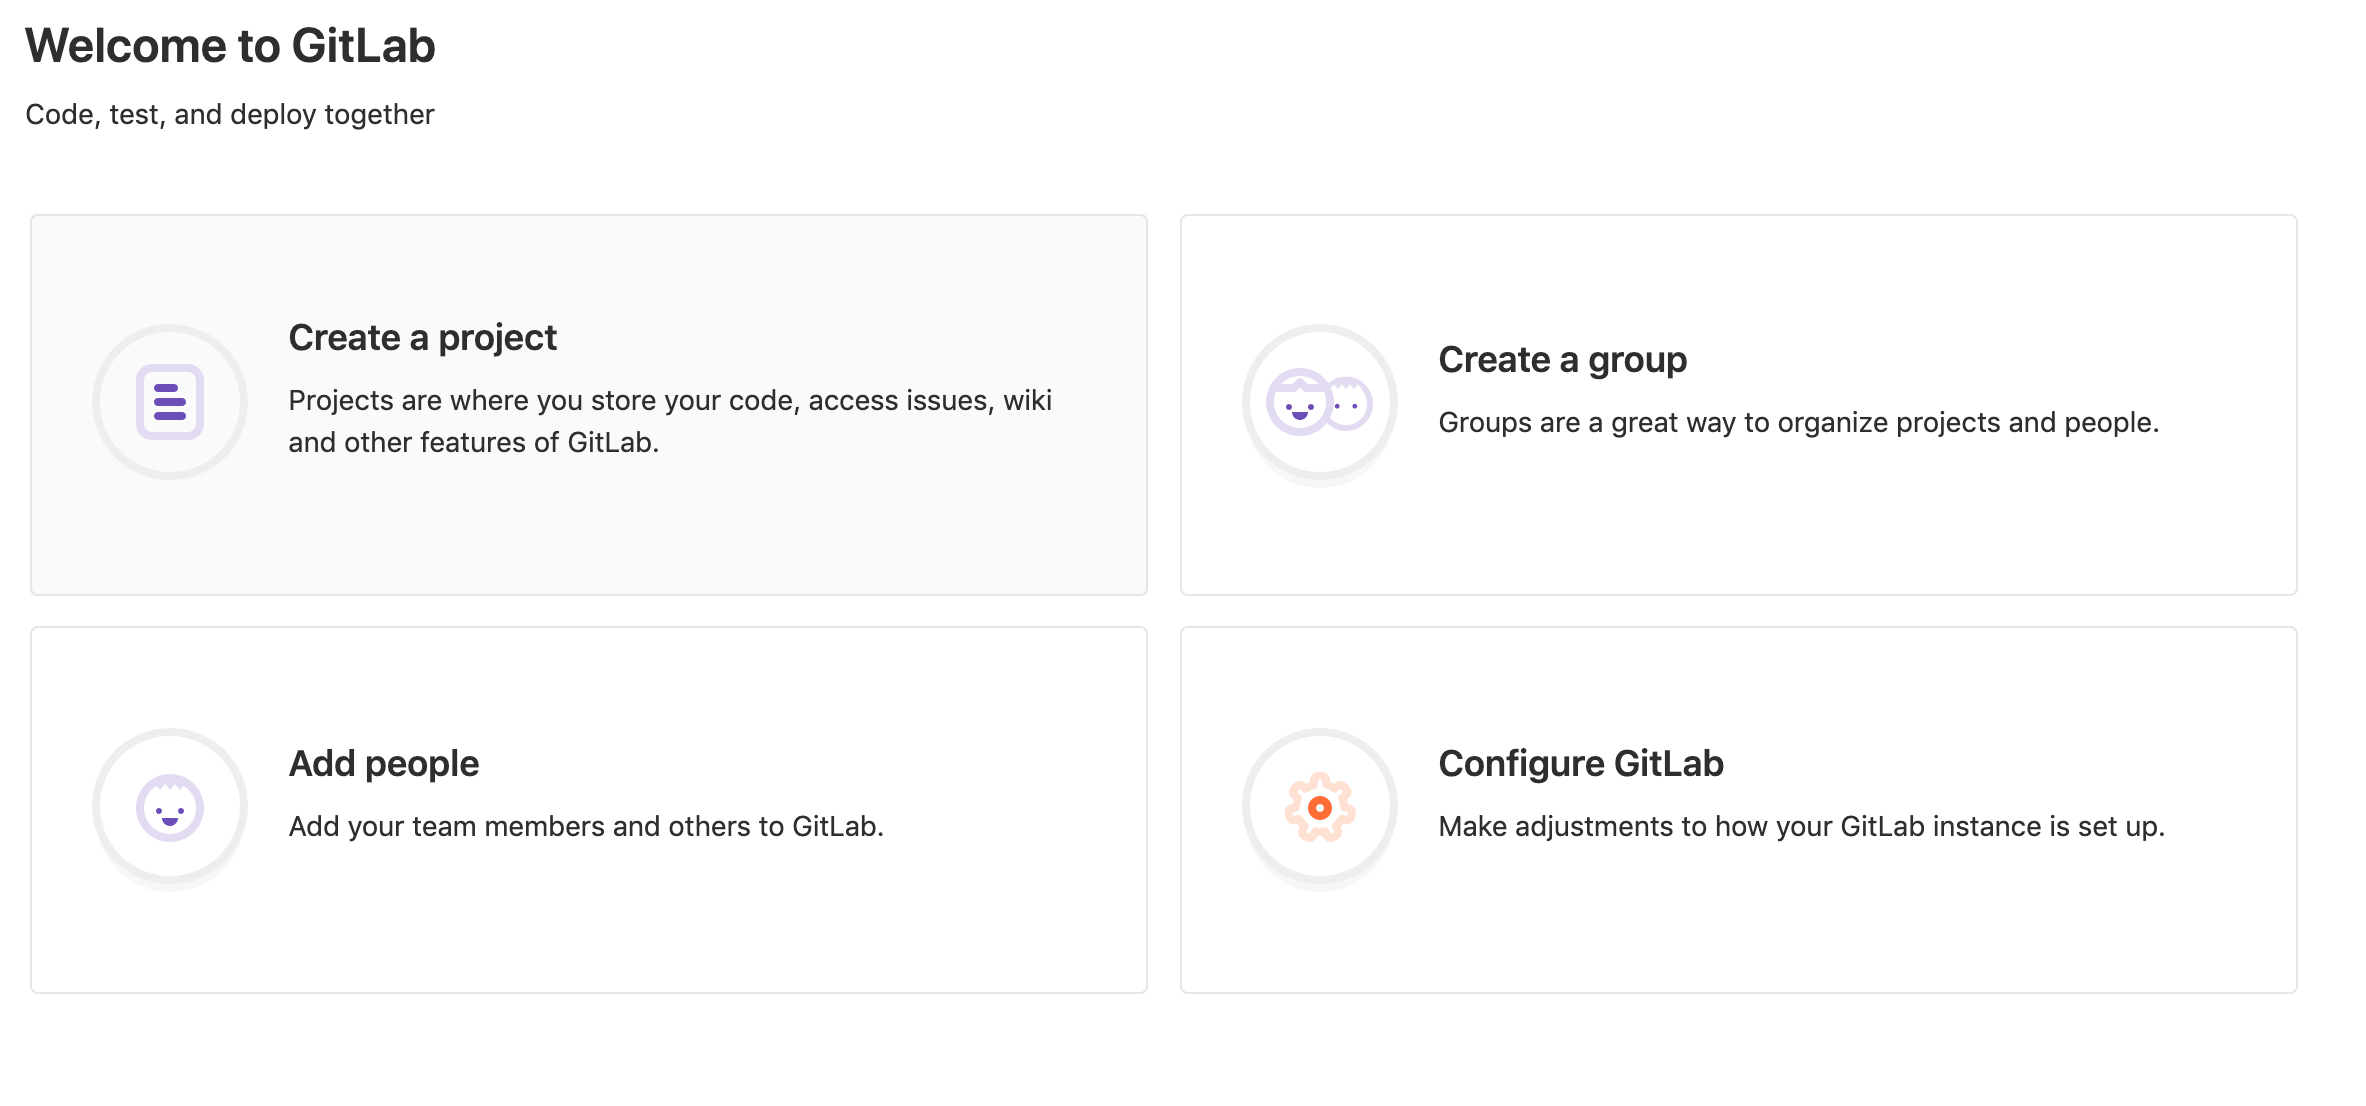
登录后的界面如下:
PS: gitlab的启动、停止、重启、重载配置命令如下:
gitlab-ctl start  #启动
gitlab-ctl stop   #停止
gitlab-ctl restart #重启
gitlab-ctl reconfigure #重新加载配置