iOS开发UI篇—Quartz2D使用(图片剪切)
一、使用Quartz2D完成图片剪切
1.把图片显示在自定义的view中
先把图片绘制到view上。按照原始大小,把图片绘制到一个点上。
代码:
1 - (void)drawRect:(CGRect)rect
2 {
3     UIImage *image2=[UIImage imageNamed:@"me"];
4     [image2 drawAtPoint:CGPointMake(100, 100)];
5 }
显示:

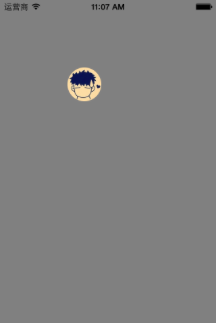
2.剪切图片让图片圆形展示
思路:先画一个圆,让图片显示在圆的内部,超出的部分不显示。
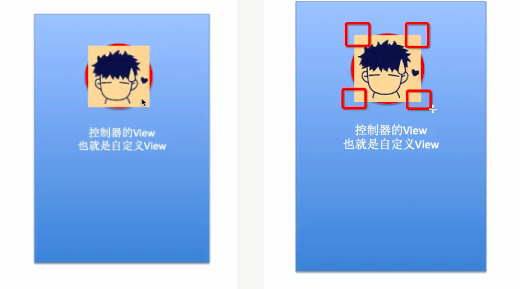
注意:显示的范围只限于指定的剪切范围,无论往上下文中绘制什么东西,只要超出了这个范围的都不会显示。
代码:
- (void)drawRect:(CGRect)rect
{
    //画圆,以便以后指定可以显示图片的范围
    //获取图形上下文
    CGContextRef ctx=UIGraphicsGetCurrentContext();
    CGContextAddEllipseInRect(ctx, CGRectMake(100, 100, 50, 50));

    //指定上下文中可以显示内容的范围就是圆的范围
    CGContextClip(ctx);
    UIImage *image2=[UIImage imageNamed:@"me"];
    [image2 drawAtPoint:CGPointMake(100, 100)];
}
显示:
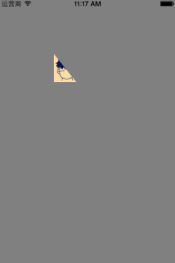
3.剪切图片让图片三角形展示
代码:
- (void)drawRect:(CGRect)rect
{

    //画三角形,以便以后指定可以显示图片的范围
    //获取图形上下文
    CGContextRef ctx=UIGraphicsGetCurrentContext();
//    CGContextAddEllipseInRect(ctx, CGRectMake(100, 100, 50, 50));
    CGContextMoveToPoint(ctx, 100, 100);
    CGContextAddLineToPoint(ctx, 60, 150);
     CGContextAddLineToPoint(ctx, 140, 150);
    CGContextClosePath(ctx);


    //注意:指定范围(也就是指定剪切的方法一定要在绘制范围之前进行调用)
    //指定上下文中可以显示内容的范围就是圆的范围
    CGContextClip(ctx);
    UIImage *image2=[UIImage imageNamed:@"me"];
    [image2 drawAtPoint:CGPointMake(100, 100)];
}
显示: