一:基本知识
1:该三个组件阅读源码的方式和版本源码阅读步骤类似。详细阅读版本源码https://www.cnblogs.com/yingjp/p/10606698.html
2:进入initial可以看到以下方法
        #认证执行的方法
        self.perform_authentication(request)
        #权限执行的方法
        self.check_permissions(request)
        #频率执行的方法
        self.check_throttles(request)
3:进一步对上述的方法进行阅读我们能得出以下几点。
a:在settings中应该怎样配置
b:自定义组件需要实现什么方法
c:方法的返回值
d:对应的属性取值的方法
4:对认证,权限,频率这三个逐渐学习步骤
a:用rest_framework给我们提供的模块进行定制
b:自己定义组件
二:认证组件
1:阅读源码结论
a:认证类需要继承BaseAuthentication类
b:需要实现authenticate(self, request)方法
c:返回一个长度为2的元祖。
d:settings可以通过'DEFAULT_AUTHENTICATION_CLASSES'配置全局的验证。
2:自定义认证类(配置全局认证)
a;先写一个认证类
from  rest_framework.authentication import BaseAuthentication
from testDemo.models import UserInfo
from rest_framework.exceptions import AuthenticationFailed

'''
这里是写的token是存在url中
  1:需要继承BaseAuthentication
  2:需要重写authenticate()方法
  3:返回一个元祖
'''

class  MyAuth(BaseAuthentication):
    #自定义token在url中
    def authenticate(self, request):
        token = request.query_params.get('token','')
        user=UserInfo.objects.filter(token=token).first()
        if not user:
            raise AuthenticationFailed('token 信息不合理')

        return (user,token)
b:settings注册
--所有的视图函数都会进行认证,其实还不是很必要。局部认证在下面写
REST_FRAMEWORK={
    #认证注册
    'DEFAULT_AUTHENTICATION_CLASSES':['utils.auth.MyAuth',],
}
3:使用rest_framework提供的认证组件进行认证。
说明:认证组件一般都是自己写的,这里介绍自定义组件只是了解,学习视图函数的局部认证。
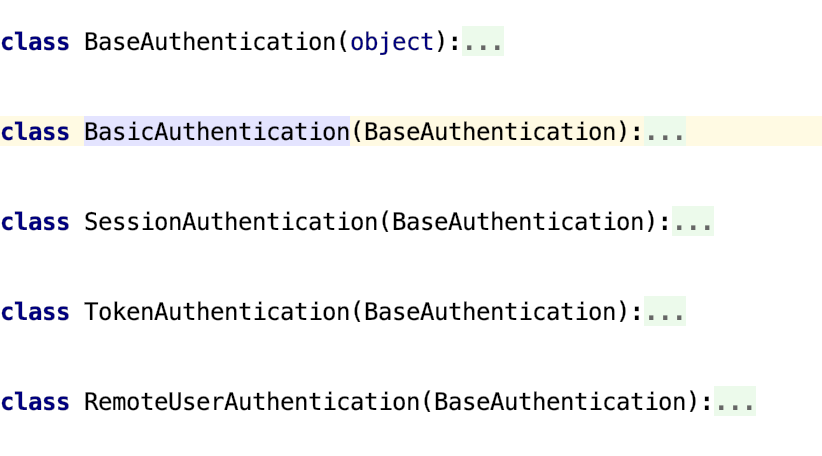
a:通过BaseAuthentication这个认证的基类,点进去就能看见所有人认证类了。使用方式和自定义的认证类一样
b:局部视图的认证,在需要认证的视图处添加authentication_classes=[authclass1,authclass2]
from utils.auth import MyAuth
# Create your views here.
from rest_framework.views import APIView,Response
import uuid
from testDemo.models import UserInfo
# Create your models here.
class authDemo(APIView):
    authentication_classes = [MyAuth, ]
    def get(self, request):
        print(request.user)
        print(request.auth)
        return Response('测试代码')
三:权限组件
1:阅读代码结论
1:settings全局配置 key'DEFAULT_PERMISSION_CLASSES'
2:视图函数局部配置参数 permission_classes
3:权限类需要继承的类 from rest_framework.permissions import BasePermission
4:需要重写的方法 has_permission(self, request, view):
2:自定义权限类
from rest_framework.permissions import BasePermission

class   MyPermissions(BasePermission):
    def   has_permission(self, request, view):
        #登陆成功后登陆信息,存在request.user中
        user_obj =request.user
        #type ==3 普通用户  没有该权限
        if user_obj.type ==3:
            return False
        return True
3:权限配置:
参考第一条。略
四:频率组件
说明:为了防止恶意访问,需要对同一个访问者进行访问频率控制,来减少服务器压力。
1:频率组件实现原理
DRF频率控制是通过单位时间内访问的次数来实现。在DRF的内部有一个字典,当一个iP访问的时候,如果IP1是已经访问的ip则在记录字典中添加这次的访问时间。
{'ip1':[时间1,时间2,最新时间]}。如果IP2是第一次访问,则该字典进行添加操作{'ip2':[最新访问时间]}
2:源码阅读结论(略)
--小结会总结源码快捷阅读技巧。
3:自定义频率控制类
from rest_framework.throttling import BaseThrottle
import time
VISIT_RECORD = {}
class   MyThrotting(BaseThrottle):
    def  __init__(self):
        self.history=[]
    #方法实现
    def allow_request(self, request, view):
        """
         以IP限流  一分钟同一个IP只能访问五次
        """
        #1:获取发访问一个ip
        ip = request.META.get("REMOTE_ADDR")
        '''
         2:判断当前ip是否存在,如果存在,添加最新的时间,如果不存在添加新的ip
        '''
        now_time=time.time()
        if  ip  in VISIT_RECORD:
            VISIT_RECORD[ip].insert(0,now_time)
        else:
            VISIT_RECORD[ip]=[now_time]
        history=VISIT_RECORD[ip]
        '''
        3:最后访问的和最新访问的时间相差一秒,删除最早访问的记录。保证字典内的记录均在一分钟以内。
        '''
        while history  and history[0]-history[-1]>60:
            history.pop()
        self.history=history
        """
        4:判断一分钟内,该ip访问次数是不是5次
        """
        if len(history) > 5:
            return False
        else:
            return True

    def wait(self):
        """
        需要等待多长时间,才能再次访问
        """
        time = 60 - (self.history[0] - self.history[-1])
        return time
4:局部配置和全局配置
--略
4:框架提供的频率认证组件的使用
1:导入包
--from rest_framework.throttling import SimpleRateThrottle
2:settings配置
--其他一些符号代表的时间频率
--('s', 'sec', 'm', 'min', 'h', 'hour', 'd', 'day')
REST_FRAMEWORK = {

    "DEFAULT_THROTTLE_RATES":{
        'WD':'5/m',         #速率配置每分钟不能超过5次访问,WD是scope定义的值,

    }
}
3:类的编写
from rest_framework.throttling import BaseThrottle,SimpleRateThrottle
class MyVisitThrottle(SimpleRateThrottle):
    #与settings配置的一样
    scope = "WD"

    def get_cache_key(self, request, view):
        return self.get_ident(request)
4:局部使用
class authDemo(APIView):
    throttle_classes=[MyVisitThrottle]
    def get(self, request):
        return Response('测试代码')
五:小结
1:源码快速阅读总结
a:观察框架实现的组件,可以发现导入规律
-- rest_framework.组件英文拼写 import Base英文拼写
from rest_framework.throttling import BaseThrottle
from rest_framework.authentication import BaseAuthentication
from rest_framework.permissions import BasePermission
b:点进对应的方法,下面均有不同的实现,但是可以看到需要重写什么方法。这样就能自定义组件了
2:组件阅读源码快速配置
a:setings一定配置 REST_FRAMEWORK={}
一定要写
REST_FRAMEWORK = {}
a:进入视图继承类APIView
--中文注释我自己写的,是不是正好可以得出中文注释结论
--全局配置key是 = 后面的值,
--局部配置在 = 前面的参数
 renderer_classes = api_settings.DEFAULT_RENDERER_CLASSES
    parser_classes = api_settings.DEFAULT_PARSER_CLASSES
    '''
      权限认证
    '''
    authentication_classes = api_settings.DEFAULT_AUTHENTICATION_CLASSES
    '''
    频率认证
    '''
    throttle_classes = api_settings.DEFAULT_THROTTLE_CLASSES
    '''
    权限认证
    '''
    permission_classes = api_settings.DEFAULT_PERMISSION_CLASSES
    content_negotiation_class = api_settings.DEFAULT_CONTENT_NEGOTIATION_CLASS
    metadata_class = api_settings.DEFAULT_METADATA_CLASS

    '''
    版本认证
    '''
    versioning_class = api_settings.DEFAULT_VERSIONING_CLASS