照旧先上效果
这里会用到boundingRectWithSize方法,所以先写了一个playground看看这玩意会返回什么东西。

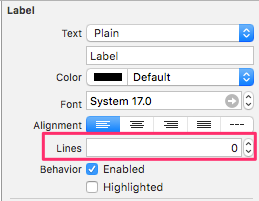
从右边的输出可以看出它会根据我们给的字符串返回一个刚好包含字符串的CGSize,在sb里建立这样的布局⬇️把UILabel的line设置为0⬇️
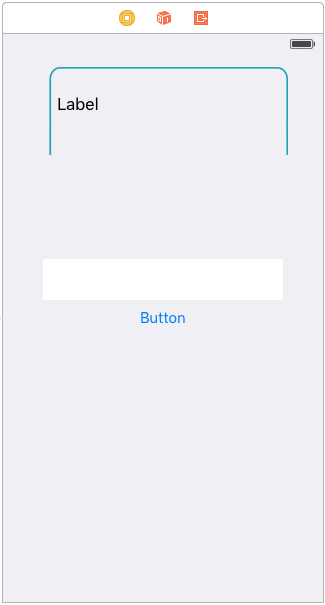
拖拽这样的outlet⬇️,注意我们需要改变Label和bubble(背景气泡)的width和height,所以需要拖拽它们的约束~

接下来编辑button的action⬇️
@IBAction func btnClicked(sender: UIButton) {
        var string = _textField.text as NSString
        var size: CGSize
        let sizeTmp: CGSize = CGSize( 225, height: 0)
        size = string.boundingRectWithSize(sizeTmp, options: NSStringDrawingOptions.UsesLineFragmentOrigin, attributes: [NSFontAttributeName: UIFont.systemFontOfSize(17)], context: nil).size
        textFieldHeight.constant = size.height
        textFieldWidth.constant = size.width
        bubbleHeight.constant = size.height+18
        bubbleWidth.constant = size.width+25
        textLabel.text = _textField.text
        UIView.animateWithDuration(0.3) {
            self.view.layoutIfNeeded()
        }
        _textField.text = ""
    }
里面的layoutIfNeeded函数用来重新布局,运行一下看看~
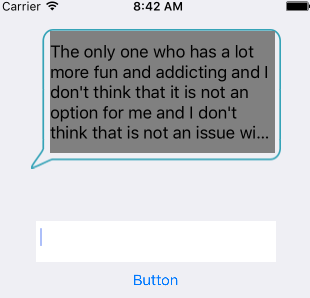
咦?右下角有未显示的,为什么呢?因为还有一个属性没有设置~
在viewDidLoad里面加上这句
self.textLabel.lineBreakMode = NSLineBreakMode.ByWordWrapping
就OK了~