下载ActiveMQ 5.8.0 Release版
http://download.csdn.net/download/xisdo/5744107
得到
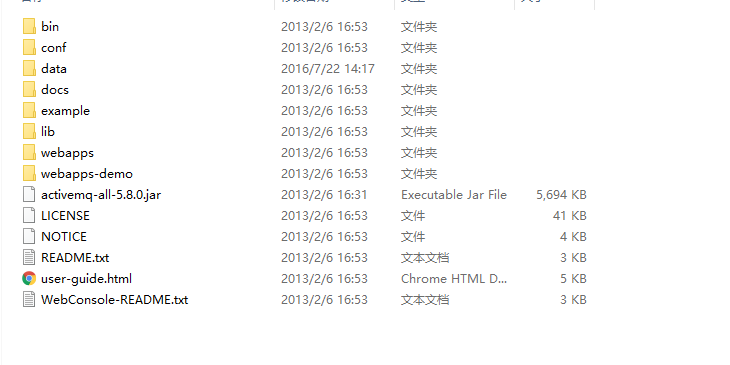
然后进入bin包
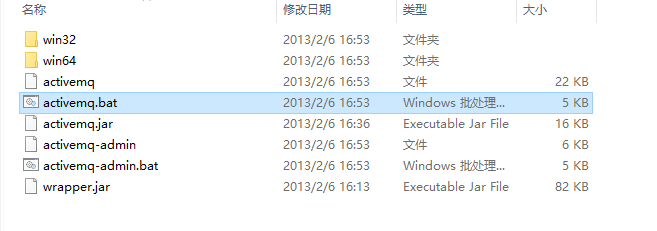
启动该服务会看到

登陆:http://localhost:8161/admin/,我们会看到一个登入账号以及登入密码,分别为admin,admin,,如何看这个登入账号与密码呢?
我们应该先找到jetty.xml配置文件,修改
<bean id="securityConstraint" class="org.eclipse.jetty.util.security.Constraint">
        <property name="name" value="BASIC" />
        <property name="roles" value="admin" />
        <property name="authenticate" value="true" />
    </bean>
authenticate默认为false,我们应该改为true改为后再查看jetty-realm.properties文件我们就能看到
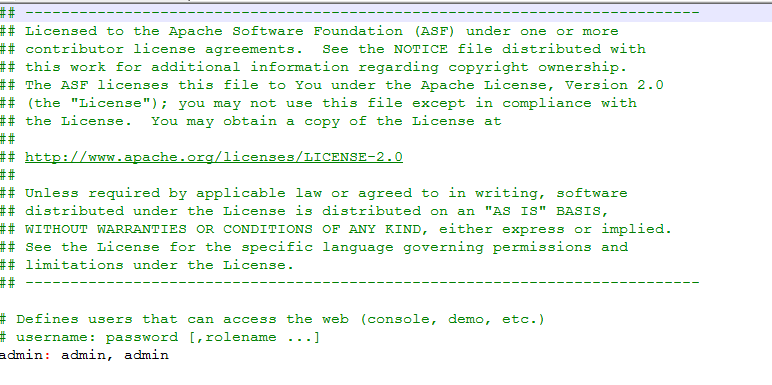
登入成功后
创建一个Queue,命名为FirstQueue
3.创建Eclipse项目并运行
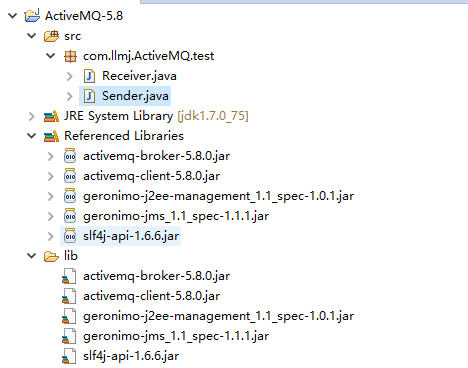
创建java project:ActiveMQ-5.8,新建lib文件夹
打开apache-activemq-5.8.0lib目录
拷贝
activemq-broker-5.8.0.jar
activemq-client-5.8.0.jar
geronimo-j2ee-management_1.1_spec-1.0.1.jar
geronimo-jms_1.1_spec-1.1.1.jar
slf4j-api-1.6.6.jar
这5个jar文件到lib文件夹中,并Build Path->Add to Build Path
结构如下
Sender.java
package com.llmj.ActiveMQ.test;

import javax.jms.Connection;
import javax.jms.ConnectionFactory;
import javax.jms.DeliveryMode;
import javax.jms.Destination;
import javax.jms.MessageProducer;
import javax.jms.Session;
import javax.jms.TextMessage;

import org.apache.activemq.ActiveMQConnection;
import org.apache.activemq.ActiveMQConnectionFactory;

public class Sender {

    private static final int SEND_NUMBER = 5;

    public static void main(String[] args) {
        // ConnectionFactory :连接工厂,JMS 用它创建连接
        ConnectionFactory connectionFactory; // Connection :JMS 客户端到JMS
        // Provider 的连接
        Connection connection = null; // Session: 一个发送或接收消息的线程
        Session session; // Destination :消息的目的地;消息发送给谁.
        Destination destination; // MessageProducer:消息发送者
        MessageProducer producer; // TextMessage message;
        // 构造ConnectionFactory实例对象,此处采用ActiveMq的实现jar
        connectionFactory = new ActiveMQConnectionFactory(
                ActiveMQConnection.DEFAULT_USER,
                ActiveMQConnection.DEFAULT_PASSWORD, "tcp://localhost:61616");
        try { // 构造从工厂得到连接对象
            connection = connectionFactory.createConnection();
            // 启动
            connection.start();
            // 获取操作连接
            session = connection.createSession(Boolean.TRUE,
                    Session.AUTO_ACKNOWLEDGE);
            // 获取session注意参数值xingbo.xu-queue是一个服务器的queue,须在在ActiveMq的console配置
            destination = session.createQueue("FirstQueue");
            // 得到消息生成者【发送者】
            producer = session.createProducer(destination);
            // 设置不持久化,此处学习,实际根据项目决定
            producer.setDeliveryMode(DeliveryMode.NON_PERSISTENT);
            // 构造消息,此处写死,项目就是参数,或者方法获取
            sendMessage(session, producer);
            session.commit();
        } catch (Exception e) {
            e.printStackTrace();
        } finally {
            try {
                if (null != connection)
                    connection.close();
            } catch (Throwable ignore) {
            }
        }
    }

    public static void sendMessage(Session session, MessageProducer producer)
            throws Exception {
        for (int i = 1; i <= SEND_NUMBER; i++) {
            TextMessage message = session.createTextMessage("ActiveMq 发送的消息"
                    + i);
            // 发送消息到目的地方

            System.out.println(i+ ".发送消息:" + "ActiveMq 发送的消息" + i);
            producer.send(message);
        }
    }
}
Receiver.java
package com.llmj.ActiveMQ.test;

import javax.jms.Connection;
import javax.jms.ConnectionFactory;
import javax.jms.Destination;
import javax.jms.MessageConsumer;
import javax.jms.Session;
import javax.jms.TextMessage;

import org.apache.activemq.ActiveMQConnection;
import org.apache.activemq.ActiveMQConnectionFactory;

public class Receiver {

    public static void main(String[] args) {
        // ConnectionFactory :连接工厂,JMS 用它创建连接
        ConnectionFactory connectionFactory;
        // Connection :JMS 客户端到JMS Provider 的连接
        Connection connection = null;
        // Session: 一个发送或接收消息的线程
        Session session;
        // Destination :消息的目的地;消息发送给谁.
        Destination destination;
        // 消费者,消息接收者
        MessageConsumer consumer;
        connectionFactory = new ActiveMQConnectionFactory(
                ActiveMQConnection.DEFAULT_USER,
                ActiveMQConnection.DEFAULT_PASSWORD, "tcp://localhost:61616");
        try {
            // 构造从工厂得到连接对象
            connection = connectionFactory.createConnection();
            // 启动
            connection.start();
            // 获取操作连接
            session = connection.createSession(Boolean.FALSE,
                    Session.AUTO_ACKNOWLEDGE);
            // 获取session注意参数值xingbo.xu-queue是一个服务器的queue,须在在ActiveMq的console配置
            destination = session.createQueue("FirstQueue");
            consumer = session.createConsumer(destination);
            while (true) {
                // 设置接收者接收消息的时间,为了便于测试,这里谁定为100s
                TextMessage message = (TextMessage) consumer.receive(100000);
                if (null != message) {
                    System.out.println("收到消息" + message.getText());
                } else {
                    break;
                }
            }
        } catch (Exception e) {
            e.printStackTrace();
        } finally {
            try {
                if (null != connection)
                    connection.close();
            } catch (Throwable ignore) {
            }
        }
    }
}
5.测试过程
先运行:Receiver.java
再运行:Sender.java
可以看到结果
Sender运行后:
1.发送消息:ActiveMq 发送的消息1
2.发送消息:ActiveMq 发送的消息2
3.发送消息:ActiveMq 发送的消息3
4.发送消息:ActiveMq 发送的消息4
5.发送消息:ActiveMq 发送的消息5
Receiver运行后:
收到消息ActiveMq 发送的消息1
收到消息ActiveMq 发送的消息2
收到消息ActiveMq 发送的消息3
收到消息ActiveMq 发送的消息4
收到消息ActiveMq 发送的消息5
要想看到不同的输出内容,通过点击如下图的按钮切换console

我们在代码中设置时间为10S钟,若我们想要提前结束的话
点击那个红色方块可以手动停止运行程序
