目录
微服务:整合 Spring Cloud Eureka - 注册中心 Eureka Server
微服务:整合 Spring Cloud Eureka - 服务注册 Eureka Client
微服务:整合 Spring Cloud Eureka - 服务发现 DiscoveryClient
微服务:整合 Spring Cloud Eureka - 服务消费以及Ribbon简单使用
微服务:整合 Spring Cloud Eureka - 高可用集群
微服务:整合 Spring Cloud Eureka - .NET Core Mvc Api (C#)
微服务:整合 Spring Cloud Eureka - 服务治理机制
微服务:整合 Spring Cloud Eureka - 服务事件监听
微服务:整合 Spring Cloud Eureka - 高级属性Region、Zone
微服务:整合 Spring Cloud Eureka - Rest接口文档
微服务:整合 Spring Cloud Eureka - Security 安全保护
一、前言
在上一篇博客-《微服务:整合 Spring Cloud Eureka - 注册中心》 中,小编介绍了如何一步一步搭建微服务Eureka注册中心,本篇博客将介绍如何将服务注册到Eureka注册中心。
二、服务提供者搭建
在完成了服务注册中心的搭建之后,接下来我们尝试将一个Spring Boot应用假如Eureka的服务治理体系中。
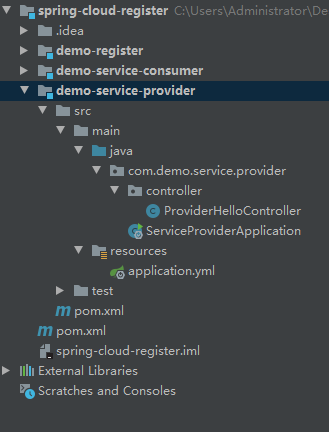
1、项目结构图
2、父pom.xml
<?xml version="1.0" encoding="UTF-8"?>
<project xmlns="http://maven.apache.org/POM/4.0.0"
         xmlns:xsi="http://www.w3.org/2001/XMLSchema-instance"
         xsi:schemaLocation="http://maven.apache.org/POM/4.0.0 http://maven.apache.org/xsd/maven-4.0.0.xsd">
    <modelVersion>4.0.0</modelVersion>

    <groupId>com.demo</groupId>
    <artifactId>spring-cloud-register</artifactId>
    <packaging>pom</packaging>
    <version>1.0-SNAPSHOT</version>
    <modules>
        <module>demo-register</module>
        <module>demo-service-provider</module>
        <module>demo-service-consumer</module>
    </modules>

    <properties>
        <java.version>1.8</java.version>
        <spring-cloud.version>Hoxton.SR1</spring-cloud.version>
    </properties>

    <dependencyManagement>
        <dependencies>
            <dependency>
                <groupId>org.springframework.boot</groupId>
                <artifactId>spring-boot-starter-parent</artifactId>
                <version>2.2.4.RELEASE</version>
                <type>pom</type>
                <scope>import</scope>
            </dependency>

            <dependency>
                <groupId>org.springframework.cloud</groupId>
                <artifactId>spring-cloud-dependencies</artifactId>
                <version>${spring-cloud.version}</version>
                <type>pom</type>
                <scope>import</scope>
            </dependency>
        </dependencies>
    </dependencyManagement>
</project>
3、demo-service-provider 的 pom.xml的配置
<?xml version="1.0" encoding="UTF-8"?>
<project xmlns="http://maven.apache.org/POM/4.0.0"
         xmlns:xsi="http://www.w3.org/2001/XMLSchema-instance"
         xsi:schemaLocation="http://maven.apache.org/POM/4.0.0 http://maven.apache.org/xsd/maven-4.0.0.xsd">
    <parent>
        <artifactId>spring-cloud-register</artifactId>
        <groupId>com.demo</groupId>
        <version>1.0-SNAPSHOT</version>
    </parent>
    <modelVersion>4.0.0</modelVersion>

    <artifactId>demo-service-provider</artifactId>

    <dependencies>
        <dependency>
            <groupId>org.springframework.boot</groupId>
            <artifactId>spring-boot-starter-web</artifactId>
        </dependency>

        <dependency>
            <groupId>org.springframework.cloud</groupId>
            <artifactId>spring-cloud-starter-netflix-eureka-client</artifactId>
        </dependency>
    </dependencies>

</project>
4、demo-service-provider的启动类:ServiceProviderApplication
package com.demo.service.provider;

import org.springframework.boot.SpringApplication;
import org.springframework.boot.autoconfigure.SpringBootApplication;
import org.springframework.cloud.client.discovery.EnableDiscoveryClient;

@EnableDiscoveryClient
@SpringBootApplication
public class ServiceProviderApplication {
    public static void main(String[] args) {
        SpringApplication.run(ServiceProviderApplication.class, args);
    }
}
5、ProviderHelloController
package com.demo.service.provider.controller;

import org.springframework.web.bind.annotation.PathVariable;
import org.springframework.web.bind.annotation.RequestMapping;
import org.springframework.web.bind.annotation.RestController;

@RestController
@RequestMapping("/hello")
public class ProviderHelloController {

    @RequestMapping("/sayhello/{name}")
    public String sayHello(@PathVariable("name")String name){
        return "hello ," + name;
    }
}
6、配置 application.yml
server:
  port: 8101

spring:
  application:
    name: demo-service-provider

eureka:
  instance:
    lease-renewal-interval-in-seconds: 20
  client:
    register-with-eureka: true
    fetch-registry: true
    instance-info-replication-interval-seconds: 30
    registry-fetch-interval-seconds: 10
    serviceUrl:
      defaultZone: http://localhost:8001/register/eureka/
上述配置指定了应用端口号为8101,服务名称为demo-service-provider(别的微服务可以通过这个名称从注册中心获取demo-service-provider提供的服务),剩下的为Eureka相关配置,含义如下:
1、eureka.instance.lease-renewal-interval-in-seconds,向Eureka 服务端发送心跳的间隔时间,单位为秒,用于服务续约。这里配置为20秒,即每隔20秒向febs-register发送心跳,表明当前服务没有宕机;
2、eureka.client.register-with-eureka, 为true时表示将当前服务注册到Eureak服务端;
3、eureka.client.fetch-registry,为true时表示从Eureka 服务端获取注册的服务信息;
4、eureka.client.instance-info-replication-interval-seconds,新实例信息的变化到Eureka服务端的间隔时间,单位为秒;
5、eureka.client.registry-fetch-interval-seconds,默认值为30秒,即每30秒去Eureka服务端上获取服务并缓存,这里指定为10秒的原因是方便开发时测试,实际可以指定为默认值即可;
6、eureka.client.serviceUrl.defaultZone,指定Eureka服务端地址。
三、运行效果
1、先启动Eureka服务注册中心 - demo-register,具体配置可参考《微服务中间件:注册中心 - Spring Cloud Eureka》 。
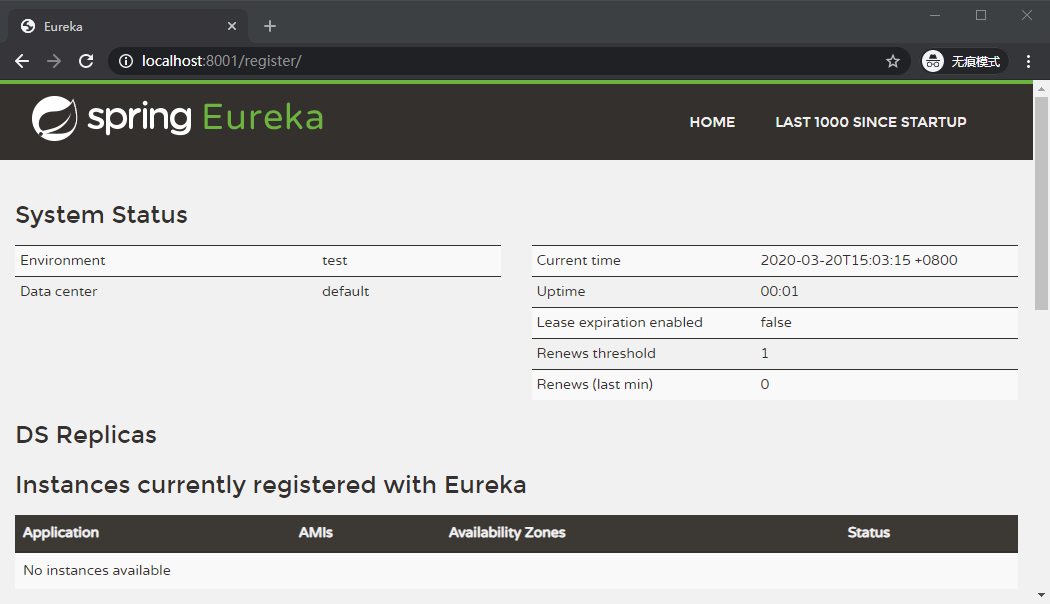
因为现在还没有启动服务提供者 - demo-service-provider,所以 Eureka服务注册中心还没有任何服务实例。
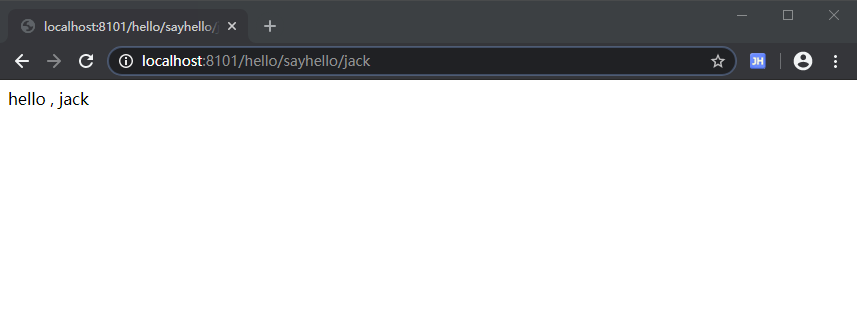
2、启动服务提供者 - demo-service-provider
启动成功之后,打开浏览器,输入地址:http://localhost:8101/hello/sayhello/jack
此时我们在打开Eureka注册中心:http://localhost:8001/register/
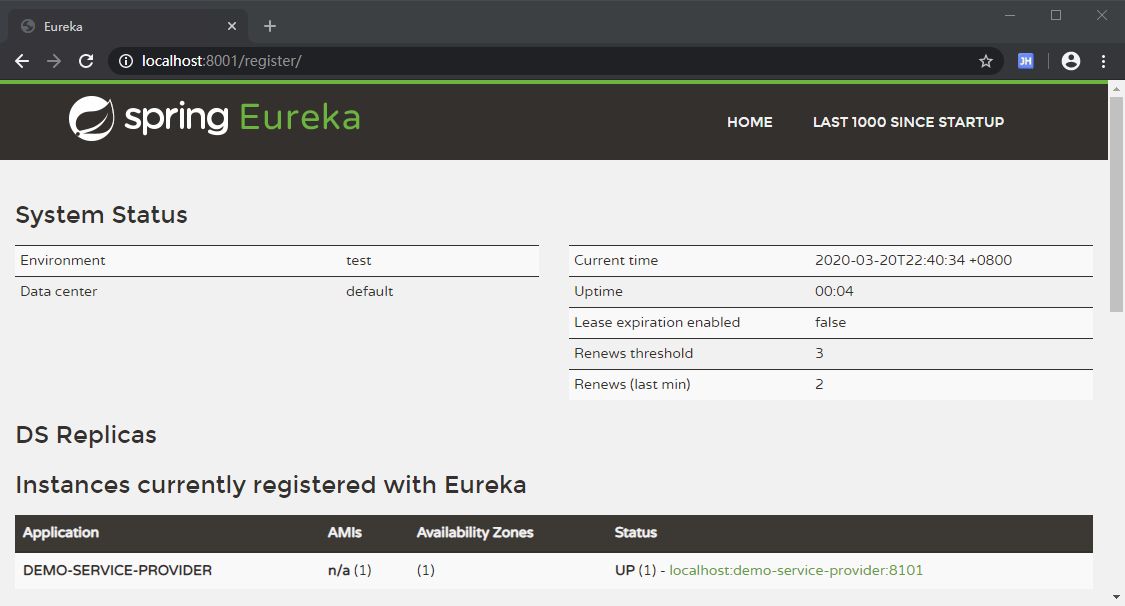
我们可以看到Eureka注册中心已经有一个服务实例,UP (1) - localhost:demo-service-provider:8101 其中UP (1)就标识有一个服务实例在线。
下一篇将会介绍微服务中的服务发现与消费!