原文链接:https://blog.csdn.net/w_meng_h/article/details/93393589
一、使用docker安装nginx
https://blog.csdn.net/W_Meng_H/article/details/93391470
二、在nginx容器内部,配置用户和密码
#查看运行容器的ID
docker ps

#进入nginx容器
docker exec -it 容器ID /bin/bash

#容器内部操作
#更新软件源
apt-get update

#安装apache2-utils
apt-get install apache2-utils

#创建用户名
htpasswd -c /etc/nginx/passwd.db 用户名

#输入密码(自动弹出)
New password:
Re-type new password:

#查看用户和密码
cat /etc/nginx/passwd.db

#退出
exit
三、修改配置文件
server {
    listen       80;
    server_name  域名;

    access_log  /var/log/nginx/logging.access.log  main;

    location / {
    auth_basic "Please input password"; #这里是验证时的提示信息
        auth_basic_user_file /etc/nginx/passwd.db;
    proxy_set_header  Host  $http_host;
        proxy_set_header  X-Real-IP  $remote_addr;
        proxy_set_header  X-Forwarded-For $proxy_add_x_forwarded_for;
        proxy_pass   http://IP:8088;
    }

    error_page   500 502 503 504  /50x.html;
    location = /50x.html {
        root   /usr/share/nginx/html;
    }


}
四、修改容器时间
#查看宿主机的时间 输入如下命令查看
data -R

#修改容器时间和宿主机相同
docker cp /etc/localtime 容器ID:/etc/
五、重启容器
docker restart 容器ID
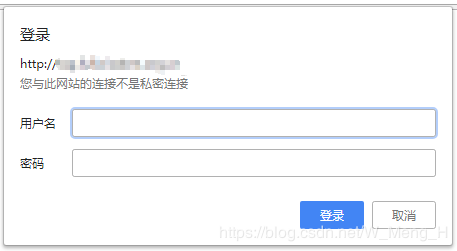
六、测试