https://www.cnblogs.com/yangfengwu/p/11200767.html
说一下,只要你java学的很好,那么几乎所有的语言都不在话下了
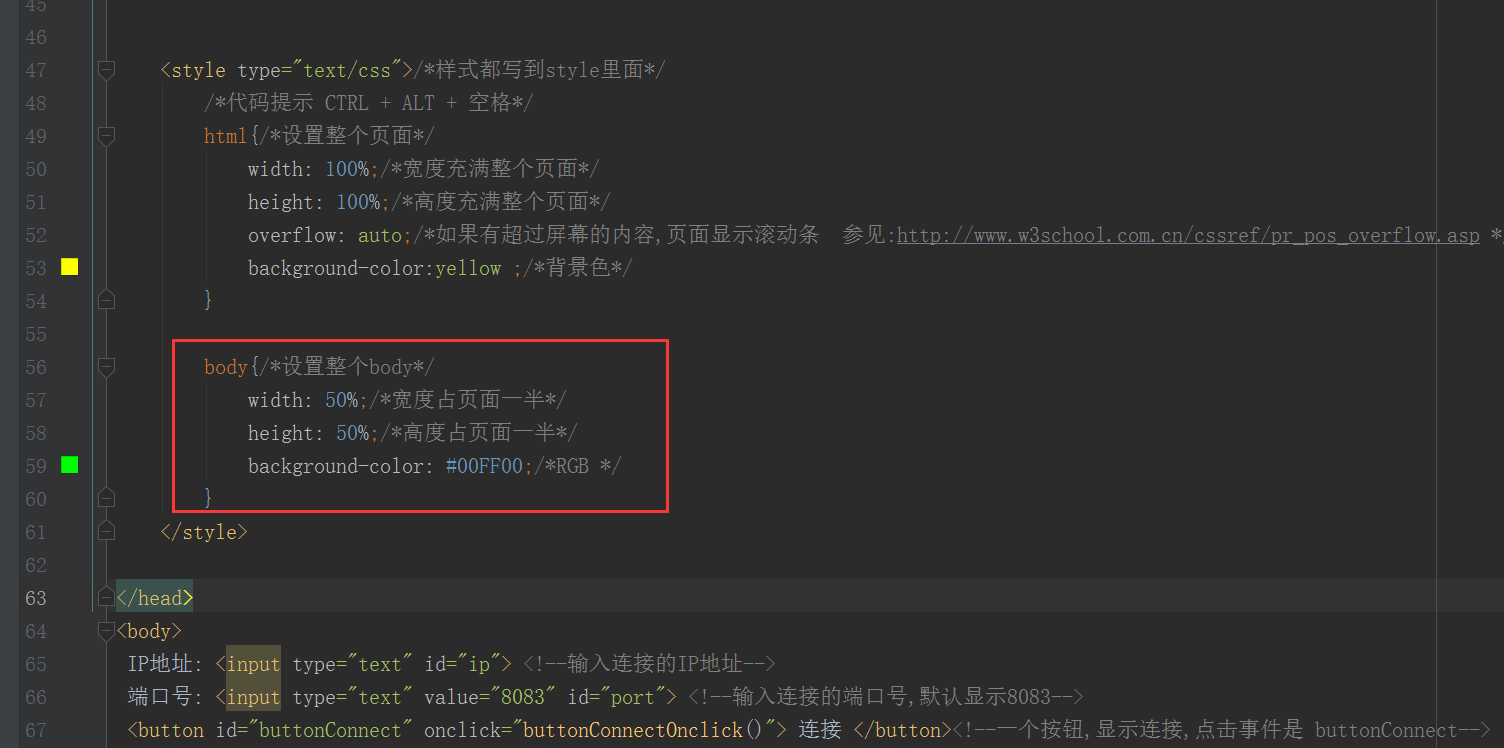
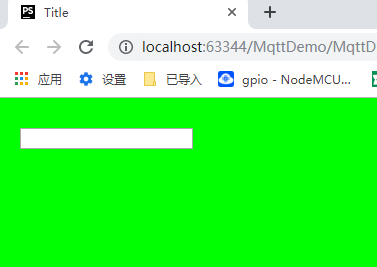
来看一下样式设置

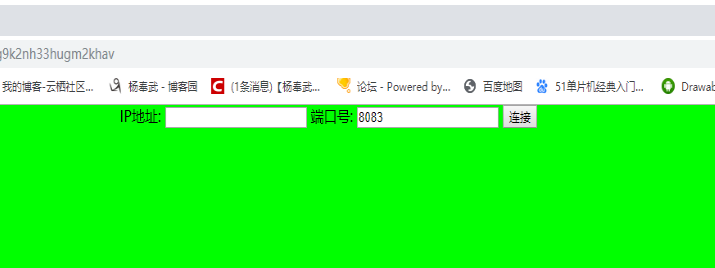
运行

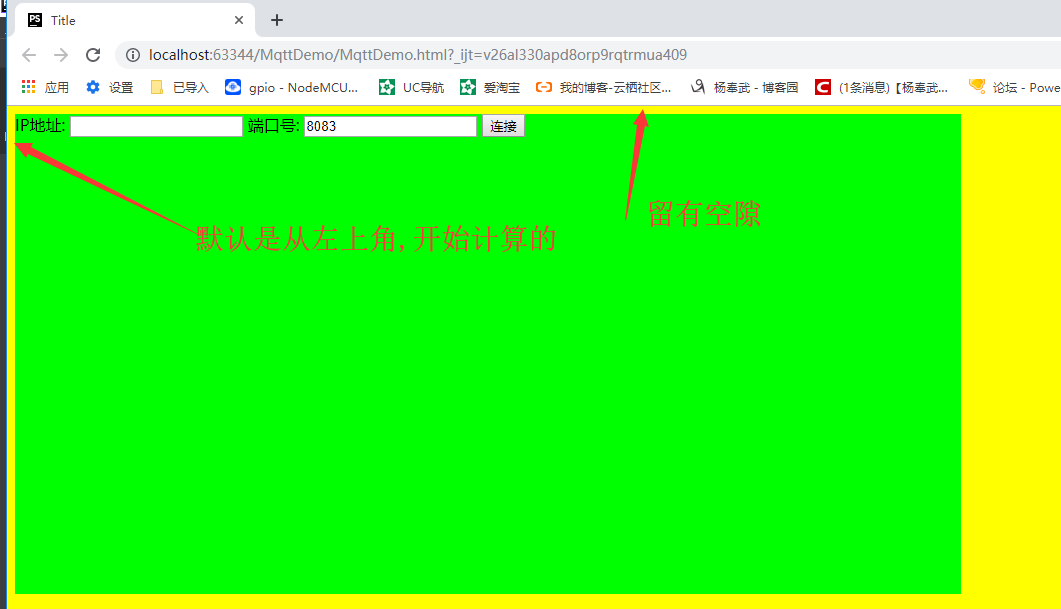

在左上角感觉不好看,咱让他居中

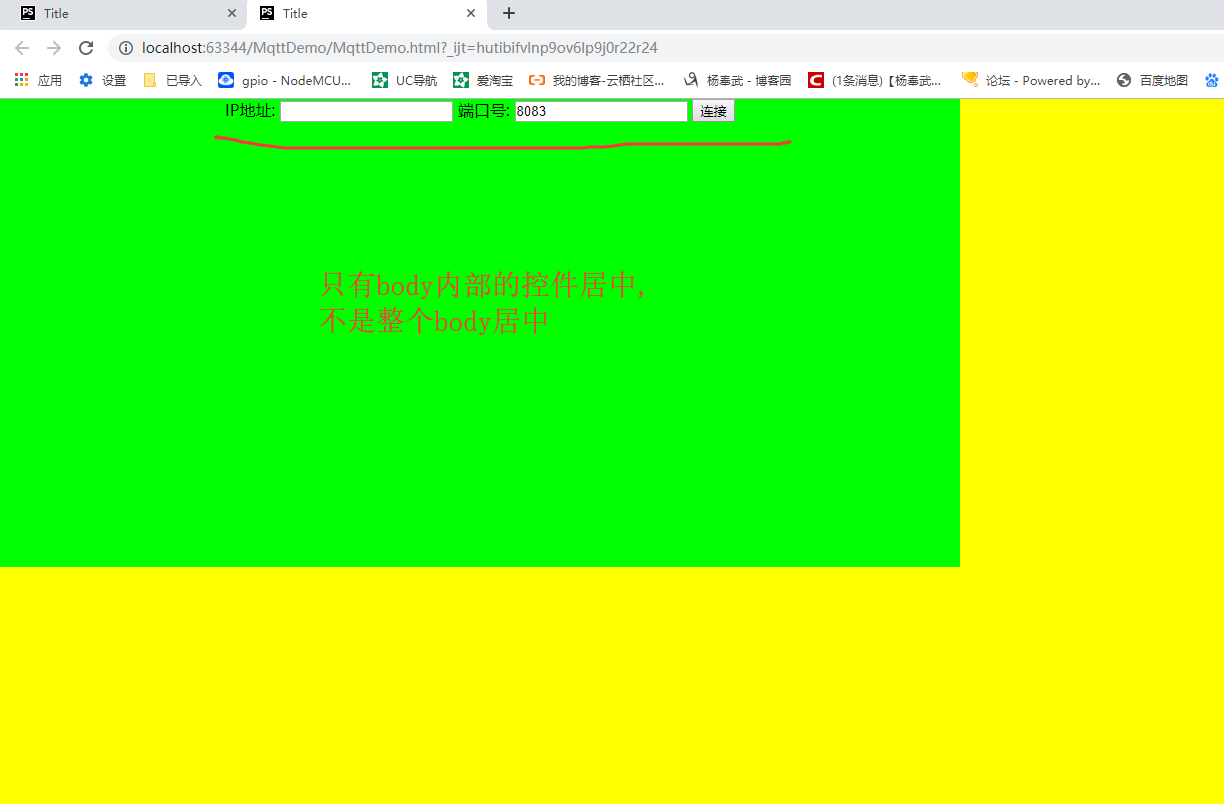
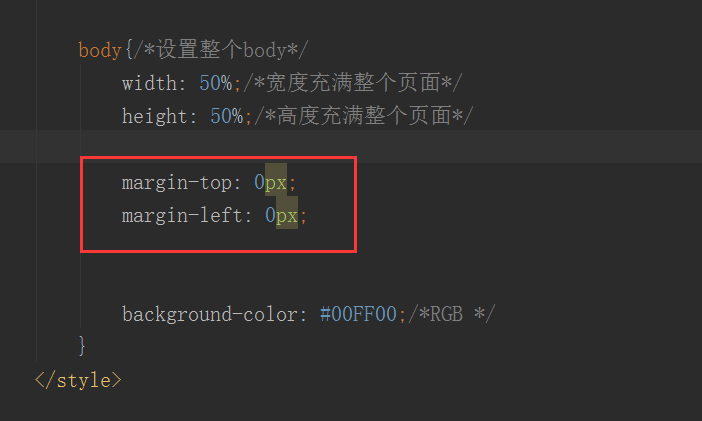
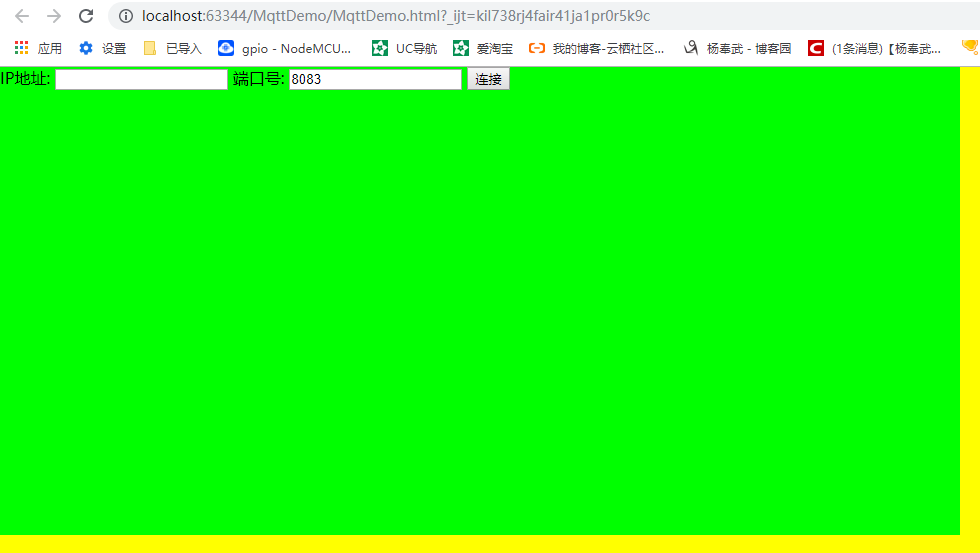
实际上


<!DOCTYPE html>
<html lang="en">
<head>
    <meta charset="UTF-8">
    <title>Title</title>

    <script src="paho-mqtt.js" type="text/javascript"></script> <!--加载支持MQTT的包-->

    <script>
        var client;//定义一个全局变量

        function onConnect() {// called when the client connects  如果连接上,进入
            document.getElementById("buttonConnect").innerHTML = "断开";//改变显示的内容
        }
        function onConnectionLost(responseObject) {//断开了连接
            if (responseObject.errorCode !== 0) {//回复的不是1就是2具体看  https://www.eclipse.org/paho/files/jsdoc/Paho.MQTT.Client.html
                console.log("onConnectionLost:"+responseObject.errorMessage);
                document.getElementById("buttonConnect").innerHTML = "连接";//改变显示的内容
            }
        }
        function onMessageArrived(message) {// called when a message arrives 控制台打印接受的消息
            console.log("onMessageArrived:"+message.payloadString);
        }

        function buttonConnectOnclick() {//按钮点击事件
            try{//加上异常捕获
                client = new Paho.MQTT.Client(document.getElementById("ip").value, Number(document.getElementById("port").value), "clientId");// Create a client instance
                // set callback handlers
                client.onConnectionLost = onConnectionLost;//设置连接断开回调函数
                client.onMessageArrived = onMessageArrived;//设置接收到消息进入的回调函数

                var Options={
                    onSuccess : onConnect,
                    userName  : "yang",
                    password  : "11223344"
                };
                client.connect(Options);// connect the client 连接...
            }catch (e) {
                alert(e);//打印连接中的错误
            }

        }

    </script>


    <style type="text/css">/*样式都写到style里面*/
        /*代码提示 CTRL + ALT + 空格*/
        html{/*设置整个页面*/
             100%;/*宽度充满整个页面*/
            height: 100%;/*高度充满整个页面*/
            overflow: auto;/*如果有超过屏幕的内容,页面显示滚动条  参见:http://www.w3school.com.cn/cssref/pr_pos_overflow.asp */
            /*背景色,一般不需要设置,只需要上面的就可以*/
        }

        body{/*设置整个body*/
             100%;/*宽度充满整个页面*/
            height: 100%;/*高度充满整个页面*/

            margin-top: 0px;
            margin-left: 0px;

            text-align: center;

            background-color: #00FF00;/*RGB */
        }
    </style>

</head>
<body>
 IP地址: <input type="text" id="ip"> <!--输入连接的IP地址-->
 端口号: <input type="text" value="8083" id="port"> <!--输入连接的端口号,默认显示8083-->
 <button id="buttonConnect" onclick="buttonConnectOnclick()"> 连接 </button><!--一个按钮,显示连接,点击事件是 buttonConnect-->
</body>
</html>
这是控件默认显示的位置
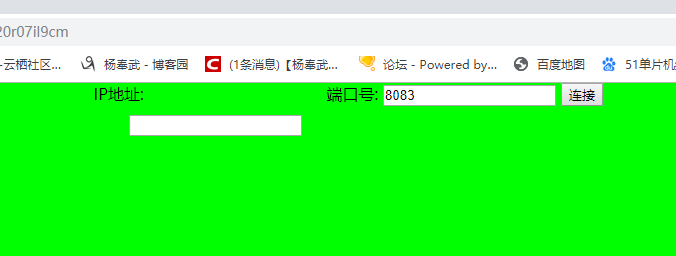
要想让控件偏移,有几种方式


<!DOCTYPE html>
<html lang="en">
<head>
<meta charset="UTF-8">
<title>Title</title>
<script src="paho-mqtt.js" type="text/javascript"></script> <!--加载支持MQTT的包-->
<script>
var client;//定义一个全局变量
function onConnect() {// called when the client connects 如果连接上,进入
document.getElementById("buttonConnect").innerHTML = "断开";//改变显示的内容
}
function onConnectionLost(responseObject) {//断开了连接
if (responseObject.errorCode !== 0) {//回复的不是1就是2具体看 https://www.eclipse.org/paho/files/jsdoc/Paho.MQTT.Client.html
console.log("onConnectionLost:"+responseObject.errorMessage);
document.getElementById("buttonConnect").innerHTML = "连接";//改变显示的内容
}
}
function onMessageArrived(message) {// called when a message arrives 控制台打印接受的消息
console.log("onMessageArrived:"+message.payloadString);
}
function buttonConnectOnclick() {//按钮点击事件
try{//加上异常捕获
client = new Paho.MQTT.Client(document.getElementById("ip").value, Number(document.getElementById("port").value), "clientId");// Create a client instance
// set callback handlers
client.onConnectionLost = onConnectionLost;//设置连接断开回调函数
client.onMessageArrived = onMessageArrived;//设置接收到消息进入的回调函数
var Options={
onSuccess : onConnect,
userName : "yang",
password : "11223344"
};
client.connect(Options);// connect the client 连接...
}catch (e) {
alert(e);//打印连接中的错误
}
}
</script>
<style type="text/css">/*样式都写到style里面*/
/*代码提示 CTRL + ALT + 空格*/
html{/*设置整个页面*/
100%;/*宽度充满整个页面*/
height: 100%;/*高度充满整个页面*/
overflow: auto;/*如果有超过屏幕的内容,页面显示滚动条 参见:http://www.w3school.com.cn/cssref/pr_pos_overflow.asp */
/*背景色,一般不需要设置,只需要上面的就可以*/
}
body{/*设置整个body*/
100%;/*宽度充满整个页面*/
height: 100%;/*高度充满整个页面*/
margin-top: 0px;
margin-left: 0px;
text-align: center;
background-color: #00FF00;/*RGB */
}
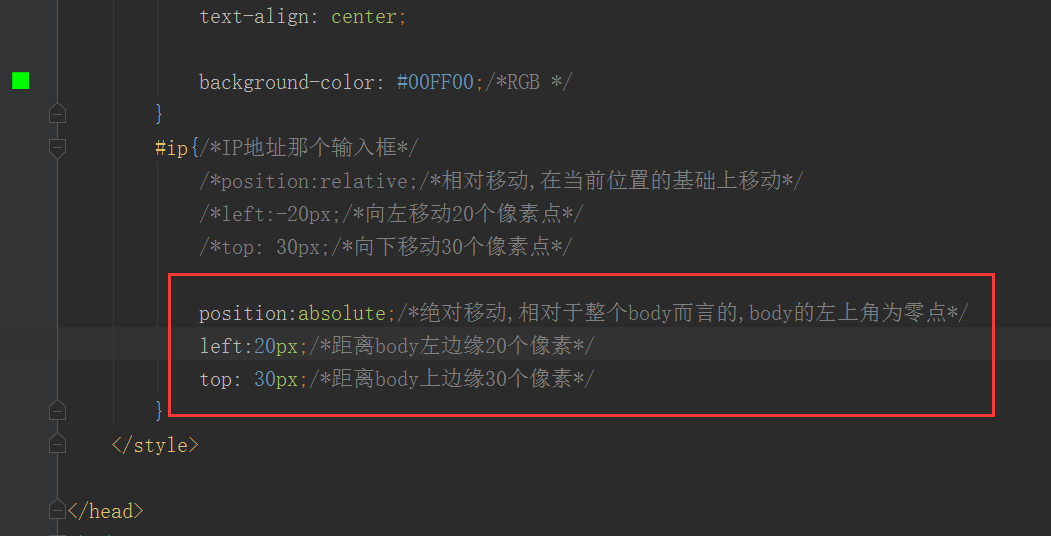
#ip{/*IP地址那个输入框*/
/*position:relative;/*相对移动,在当前位置的基础上移动*/
/*left:-20px;/*向左移动20个像素点*/
/*top: 30px;/*向下移动30个像素点*/
position:absolute;/*绝对移动,相对于整个body而言的,body的左上角为零点*/
left:20px;/*距离body左边缘20个像素*/
top: 30px;/*距离body上边缘30个像素*/
}
</style>
</head>
<body>
IP地址: <input type="text" id="ip"> <!--输入连接的IP地址-->
端口号: <input type="text" value="8083" id="port"> <!--输入连接的端口号,默认显示8083-->
<button id="buttonConnect" onclick="buttonConnectOnclick()"> 连接 </button><!--一个按钮,显示连接,点击事件是 buttonConnect-->
</body>
</html>
其实我不喜欢这种的....我喜欢java那种的,相对布局或者线性布局
首先咱规定下网页版调试助手做的样子
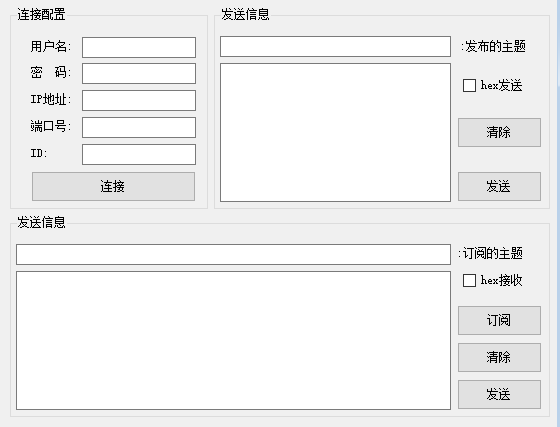
再看一个知识点...放到下一节