id => 设置一个组件id,通过findViewById()的方法获取到该对象,然后进行相关设置
layout_width => 组件宽度
layout_height => 组件高度
wrap_content 自适应大小
match_parent 与父同
text => 设置文本内容
background => 背景颜色(或背景图片)
textColor => 设置字体颜色
textStyle => 设置字体样式
textSize => 字体大小
gravity => 内容的对齐方向
autoLink => autoLink的属性可以将符合指定格式的文本转换为可单击的超链接形式
drawableTop => TextView上部出现一个图片
shadow =>
shadowColor属性用来设置阴影颜色,颜色可以再colors.xml中预先配置;
shadowRadius属性设置模糊程度,数值越大,阴影就越模糊;
shadowDx属性设置在水平方向上的偏移量,数值越大,则阴影越向右移动;
shadowDy属性设置在垂直方向上的偏移量,数值越大,则阴影越向下移动。
autoLink => 超链接 web,email,phone,map,all
textColorLink改颜色
drawableTop =>(drawableLeft、drawableRight、drawableBottom):在TextView的上(左、右、下方放置一个drawable(图片等))
文字大小
- 文字大小单位一般用
sp。
android:text="@string/tv_test1"
android:textColor="#000000"
android:textSize="32sp"
显示不下使用…
android:maxLines="1"
android:ellipsize="end"
文字+icon
android:drawableRight="@drawable/icon的名称"
这里注意icon的名称要用英文小写和_组成,否则识别不了
中划线、下划线
不能通过布局文件写属性的方法来实现,要通过java代码来实现
mtv4.getPaint().setFlags(Paint.STRIKE_THRU_TEXT_FLAG); //添加中划线
mtv4.getPaint().setAntiAlias(true);// 去除锯齿

mtv5=findViewById(R.id.tv_5);
mtv5.getPaint().setFlags(Paint.UNDERLINE_TEXT_FLAG); //添加下划线

mtv6=findViewById(R.id.tv_6);
mtv6.setText(Html.fromHtml("<u>欢迎光临饼干小屋</u>"));  //通过HTML代码来添加下划线
跑马灯
android:singleLine="true"
android:ellipsize="marquee"
android:marqueeRepeatLimit="marquee_forever"
android:focusable="true"
android:focusableInTouchMode="true"
android:clickable="true"
这里仅设置这些属性没有运行成功,最后在 TextViewActivity.java 中添加了声明和下面的代码可以运行成功:
mtv7=findViewById(R.id.tv_7);
mtv7.setSelected(true);
测试代码:
在 activity_main.xml 中添加一个button:
<?xml version="1.0" encoding="utf-8"?>
<LinearLayout xmlns:android="http://schemas.android.com/apk/res/android"
    android:layout_width="match_parent"
    android:layout_height="match_parent"
    android:orientation="vertical"
    >

    <Button
        android:id="@+id/btn_textview"
        android:layout_width="match_parent"
        android:layout_height="wrap_content"
        android:text="TextView"
        />

</LinearLayout>
在 MainActivity.java 中声明这个Button组件,添加代码实现点击该Button可以跳转到TextView演示界面的功能:
package com.example.myapplication;

import androidx.appcompat.app.AppCompatActivity;

import android.content.Intent;
import android.os.Bundle;
import android.view.View;
import android.widget.Button;

public class MainActivity extends AppCompatActivity {

    private Button mBtnTextView; //声明Button组件

    @Override
    protected void onCreate(Bundle savedInstanceState) {
        super.onCreate(savedInstanceState);
        setContentView(R.layout.activity_main);
        mBtnTextView=findViewById(R.id.btn_textview);
        mBtnTextView.setOnClickListener(new View.OnClickListener() {
            @Override
            public void onClick(View v) {
                //跳转到TextView演示界面
                Intent intent=new Intent(MainActivity.this,TextViewActivity.class);
                startActivity(intent);
            }
        });
    }
}
添加一个新的activity用来呈现点击按钮后的界面,新建一个activity要在AndroidMainfest.xml中声明,这里程序会自动声明。在新的activity中添加TextView组件,activity_text_view.xml 中的代码如下:
<?xml version="1.0" encoding="utf-8"?>
<LinearLayout xmlns:android="http://schemas.android.com/apk/res/android"
    android:layout_width="match_parent"
    android:layout_height="match_parent"
    android:orientation="vertical"
    android:padding="20dp"
    >

    <TextView
        android:id="@+id/tv_1"
        android:layout_width="wrap_content"
        android:layout_height="wrap_content"
        android:text="@string/tv_test1"
        android:textColor="#000000"
        android:textSize="32sp"
        />

    <TextView
        android:id="@+id/tv_2"
        android:layout_width="200dp"
        android:layout_height="wrap_content"
        android:text="欢迎光临饼干小屋"
        android:maxLines="1"
        android:ellipsize="end"
        android:textColor="#000000"
        android:textSize="32sp"
        android:layout_marginTop="10dp"
        />

    <TextView
        android:id="@+id/tv_3"
        android:layout_width="wrap_content"
        android:layout_height="wrap_content"
        android:text="筛选"
        android:textColor="#000000"
        android:textSize="32sp"
        android:layout_marginTop="10dp"
        android:drawableRight="@drawable/arrow_down"
        />

    <TextView
        android:id="@+id/tv_4"
        android:layout_width="wrap_content"
        android:layout_height="wrap_content"
        android:text="@string/tv_test1"
        android:textColor="#000000"
        android:textSize="32sp"
        android:layout_marginTop="10dp"
        />

    <TextView
        android:id="@+id/tv_5"
        android:layout_width="wrap_content"
        android:layout_height="wrap_content"
        android:text="@string/tv_test1"
        android:textColor="#000000"
        android:textSize="32sp"
        android:layout_marginTop="10dp"
        />

    <TextView
        android:id="@+id/tv_6"
        android:layout_width="wrap_content"
        android:layout_height="wrap_content"
        android:textColor="#000000"
        android:textSize="32sp"
        android:layout_marginTop="10dp"
        />

    <TextView
        android:id="@+id/tv_7"
        android:layout_width="wrap_content"
        android:layout_height="wrap_content"
        android:text="欢迎光临饼干小屋:这里有刚出炉的甜甜圈、马卡龙、椰蓉面包、泡芙"
        android:textColor="#000000"
        android:textSize="32sp"
        android:layout_marginTop="10dp"
        android:singleLine="true"
        android:ellipsize="marquee"
        android:marqueeRepeatLimit="marquee_forever"
        android:focusable="true"
        android:focusableInTouchMode="true"
        android:clickable="true"
        />
</LinearLayout>
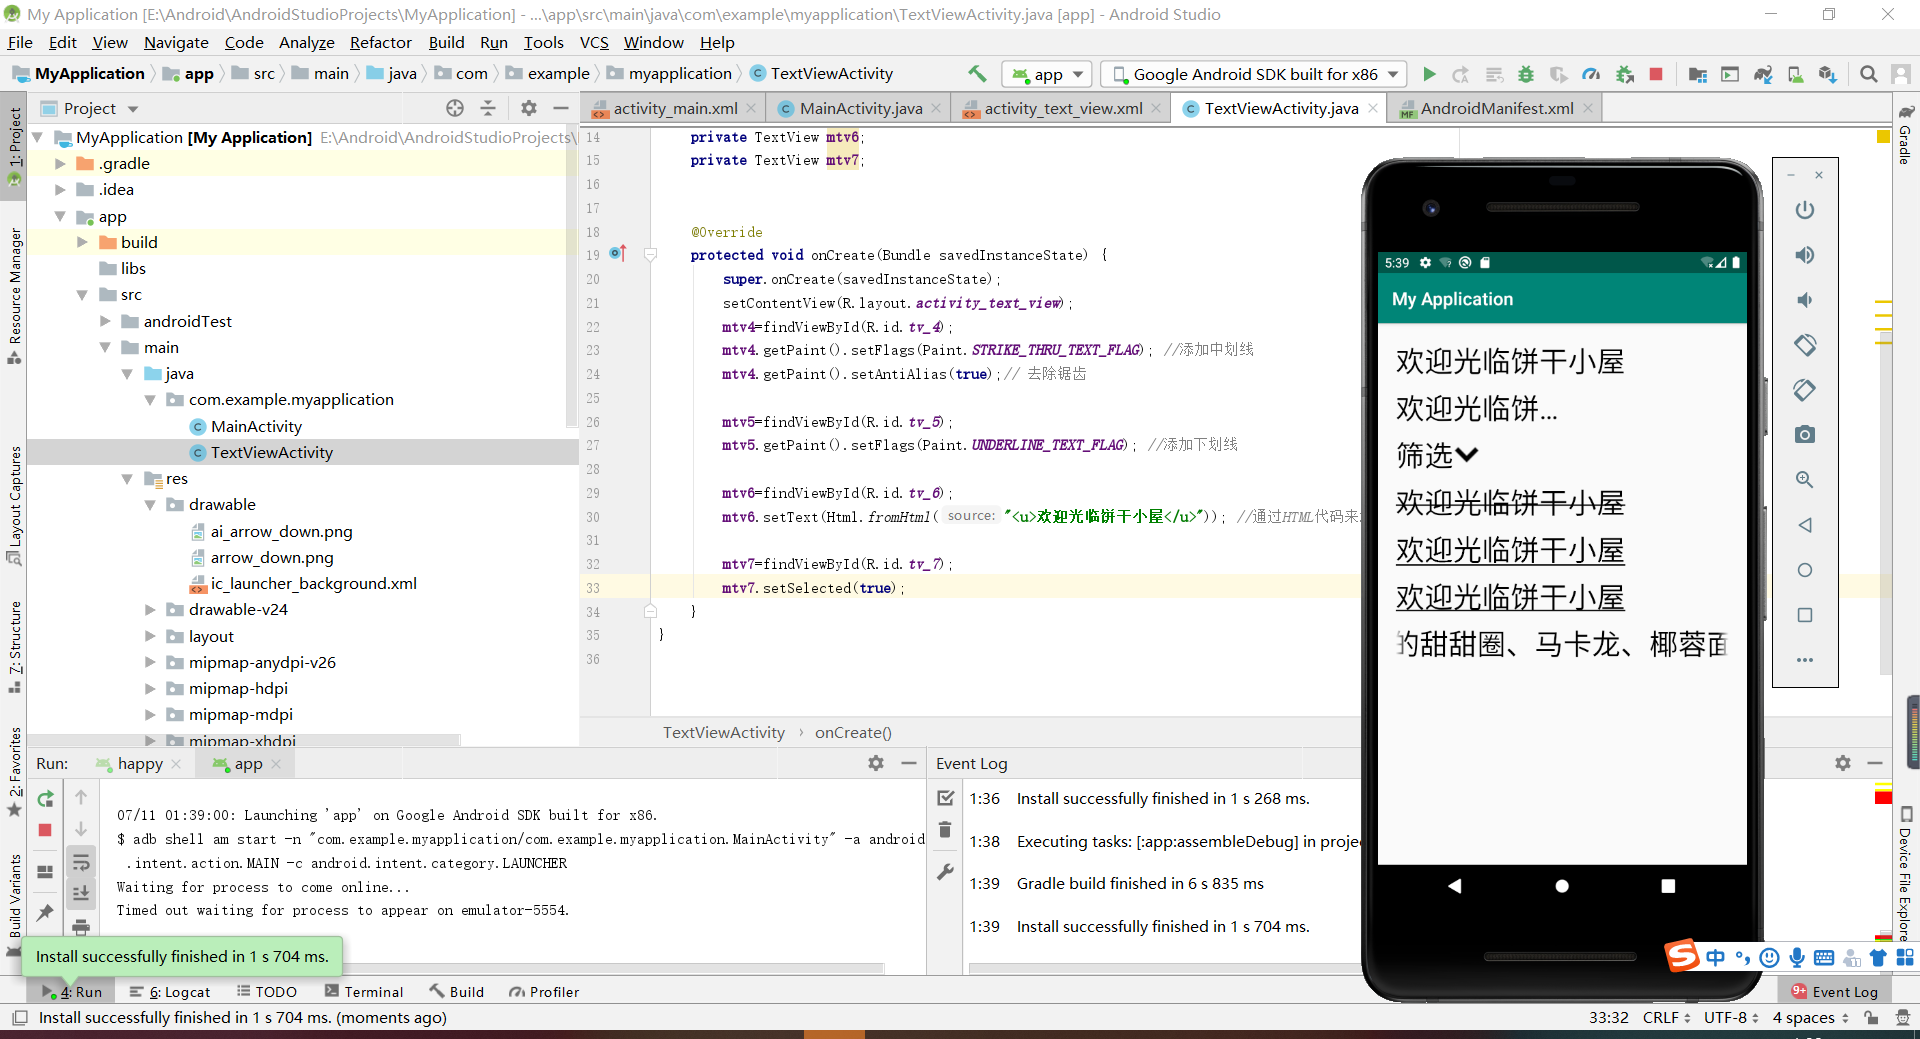
TextViewActivity.java 中的代码:
package com.example.myapplication;

import androidx.appcompat.app.AppCompatActivity;

import android.graphics.Paint;
import android.os.Bundle;
import android.text.Html;
import android.widget.TextView;

public class TextViewActivity extends AppCompatActivity {

    private TextView mtv4; //声明TextView中的第四个组件
    private TextView mtv5;
    private TextView mtv6;
    private TextView mtv7;


    @Override
    protected void onCreate(Bundle savedInstanceState) {
        super.onCreate(savedInstanceState);
        setContentView(R.layout.activity_text_view);
        mtv4=findViewById(R.id.tv_4);
        mtv4.getPaint().setFlags(Paint.STRIKE_THRU_TEXT_FLAG); //添加中划线
        mtv4.getPaint().setAntiAlias(true);// 去除锯齿

        mtv5=findViewById(R.id.tv_5);
        mtv5.getPaint().setFlags(Paint.UNDERLINE_TEXT_FLAG); //添加下划线

        mtv6=findViewById(R.id.tv_6);
        mtv6.setText(Html.fromHtml("<u>欢迎光临饼干小屋</u>")); //通过HTML代码来添加下划线

        mtv7=findViewById(R.id.tv_7);
        mtv7.setSelected(true);
    }
}
效果: